How to sow seeds indoors
Ideal for seeds that need warmth to germinate and grow, such as tender and half-hardy ornamentals and vegetables, sowing indoors allows you to get plants off to an early start and give them the protection they need.
Quick facts
- Many types of ornamentals, vegetables, salad leaves and herbs are ideal for sowing indoors
- Seedlings can appear in as little as a few days
- If you don’t have small pots or a seed tray to hand, use old food containers or make newspaper pots
Getting started
Sowing seeds indoors is easy, cost-effective and fun. It ensures faster, more reliable germination, allows you to get growing earlier in the year and provides
You can sow a wide range of seeds indoors, including:
- Tender crops – such as tomatoes, chillies and courgettes
- Half-hardy annuals – such as cosmos and nasturtiums
- Hardy annuals and veg – such as sunflowers and broccoli
- Annuals climbers – such as morning glory and sweet peas
- Tender herbs – such as basil
- Slow-growing crops – such as celeriac
Sowing times vary depending on the plant, so check seed packets for recommended indoor sowing months. As a general guide:
- Sow in spring – most tender and half-hardy flowers and vegetables, for planting out in late spring and early summer
- Sow in summer – biennial flowers, such as foxgloves, and fast-growing vegetables, such as salads
- Sow in autumn – winter and early spring salads and vegetables, for planting out later in autumn, or growing undercover over winter
- Sow in late winter – tender and half-hardy flowers and vegetables that need a long growing season, such as chillies
Most seeds can be sown directly from the packet, but some have tough seed coats that need to be pre-soaked, scraped or nicked (with sandpaper or a knife) to increase the chances of successful germination. Many tree seeds also need a specific period of cold and/or warmth (stratification) before they will germinate. Check seed packets for specific requirements.
Sweet pea seeds have a hard coat and benefit from preparing before sowing
What you’ll need to sow seeds indoors:
-
Packet of seeds
-
Seed tray, modular tray or small pots, ideally biodegradable, or homemade paper pots or recycled food containers
- seed compost or sieved peat-free multi-purpose compost
-
Watering can with a rose
-
Plant label - ideally one made of wood, metal or slate that can be composted, recycled or repurposed
-
Propagator lid, piece of glass or clear plastic food tray, to cover
-
Warm place for seeds to germinate, such as a greenhouse or sunny windowsill
How to sow seeds indoors in eight simple steps
-
Fill your seed tray, modular tray or pot
Use peat-free seed compost or sieved peat-free multi-purpose compost and fill to just below the rim, ensuring the corners are filled too. Pots and modules are best for larger seeds, while seed trays suit smaller ones. For tips on making recycled pots, see our guide to going plastic-free.
-
Gently firm the compost
Use another tray or a piece of wood to firm the compost down to about 1cm (½in) below the rim. This gives a flat surface to sow onto.
-
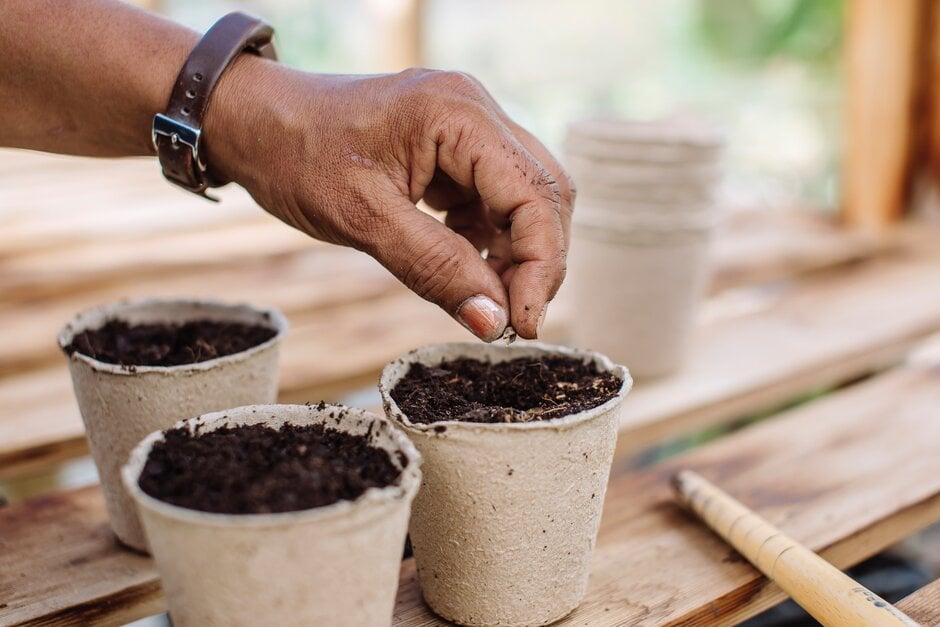
Sow your seeds
Empty the seed packet into your palm or a shallow dish, then take a small pinch and scatter them thinly and evenly over the compost. Large seeds can be picked up and sown individually.
-
Cover the seeds
Sprinkle a light covering of sieved compost over the seeds – usually no more than the depth of the seed, but check the seed packet for details.
-
Water gently
Use a watering can with an upside-down rose to create a gentle spray and avoid dislodging the seeds. Alternatively, stand pots or trays in water to soak up moisture from below, removing once the compost is thoroughly damp.
-
Label your pots and trays
Add a label with the name of the seeds and the date sown.
-
Cover the seeds
Place a piece of glass, propagator lid or clear plastic fruit tray over the pots and trays to help retain moisture and speed up germination.
-
Place in a warm, sunny spot to germinate
A greenhouse or south- or west-facing windowsill is ideal. Most seeds need a temperature of around 18°C to germinate, but check the seed packet for specific requirements.
Aftercare
-
Check regularly for germination – seedlings may emerge in as little as a few days. Remove the glass or plastic covering as soon as they appear.
-
Keep in a bright spot and water lightly every few days – never let the compost dry out completely, but it shouldn't be saturated with water.
-
Prick out seedlings into individual pots once large enough to handle, to prevent overcrowding as they grow – see our video guide to sowing and pricking out seedlings for more information on how to grow seeds indoors
-
Move seedlings into larger pots as they grow to ensure they have the nutrients they need to become strong and sturdy
-
Harden off young plants so they acclimatise to outdoor conditions ahead of planting outside once the risk of frost has passed. See our guide to hardening off.
Get involved
The Royal Horticultural Society is the UK’s leading gardening charity. We aim to enrich everyone’s life through plants, and make the UK a greener and more beautiful place.