Propagation techniques
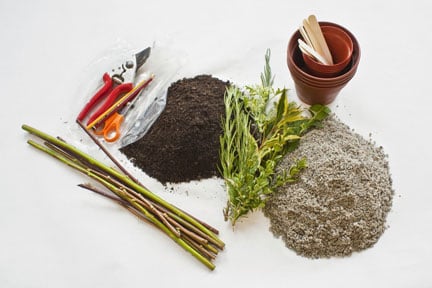
Propagating plants is a rewarding and fascinating process to obtain new plants. Select the appropriate method and timing then follow some basic principles to ensure success.
Suitable for - Cultivation and cutting tools
Timing - Anytime
Difficulty - Easy to difficult

Invest in a sharpening tool suitable for the tools you intend to sharpen. Below are the most common;
Whetstones: these are blocks of fine grained stone; whet is an old word for sharpen. Whetstones are divided into two types depending on whether they need oil or water for lubrication to help the blade glide across the stone. Either type is suitable for sharpening blades like knives and secateurs, just ensure the correct lubrication is used, otherwise the stone will spoil. Some stones are double sided with a coarse and fine grade of grit. Use whetstones on a firm surface such as a kitchen table.
Diamond coated sharpening tools: these come in many shapes and sizes. Diamond-coated blocks or portable pocket-sized tools are ideal for sharpening secateurs and knives on the go. Diamond-coated files are suitable for spades and hoes.
Sharpening steels: these are typically used on kitchen knives. However, gardening versions are available for maintaining garden blades such as loppers.
Files: these make light work of sharpening cultivation tools such as spades and hoes. Select one suitable for working with metal.
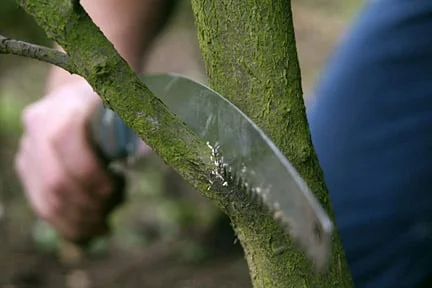
Inevitably cultivation tools get blunted and nicked by stones in the soil. Keeping an eye on their condition will help maintain performance.
It is generally only necessary to sharpen most cultivation blades once or twice a year, depending on the frequency of use and damage. Some damage may be too severe to correct yourself. Instead go to a tool workshop for a professional tool sharpener.
Secateurs become blunt with use and misuse, making them difficult to use and causing damage when pruning. It is a good idea to have a best pair for pruning and a cheap second pair for jobs like cutting back herbaceous plants.
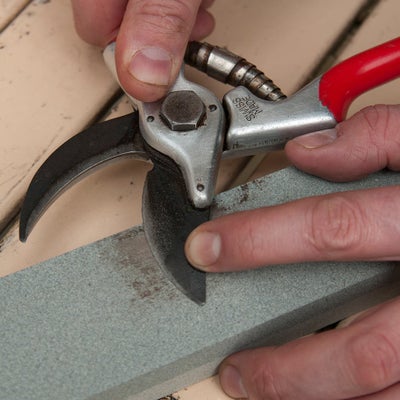
Check to see if your pair of secateurs can be taken apart for maintenance. Not all can be dismantled. Secateurs can be sharpened with a whetstone, diamond tool or sharpening steel. Here we look at some step-by-steps using a diamond tool. This technique is also suitable for loppers that can be taken apart.
How to sharpen secateurs with a diamond tool
For loppers and secateurs you can’t take apart, clean the blade as best you can and use the same sharpening motions as above on the open blade. Angle the blade away from you, firmly pushing the sharpening tool. A pocket sized diamond sharpener or sharpening steel is ideal for this and for sharpening on the go, during a large pruning job.
Some garden shears (hedging shears, 'sheep' shears and lawn edging shears) come with a specially-designed sharpener, specific to that brand of shears. Others could be sharpened with general sharpening tools but this is a tricky job if the blades do not come apart or the shears are very blunt. Where this is the case it is usually best to have them professionally sharpened.
There are several types of garden knives, each with their own purpose and differently shaped blade: a general garden knife is a traditional pocket knife; a pruning knife has a curved blade; a knife has a rectangular blade. A general purpose knife will only need sharpening as required. Grafting and propagation knives need to be razor sharp for best results. As with secateurs, garden knives can be sharpened with a whetstone, diamond tool or sharpening steel. Here we look at some step-by-steps using a whetstone.
How to sharpening a garden knife with a whetstone