Use this method to prune established trees if you want to keep them at their current size, rather than letting them continually grow larger, as would happen with traditional winter pruning.
By The RHS Advice Team
Quick facts
Suitable for - Well-established/mature apples and pears trained as bush or standard trees
1
Timing - Prune when dormant, between November and early March
This is a method of pruning mature apple and pear trees to keep them at their current size, unlike traditional winter pruning, which allows them to get gradually bigger over time. When done consistently every winter, regulated pruning prevents trees eventually getting overly large and in need of renovation pruning, which can be a major undertaking over several years.
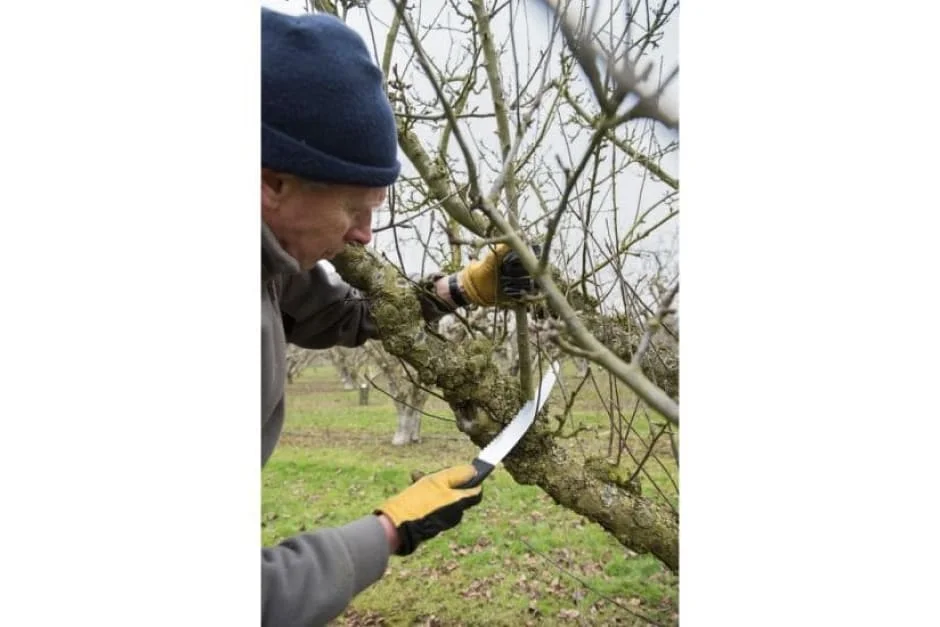
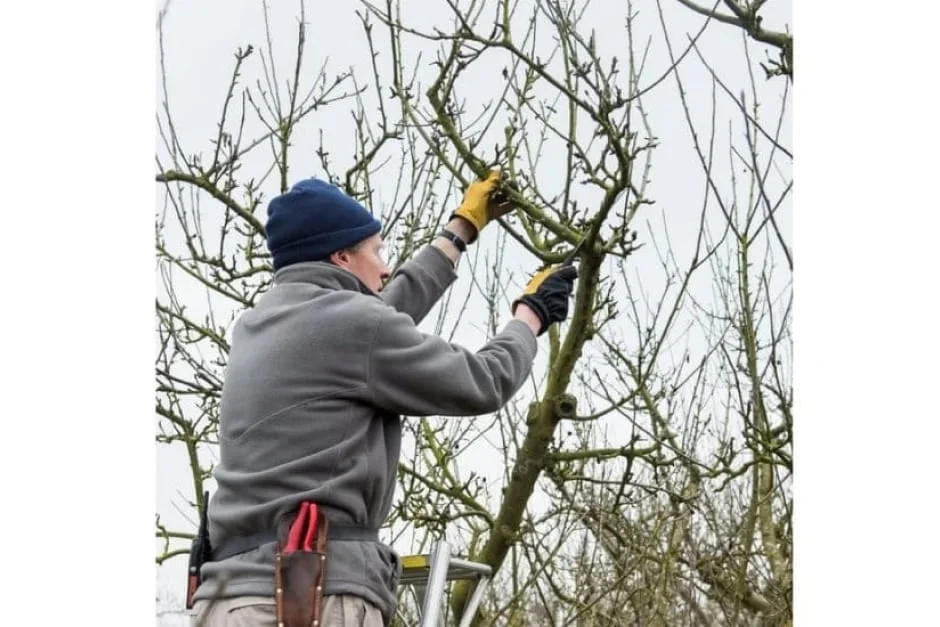
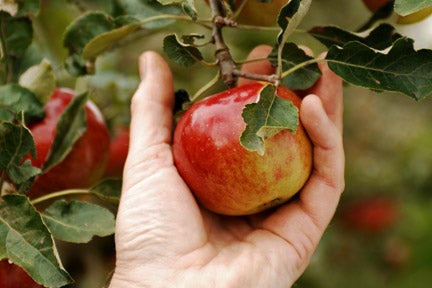
With this method, parts of the branch framework are removed each winter, to achieve gradual renewal. Selected branches are cut back to well-positioned younger branches lower down or removed entirely, so the tree’s canopy doesn’t expand. This branch replacement pruning also ensures continued good fruiting, as the older, less productive wood is gradually replaced. See photo below
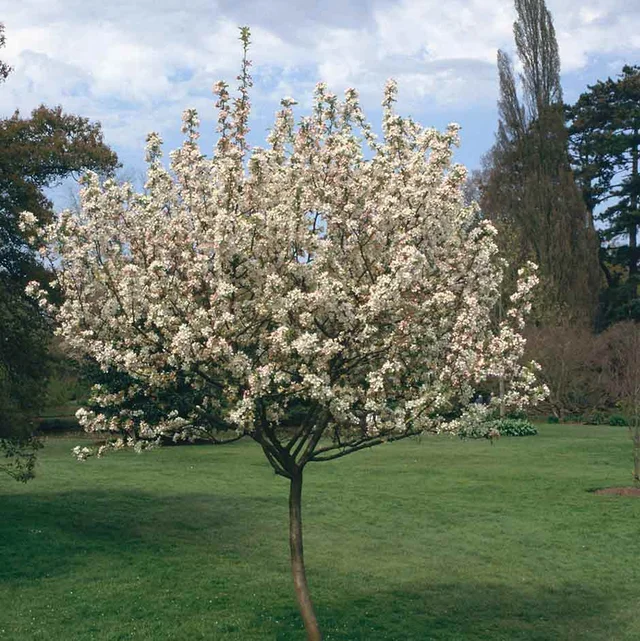
Regulated pruning keeps trees at the optimum size for their rootstock. Apple and pear trees are grafted plants, with a rootstock that determines the tree’s growth rate and size. The cultivar that forms the upper part of the tree can also influence its overall size – certain cultivars, for example ‘Bramley’s Seedling’, are inherently strong growing. So bear in mind that even regulated pruning can’t keep a vigorous tree small, but it can keep it at a manageable size and prevent the crown becoming overcrowded.
If you’re new to fruit pruning or aren’t feeling very confident, see pruning made easy for valuable tips. You may also prefer to continue with traditional winter pruning until you’ve gained greater confidence.
Suitable trees
Regulated pruning is suitable for apple and pear trees with a well-developed crown growing as free-standing bushes (trees with a short trunk), half-standard and standard trees. This usually means they’re at least seven to ten years old, depending on how well they’re growing and their rootstock’s vigour. If their growth is poor or their rootstock is more vigorous (such as MM106 for apples or Quince A for pears), you may need to wait longer, until the crown is fully developed, before starting this method of pruning.
Carry out regulated pruning at any time from leaf fall to late winter, typically November to early March, while the tree is dormant. Repeat the process every year.
Tools you’ll need
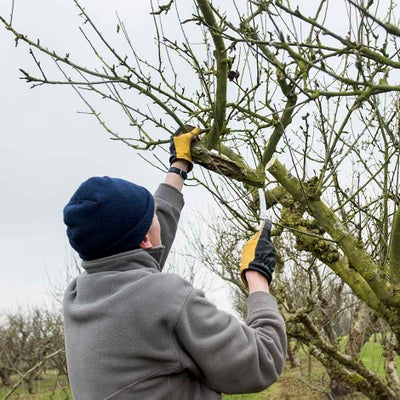
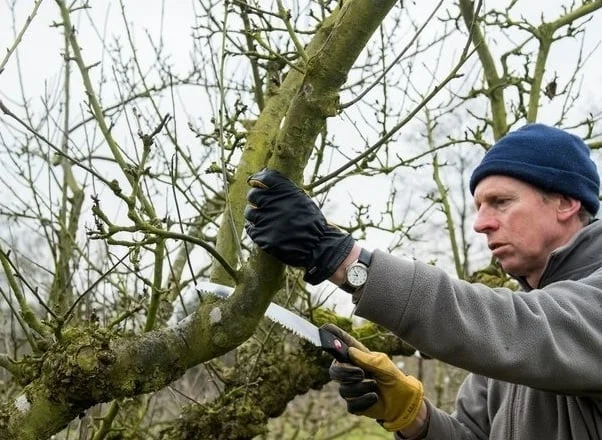
Pruning saw – most of this pruning should be done using a pruning saw. These come in various sizes to suit different diameters of branch. Smaller shoots and branches could be removed with loppers, but a pruning saw generally lets you make more precise cuts
Secateurs – for removing overcrowded spurs, if necessary
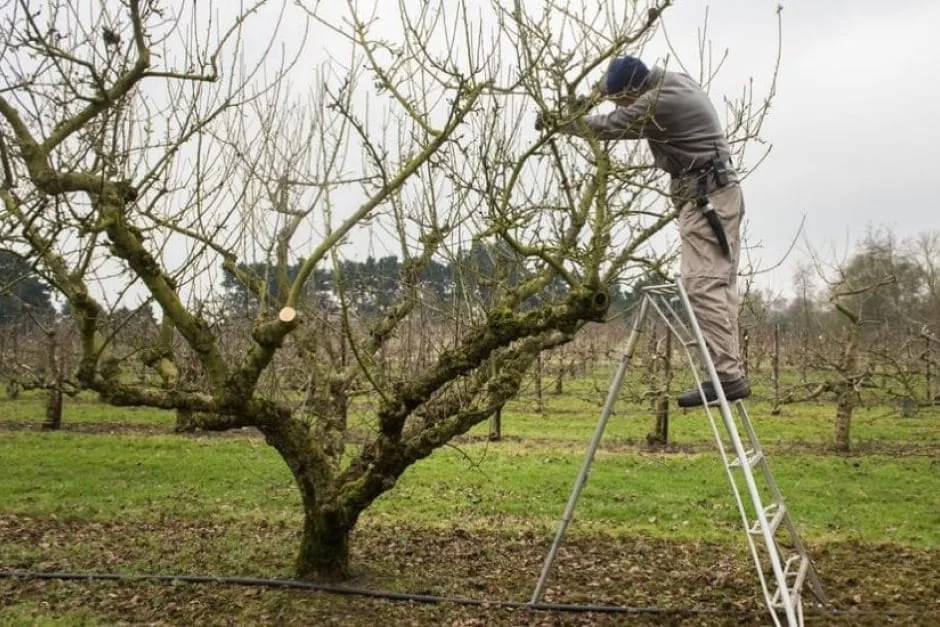
Sturdy ladder – consider investing in a tripod (Japanese-style) ladder, as it’s more stable. There are also versions with adjustable legs for use on sloping ground
Eye protection – to avoid injury from twiggy branches or sawdust
Gloves – to protect your hands and improve your grip
Make sure your pruning tools are sharp before you start – blunt blades lead to tatty cuts and make the work harder.
Regulated pruning step by step
Stand back and assess your tree’s shape and branch structure before you start work, looking for any overly long or poorly positioned branches, and any areas of overcrowding. Also note the size of the canopy – you should prune out no more than 10 to 20 per cent of it in any one year to avoid excess regrowth known as watershoots – see FAQs below.
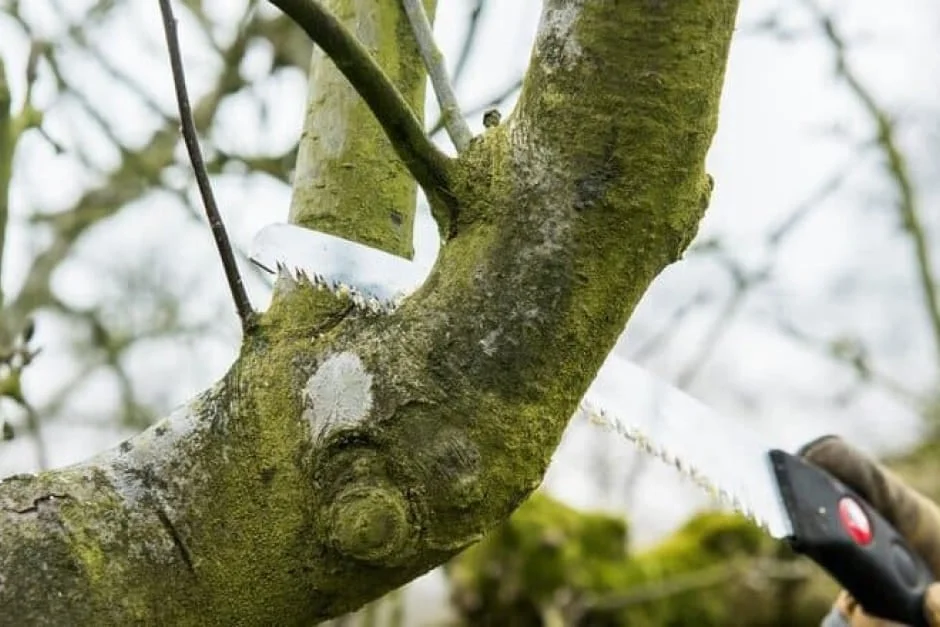
There is very little or no secateur work with this method – you’ll mostly be removing whole branches. Always be careful not to leave bare branch stubs – take out the selected branch entirely or prune to a branch that’s at least a third of the diameter of the one you’re removing. To ensure good healing of the pruning cuts, prune back to the branch collar – see our pruning guide for details.
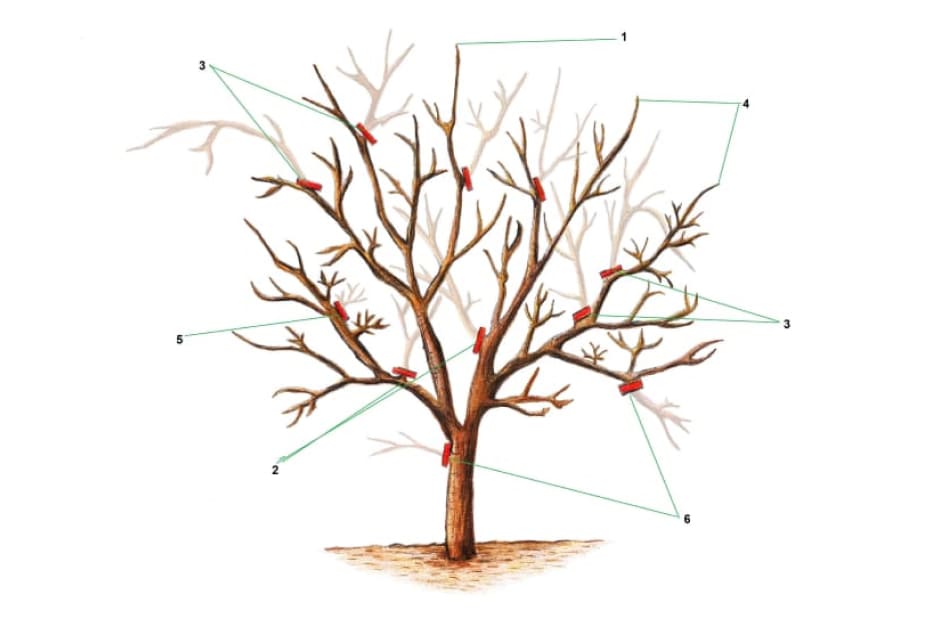
If there are any dead, damaged or diseased shoots or branches, remove these completely first. Then follow these six steps:
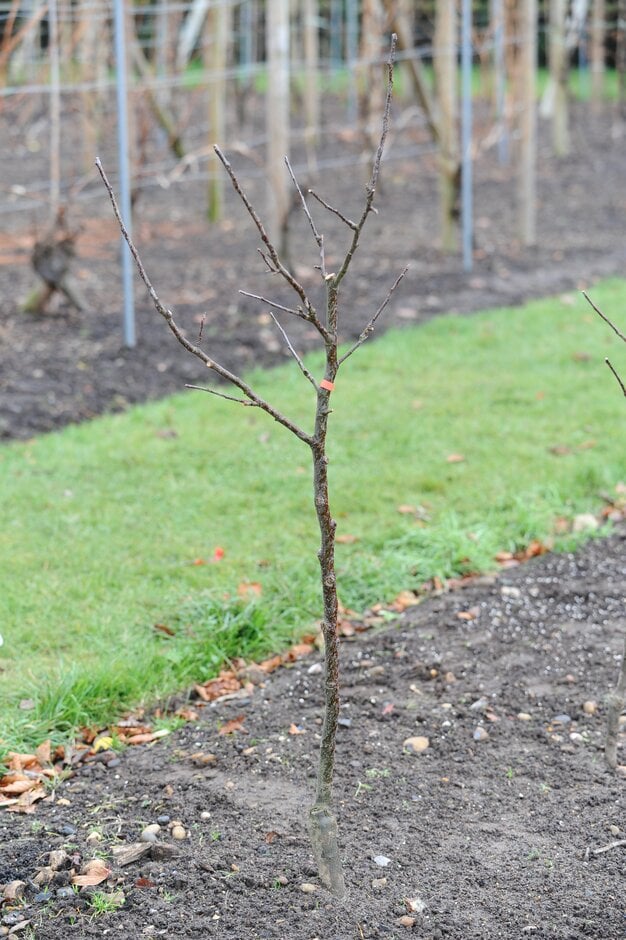
Leave all the new growth intact, rather than shortening it as you would with traditional winter pruning. If left unpruned, shoots will grow less vigorously and will often form fruit buds.
Prune out any strong shoots growing towards the centre of the crown to keep it open, but leave shorter, weaker shoots unpruned. These are likely to carry fruiting spurs. Keeping the centre open ensures better airflow, which discourages pests and diseases, and lets in more light to help ripen the fruit.
Look for branches that are too long and/or overcrowded – either remove them entirely or, better still, cut them back to a lower, wider-angled, outward-facing side branch. This side branch should be about one-third of the diameter of the one being removed.
When deciding which branches to remove, bear in mind that the tips of the main branches should be spaced at least 40–45cm (16–18in) apart. Take your time, observing from a distance and from all sides, evaluating which branches to keep and which to remove.
If the tree is a spur bearer, check for overcrowded spurs (clusters of stubby shoots that carry the fruit). Ideally, they should be spaced 10–15cm (4–6in) apart, so thin out where necessary using secateurs, removing weak or overcrowded spurs.
Look for any downward-growing shoots or branches positioned low on the tree that receive little light and could cause an obstruction. Cut these back to a more upward-growing side branch or back to the main trunk. Remove any shoots sprouting directly from the trunk.
If you need to start with renovation first before switching to regulated pruning see the video below.
How to renovate mature Apple and Pear trees
Frequently asked questions
Can I use regulated pruning on my overgrown apple tree? Neglected, overgrown trees usually need to be renovated over several years first. Once the renovation process is finished, regulated pruning will help to maintain the size, eliminating the need for further renovation.
My tree produces watershoots after regulated pruning – should I remove them all? Regulated pruning removes sections of the branch framework, so it’s normal for a tree to respond by producing a few strong, upright, unfruitful shoots known as watershoots. However, if you remove too much wood – more than 20 per cent of the canopy in one year – the tree is likely to produce an excessive amount of watershoots, so watch your pruning pile to avoid overpruning.
There’s no need to remove all the watershoots though, as some can be useful, but do thin them out, as follows.
In winter:
Assess whether any strong, well-placed watershoots on older bare branch sections could be used as replacement branches in the future. If so, shorten them by about a quarter, cutting above an outward-facing , to encourage branching
Leave some of the weaker (thinner and less upright/more outward-growing) watershoots unpruned if they’re not causing congestion of the crown. They may produce fruit buds and can develop into useful side branches
Remove entirely any remaining watershoots that are 23cm (9in) or more, taking care not to leave a stub
During the :
Prune out any new watershoots that appear, as soon as you spot them
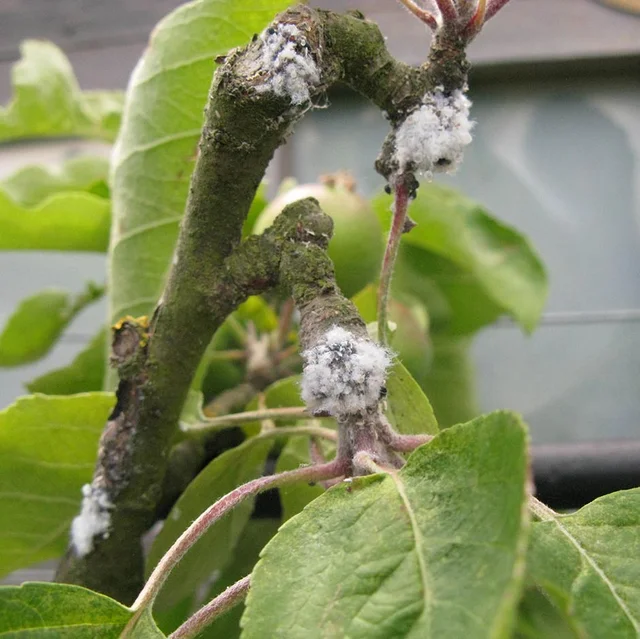
Problem solving
Apples suffer from a number pests, diseases and disorder.