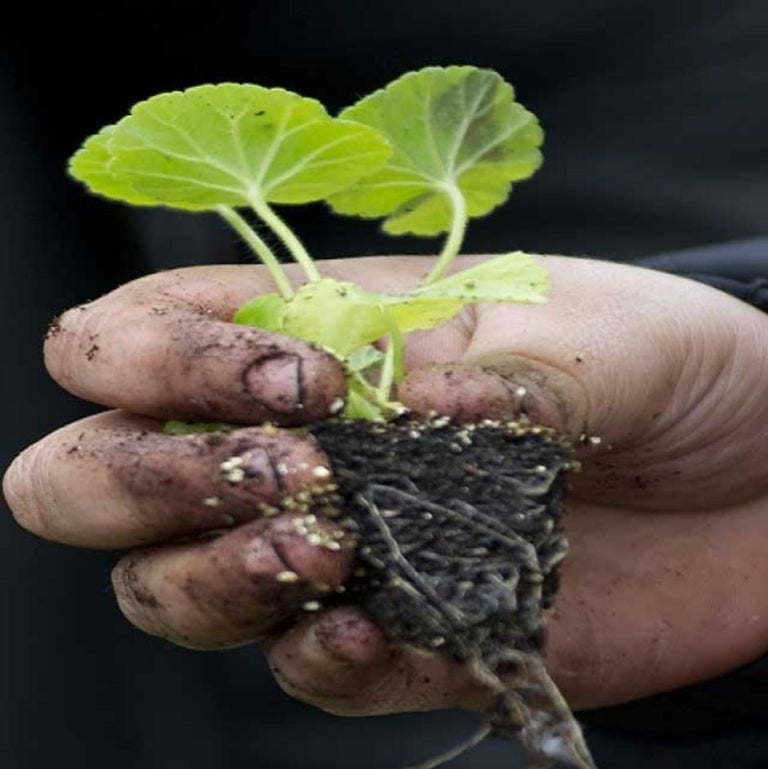
Growing crops with hydroponics
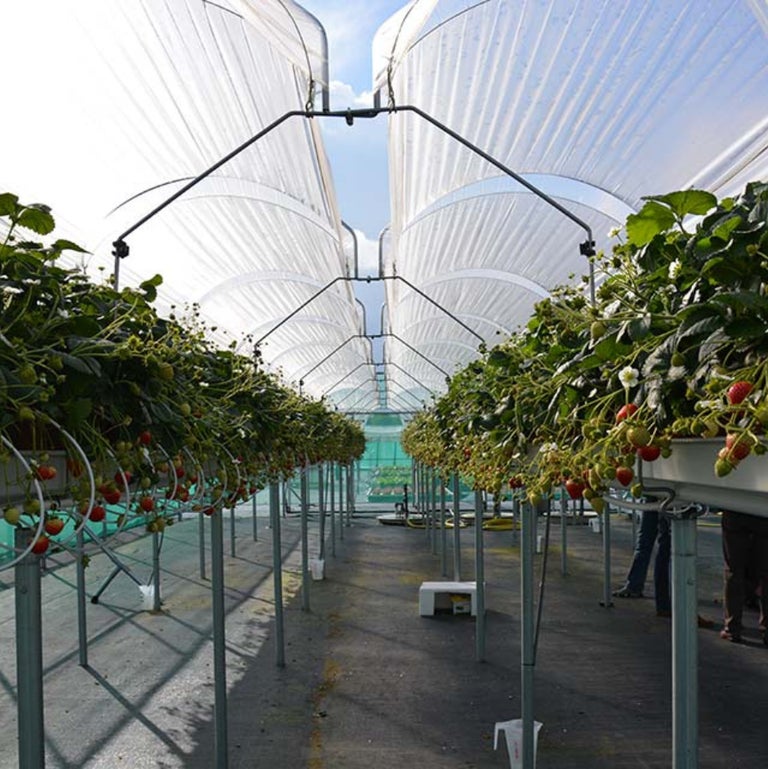
Learn how tender vegetables are produced commercially using hydroponics instead of conventional soil growing systems.

Learning objectives:
Understand how hardwood cuttings are used to propagate woody plants
Recognise the key structures like stems and buds
Practice using tools like secateurs to take cuttings
Science: Understanding plant growth, propagation, and life cycles
Design & Technology: Practical skills in using tools for cutting and planting
Mathematics: Measuring and cutting to appropriate lengths
PSHE: Developing responsibility through caring for living things

Wood | Cutting | Knife | Roots | Shoot | Pot | Soil | Growth
are a form of vegetative propagation and are an easy way of reproducing woody plants such as willow, dogwoods and soft fruits. This method is best from December-March when the plant is dormant and before the buds have opened. You will need and or coarse grit, tall plant pots, clean and sharp secateurs, and labels.

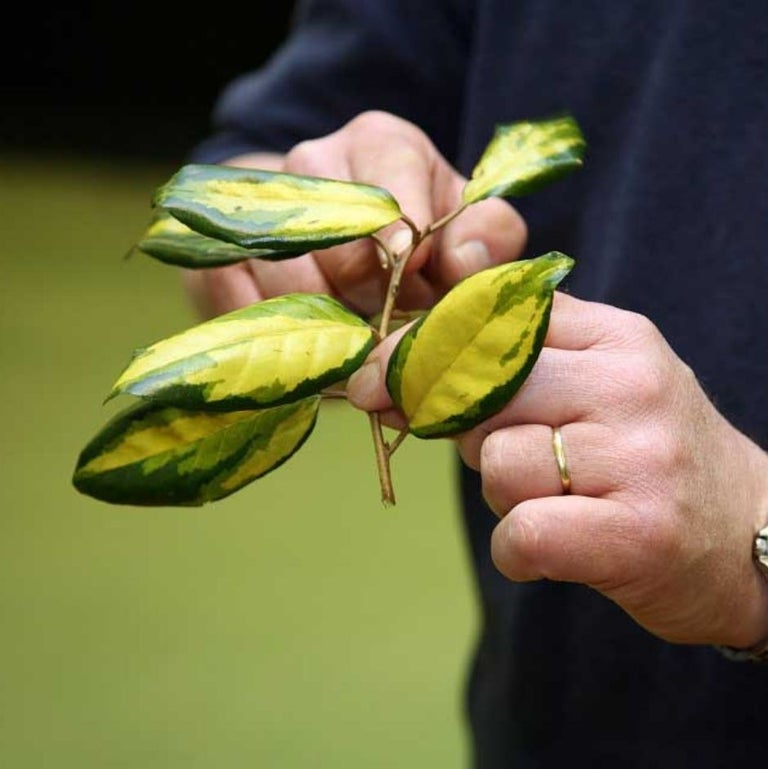
1. Select the plant material to take your . The stems should be around pencil thickness

2. Choose a stem and where it is pencil thick make a sloping cut above a . By doing this it shows which end is the top of the cutting and allows water to run off easily once in a pot

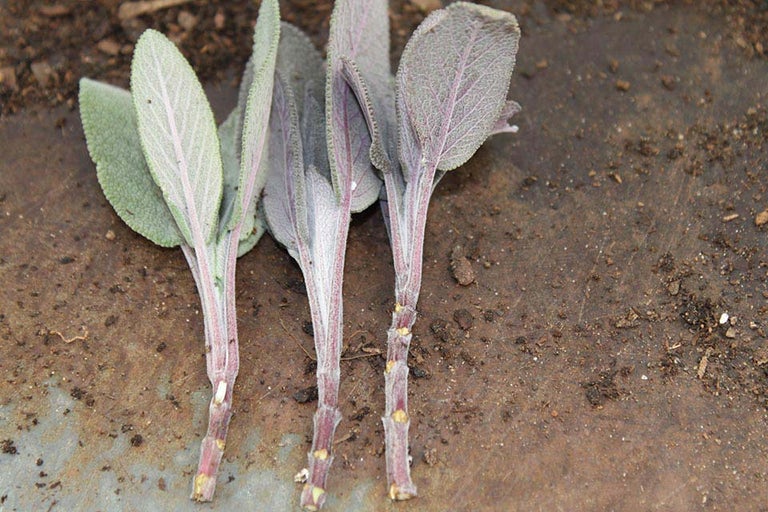
3. Count three to four buds down towards the base and make a straight cut across just below a bud. This is the bottom of the cutting

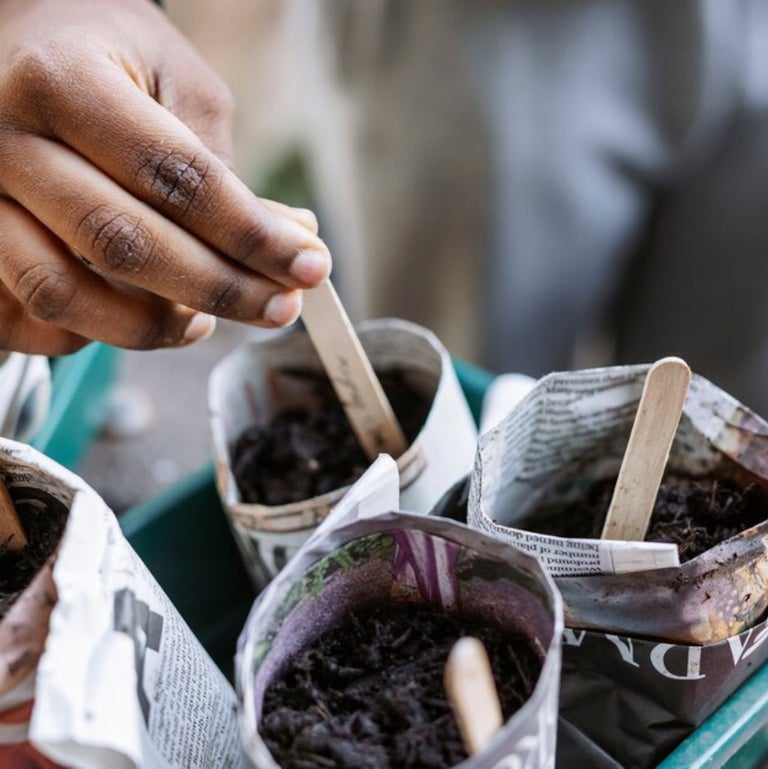
4. Mix the and and ensure you have written the plant name on the label

5. Fill the pot with compost, tapping the pot on your work surface to remove air pockets, and insert the cuttings until only one bud is showing above the surface. Allow five to six cuttings per pot

6. Water the cuttings and place them in a sheltered area, or polytunnel. Pot on the cuttings in separate pots once they have rooted