Growing crops with hydroponics
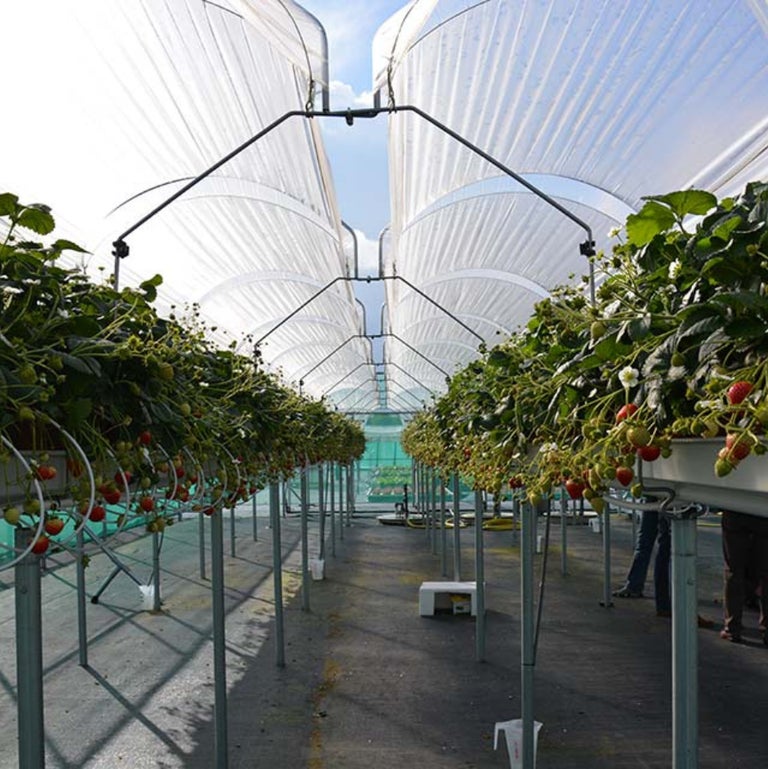
Learn how tender vegetables are produced commercially using hydroponics instead of conventional soil growing systems.

Learning objectives:
Learn how to propagate plants from cuttings
Develop skills in handling tools and preparing cuttings
Identify stems, nodes and leaves
Science: Understanding plant reproduction and growth
Design & Technology: Developing practical skills and working with tools
Mathematics: Measuring and estimating stem lengths
PSHE: Promoting patience and responsibility through plant care

Cutting | Stem | Leaves | Roots | Soil | Growth |
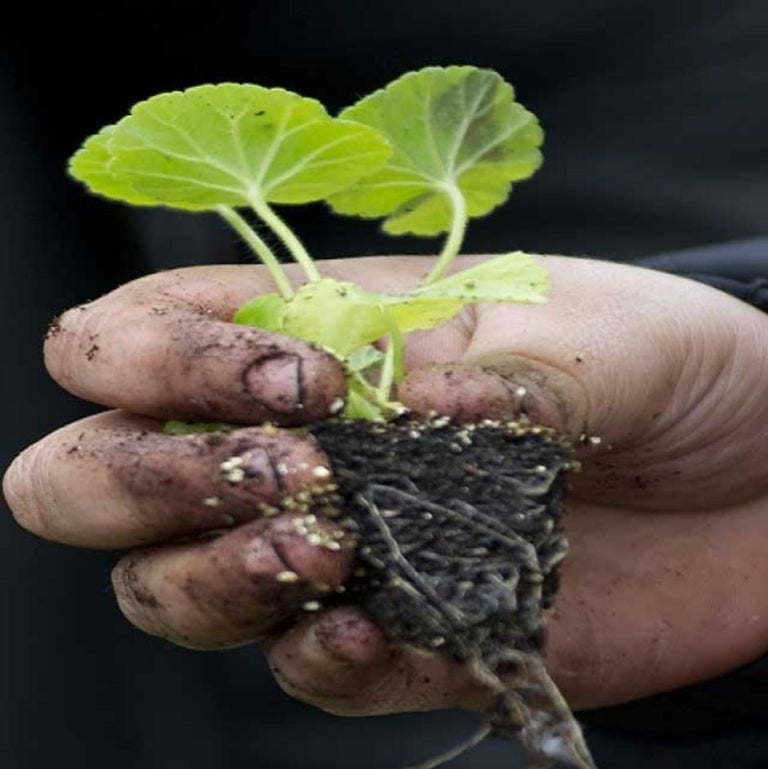
Taking is one of the easiest ways to create more plants. The best time to take softwood cuttings is in spring when growing tips are soft, flexible and actively growing. This means they will grow new roots easily.

1. Gather all the materials you will need to take the , including: module trays or pots, clean scissors, peat-free , a watering can and plant labels

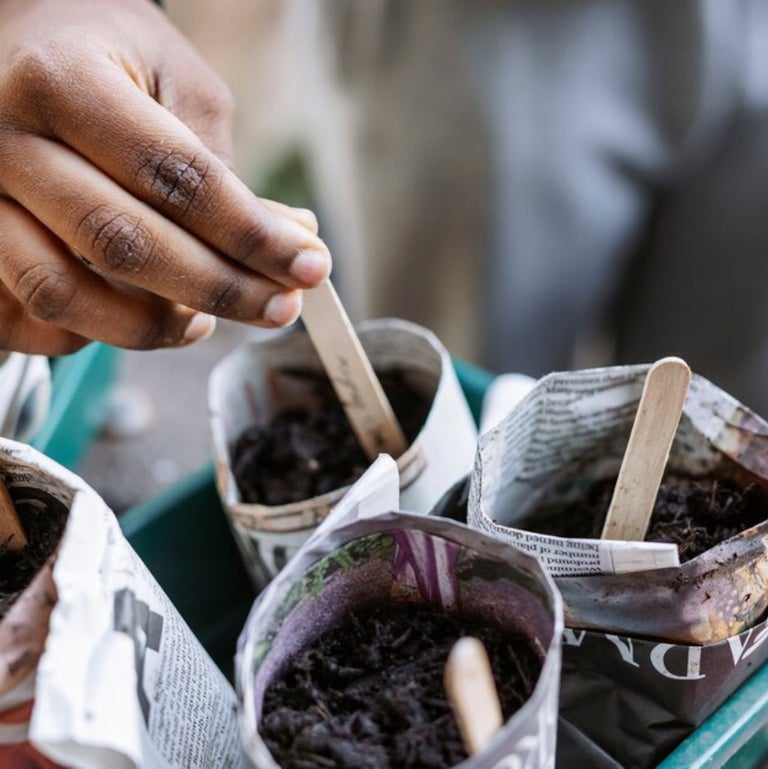
2. Fill the pots or module trays with peat-free compost

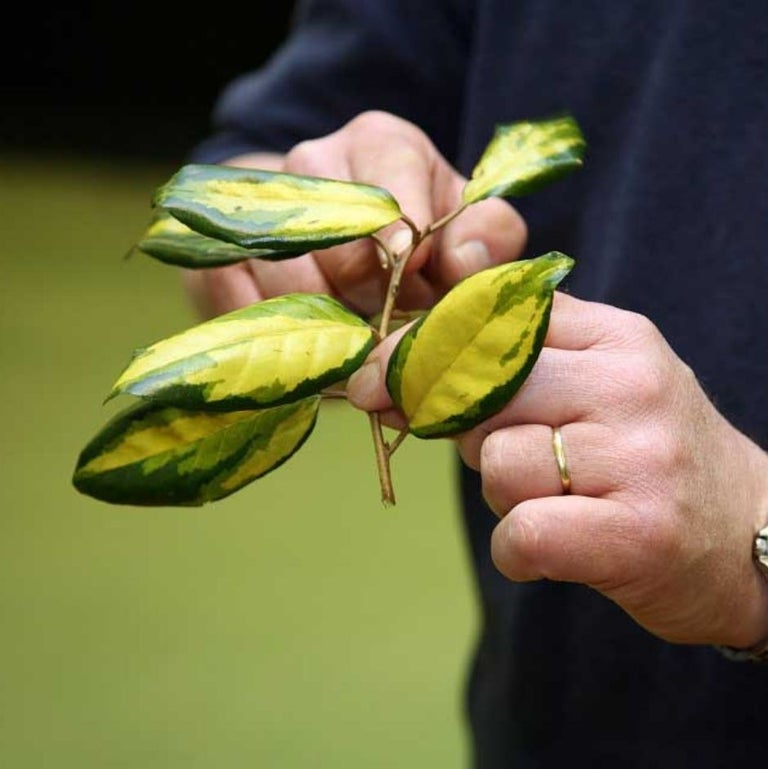
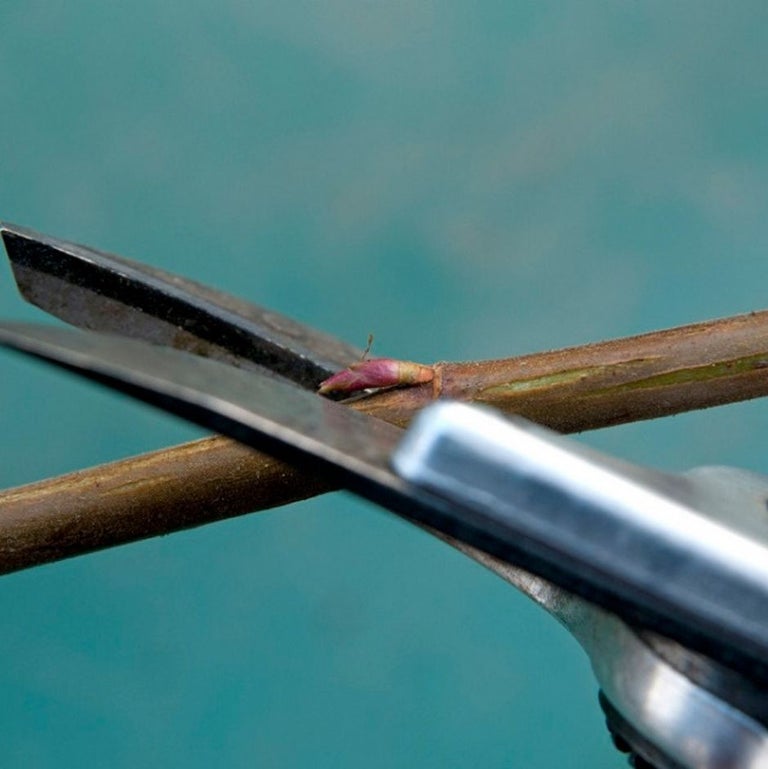
3. Take a 10-15cm cutting from a non-flowering growing tip on the plant. Make the cut just above a (a growing point)

4. Carefully remove the lower leaves

5. Look for a node on the stem. This is a growing point from where you removed the leaves and it’s from these nodes that your cutting will grow its new roots

6. Cut below a node with clean scissors so that the cutting is approximately 5-10cm in length

7. Prepare the cuttings so they are all around the same length

8. Make a hole in the compost using a or the end of a pencil

9. Insert the cuttings firmly, ensuring none of the leaves are below the surface of the compost or touching each other

10. Label each pot or module tray and water the compost thoroughly. Place the cuttings in a warm place and cover with a if possible for extra warmth and moisture