Printing with plants
Discover how to create cyanotype prints using natural materials and objects from your garden
Cyanotype is a camera-less photography technique that involves laying objects on paper coated with a solution of iron salts and exposing it to UV light. After around 10-15 minutes in the light, the paper is rinsed with water, revealing an inverted print in vivid white and blue.
Simple and creative, cyanotype printing is a fun activity for for both children and adults. Here, the Socially Engaged Photography Network shares a step-by-step guide to creating your own cyanotype print using natural material and objects found in your garden.
What will I need?
- Pre-coated cyanotype paper, sometimes called ‘sun print’ paper in craft stores
- Regular plain paper, for testing out your designs first
- Sheets of clear glass, perspex or clip photo frames for holding your print in place as it exposes
- Natural materials, plant
cuttings - Trays of clean water or access to running water for rinsing your prints
- A clear space to dry your prints or a washing line and pegs
If you are making your prints outdoors, you will need a clear or bright day. If not, you will need a UV lamp to expose your images.
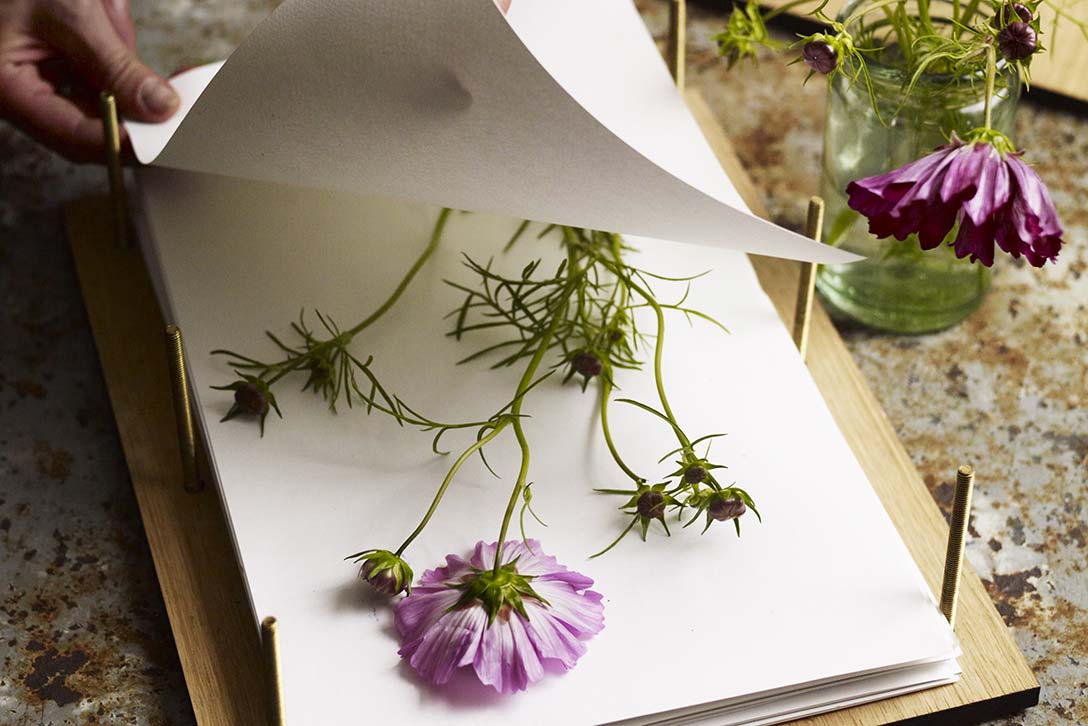
Step 1 – Arranging the print
Your cyanotype paper will be stored in a black bag to ensure it hasn’t been exposed to light before use. Once you’re ready, take one sheet out of your black bag and place it in direct sunlight or under a UV light. Arrange your objects on top of the paper in the design you’d like to print.
Step 2 – Exposing to sunlight
Step 3 – Experiencing colour change
Step 4 – Rinsing in water
Step 5 – Drying the print
If your prints have curled when drying, they can be placed under a heavy object, such as a book, to flatten them.
Created with Open Eye Gallery and the Socially Engaged Photography Network.