Quick Facts
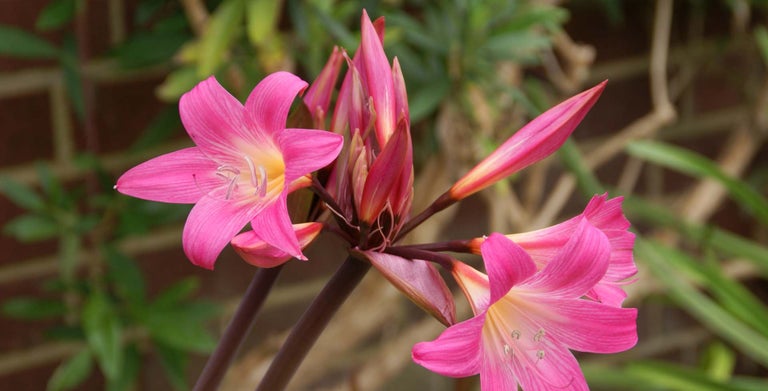
Showy blooms in shades of pink and white are held aloft on strong, bare stems
1
Amaryllis shouldn’t be confused with the indoor Hippeastrum
2
Flower from late summer through to early autumn
3
Drought tolerant, thriving in free-draining soils in full sun
4
Prefer to be left undisturbed after planting
5
Suitable for growing in containers
6
Commonly known as Jersey lilies
7
Make excellent cut flowers; pick just as the first bud opens
8


Before you get started
What are amaryllis?
Hardy, , bulbous perennials originating from South Africa and not to be confused with the indoor Hippeastrum grown around Christmas time commonly known as amaryllis.
Amarines are a group of bulbous perennials created from Amaryllis belladonna and Nerine bowdenii. Their flowers are more trumpet-shaped than nerines but much smaller than amaryllis.
Choosing amaryllis
There is only one species of amaryllis, with a handful of cultivars. Plants reach 50-100cm tall, with flowers in various shades of pink, pale purple or white.
A. belladonna itself is the most widely available and it holds an RHS Recommended: Award of Garden Merit. It has pink flowers in autumn on stems reaching 50-90cm in height.
Buying amaryllis
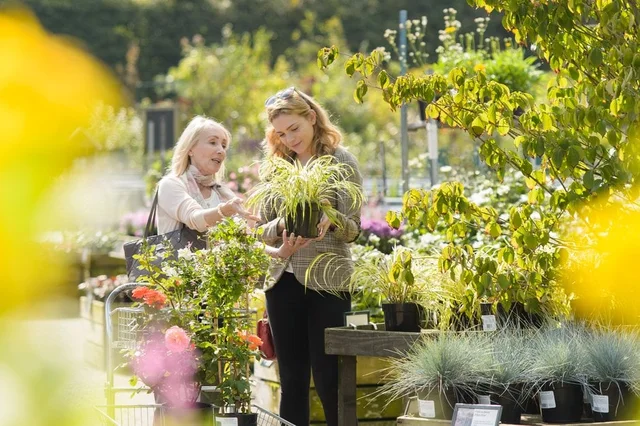
Available in garden centres as dry bulbs from late summer and as potted flowering plants in autumn. Bulbs are also available by mail order from bulb specialists in early spring and in autumn.
Best to buy as soon as they become available because bulbs can become desiccated if stored out of the soil for long periods. When buying bulbs, check they feel firm when gently squeezed and discard any that feel soft.
After purchase, store bulbs in a cool dry place and plant as soon as possible. If you cannot plant out immediately, pot into individual containers of free-draining, peat-free with the neck of the bulb just exposed. Place outside in a sheltered, sunny spot and check they don’t get too dry.
Use our Find a Plant to help search for plants and suppliers.
More in-depth information
If you are interested in specialist growing, the Nerine and Amaryllid Society offer tips on growing and morphology.
Planting
When to plant
Plant dormant in the early spring or late summer as soon as possible after they arrive. Plants bought growing in pots can be planted to the same level as they are in the pot in autumn, from August to October.
Where to plant
They perform best when baked in full sun and with shelter from harsh frosts, against a warm wall, in a raised bed or in a border where they can be left undisturbed. They grow well in moderately fertile, light (sandy), free-draining soil. Grow in containers if your soil is unsuitable.
How to plant
In borders
To plant dormant bulbs in the garden:
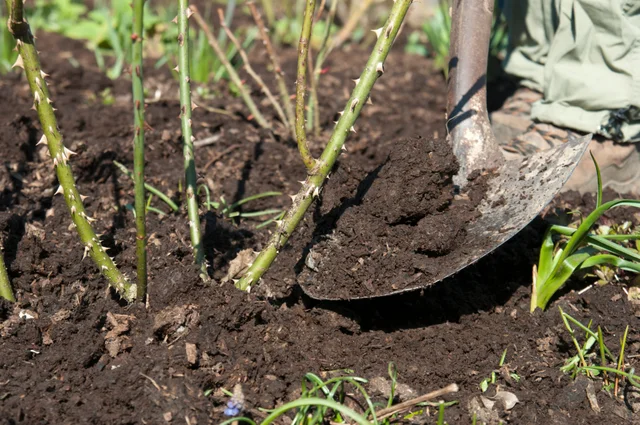
- If your soil is not already free draining, begin by improving the drainage of the planting area. Dig in bulky, well-rotted organic matter such as homemade garden
- Space bulbs 20-30cm apart
- Plant the bulbs into the soil so that the neck of the bulb is just exposed above the soil surface
- Water to moisten the soil after planting and encourage root growth
In containers
Bulbs can be grown in containers positioned in a sunny, sheltered spot. These bulbs can have very long stems so choose a heavy and/or wide container to prevent toppling.
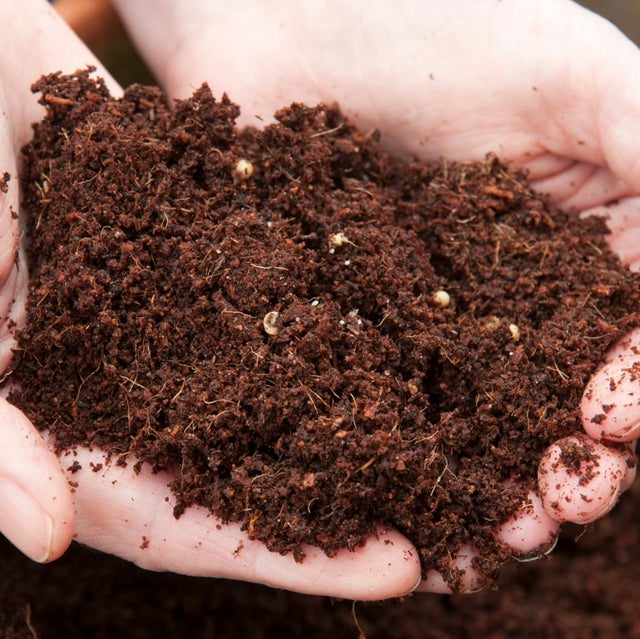
Use an open, free-draining growing medium made from equal parts of peat-free John Innes No 3, peat-free multipurpose and gritty sand. When planting several bulbs together, choose a container size large enough so the bulbs will be close but not touching, with good drainage holes in the base. Plant the bulbs in the compost with the neck of the bulbs just exposed and water in.
Ongoing care
in pots will need repotting when dormant in late spring or early summer every two to three years. They often don’t need a bigger pot, just a fresh mix to support good growth and flowering.
Watering
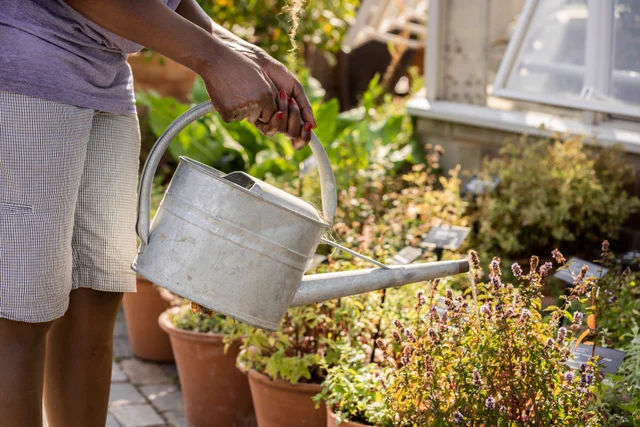
Even though these bulbs are drought tolerant, they will need watering when in active growth (late summer to winter) when the weather is very dry, especially when grown near a wall that prevents rain from reaching the soil.
Water containers regularly when in active growth, allowing the soil surface to dry out between waterings. Once the foliage starts to die off in early spring watering can be reduced.
Feeding
Feeding the bulbs can help them reach a good size and improve flowering. An application of homemade compost to borders is sufficient to keep plants healthy.
Containers may require a feed, start using a high-potassium liquid feed, such as tomato fertiliser, diluted to half strength (i.e. half what it says on the label for bulbs or containers) to stimulate flower production in the run-up to flowering in late summer. Continue feeding until the foliage begins to turn yellow and die back in early spring.
Deadheading
Unless you wish to collect seed, cut off spent flowers at the base of the flower stalk. This will prevent the plant wasting energy on making seeds and instead it will put its energy back into the bulb for next year's display.
Overwintering
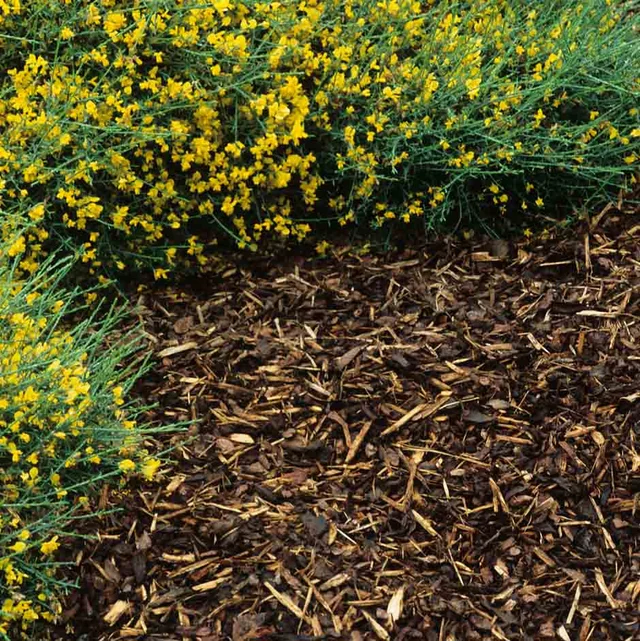
In harsh winters they will require protection by applying a dry around the plants or even covering with if not grown in a very sheltered spot.
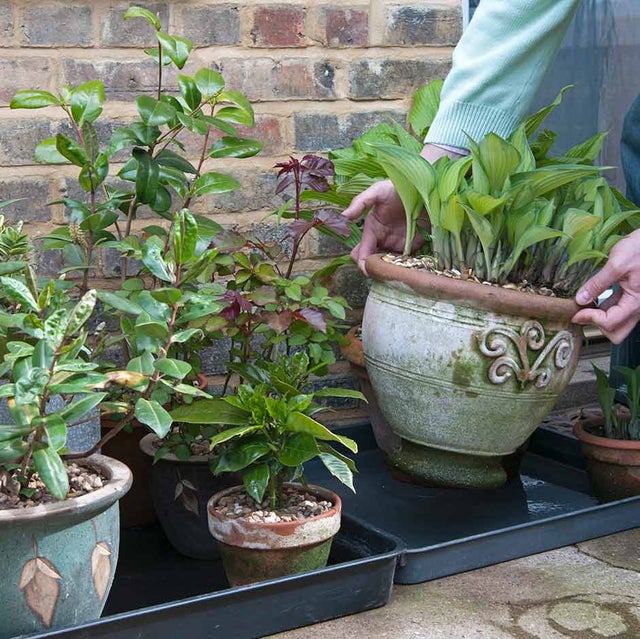
Container-grown plants can be moved to a more sheltered position or into a cool, frost-free greenhouse in severe winters.
Top Tip
Leave bulbs undisturbed in the ground for the best flowering. Only split and divide when clumps become congested and flowering declines (see Propagation below).
Pruning and training
No special pruning requirements. Cut off the spent flower spike close to the base, unless you wish to collect seed, and pull away leaves after they have died back.
Propagating
You can increase the number of Amaryllis you grow by dividing offsets or by sowing seed. Learn more about these techniques in our propagating bulbs page.
Division
This is the easiest way to propagate Amaryllis as they naturally produce offsets (baby next to the parent bulb); these will be identical to the parent. Offsets can be separated from the parent bulb by lifting and dividing congested clumps when dormant.
To avoid too much disturbance, you can scrape away the soil around the parent bulb to expose the offsets and pull these away from the main bulbs with as many roots attached as possible.
These offsets can be potted up into gritty, peat-free and will reach flowering maturity sooner than seed-grown plants (2-3 years).
By seed
This can be a fun way to propagate Amaryllis, but it can take quite a few years (typically 3-5 years) for the plants to reach flowering maturity, and seed collected from varieties may produce plants that differ from the parents. Sow seed in late autumn when ripe or in spring.
Year 1: Seed sowing and
- Fill shallow seed trays with gritty, peat-free and water to moisten
- Sow seed and cover with a light dusting of compost
- Label if you're growing multiple varieties (they may differ from the parents)
- Place outdoors in a ; germination can take 4-6 weeks
- Once shoots appear, move to a sunny, sheltered spot in the garden to grow on
Year 2: Bulb growth
- Encourage good growth by keeping the compost just moist
- Repot annually into slightly larger pots with free-draining compost
- Feed during spring and summer (high potash for bulb development)
Years 3-5: Maturity and flowering
- Continue annual repotting and feeding
- Allow a short rest period each year (8–10 weeks cool and dry) once bulbs have reached the point where they have at least three or four strong leaves
- Flowering usually begins when bulbs reach 5–8 cm diameter
Key Tips
Patience is essential – seed-grown Amaryllis rarely bloom before year 3.
Avoid overwatering – rot risk is high in young bulbs.
Problems
These plants are generally disease free given the correct growing conditions but may be susceptible to:
- Narcissus bulb fly
- Slugs and snails
- Aphids
- Mealy bug and Glasshouse red spider mite may be troublesome on plants grown in containers under cover.
If you are a member of the RHS, you can use our online Gardening Advice Service, via MyRHS, for any gardening problems or queries.