
Plums: growing and training as cordons
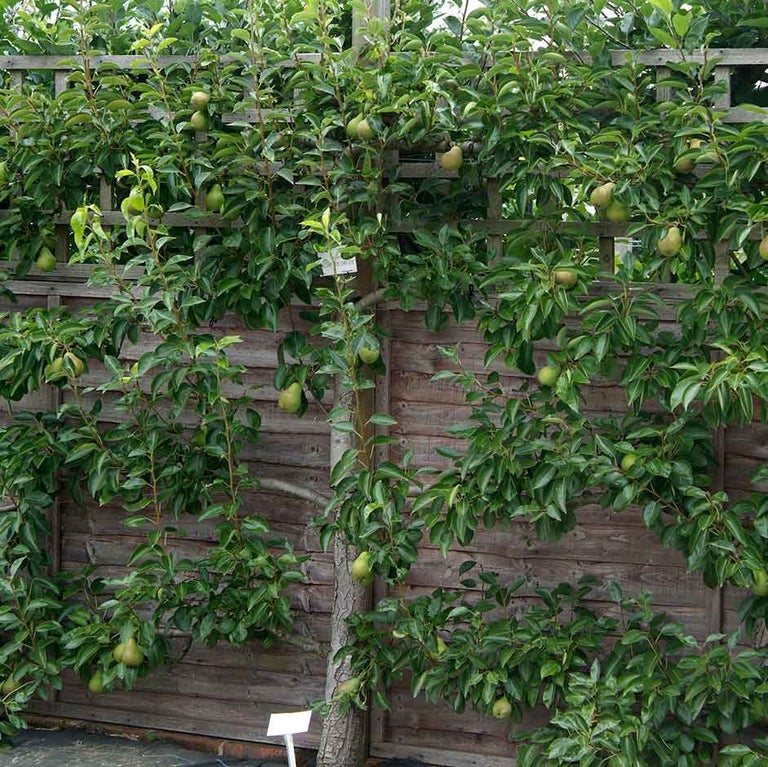
Cordons are a practical way to enjoy heavy crops of plums, in a compact form. Grown against walls or used to create ‘rooms’, cordons can be an attractive design feature within the garden.
Low-growing and compact, from only 45cm (18in) tall
Annual pruning is essential to maintain the shape
Can be trained from scratch or bought pre-trained
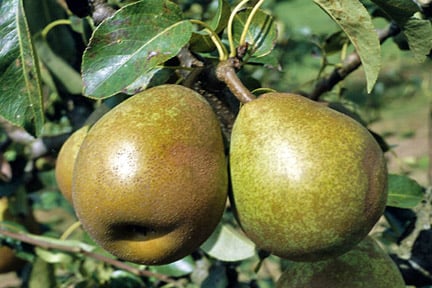
Choose a spur-bearing cultivar grafted onto a very dwarfing rootstock
Unless growing a self-fertile cultivar, a pollinating partner tree is needed

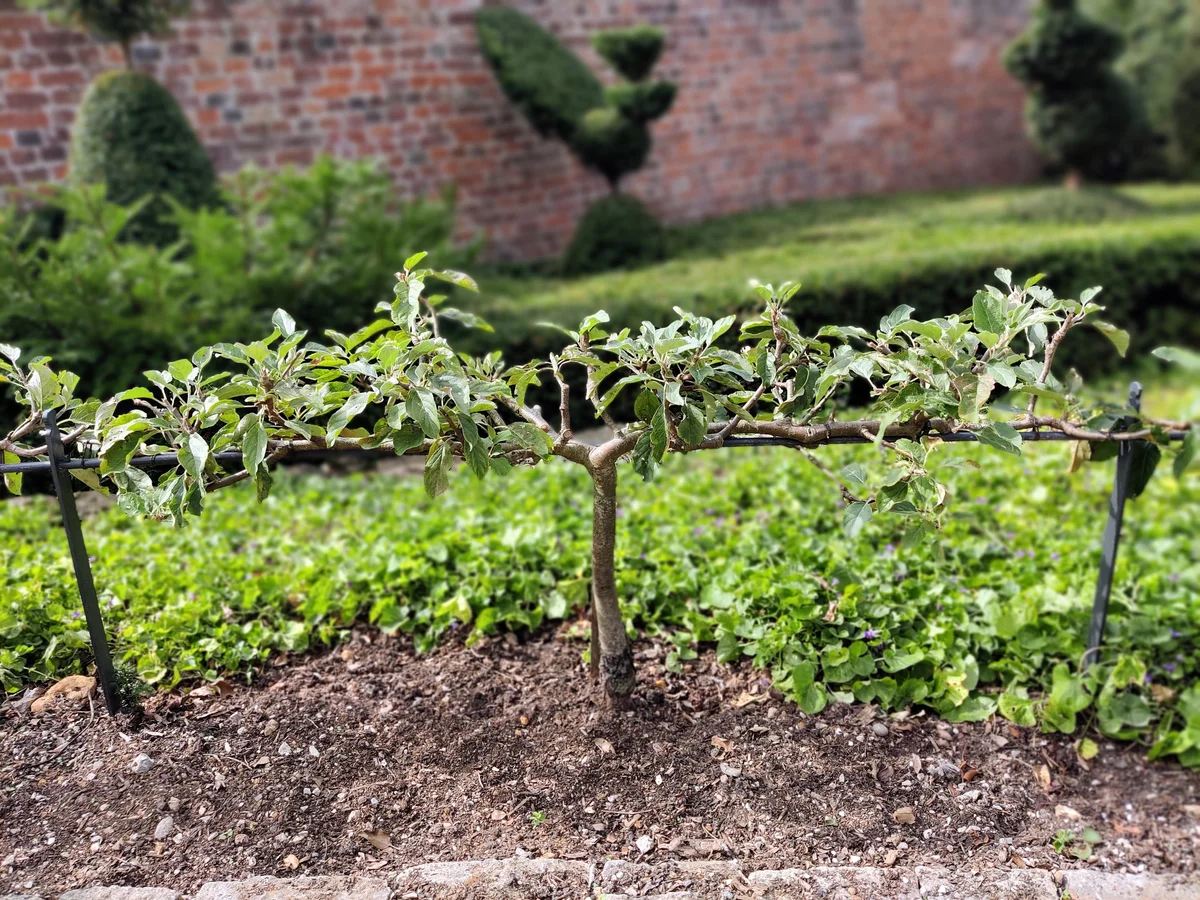
A stepover is a tree with a short vertical trunk, usually topped with a pair of branches (or arms) trained horizontally on either side to form a T-shape. They can also just have one arm. Typically the trunk is 45–60cm (18–24in) tall. The arms of a T-shaped (two-arm) stepover can span up to 3–3.5 (10–11½) in total. If training a stepover with one arm, the arm will typically extend 1.5–1.8m (58–6ft). Fruit is produced on short side-shoots along the horizontal branches. Several trees are often grown in a row, to line a path or edge a bed.
Stepovers make very attractive, space-saving features and are perfect for small gardens, but they do need pruning every year in late summer, to retain their shape and ensure good fruiting.
Stepovers are created in two main ways:
You can buy pre-trained or partly trained stepovers or train them yourself from scratch.
Apple and pear trees are sold as grafted plants, comprising a rootstock (which controls the plant’s size) and a cultivar (which forms the upper part). To make a successful stepover, it’s important to buy a tree that combines a suitable rootstock and .
For such a compact trained form, the tree must have a very dwarfing rootstock:
To ensure the stepover fruits well and is easy to keep in shape, it’s important to choose the right type of cultivar for the upper part of the tree:
Unless the cultivar you choose is self-fertile or partly self-fertile, you’ll need another compatible cultivar (from the same group) in your own or a neighbour’s garden to ensure a good crop – see our guide to fruit pollination for more details.
Depending on how much training you want to do, you can buy partly or fully trained stepovers or you can start with a one-year-old tree (known as a ) and train it entirely from scratch. Both trained and untrained trees are mainly available from online suppliers.
Pre-trained stepovers are generally either single-tier espaliers with a short central trunk and two horizontal branches (arms), or modified cordons with short trunk and one horizontal arm.
These are the more expensive option, but their shape is usually fully formed. You just need to train the new growth on the ends of the horizontal arms until they reach the desired length. Start regular summer pruning of the side-shoots straight away, as for an established espalier.
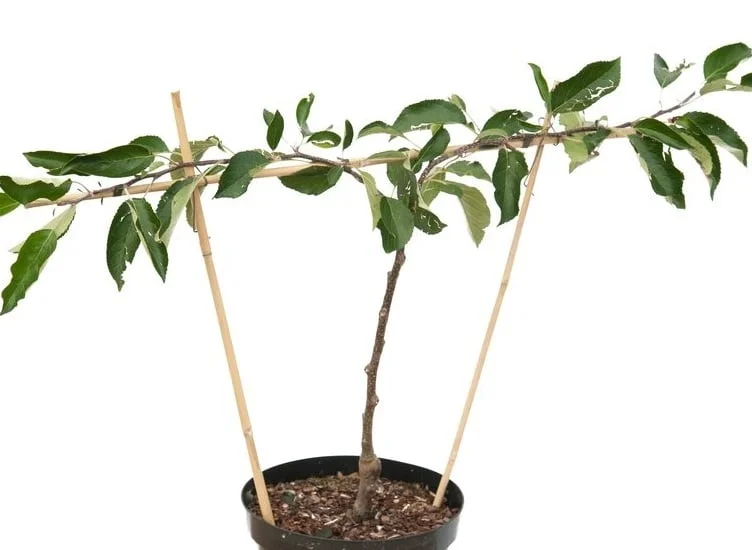
Partly trained stepovers are generally supplied as Y-shaped trees with two strong shoots. These need to be gradually lowered in opposite directions until horizontal, in the way described for training a stepover from scratch, below. They are usually cheaper than fully trained trees, but bending the shoots may be difficult.
Untrained trees give you the opportunity to train your own stepover – buy a one-year-old tree, known as a maiden, which is single-stemmed, with or without side-shoots (feathered or unfeathered maiden). If you want to train it using the modified method (see below), it’s essential to buy a very young, pliable tree. Maidens are usually cheaper than pre-trained trees and you’ll have a wider choice of cultivars, but you must choose your tree carefully, selecting a suitable rootstock and cultivar (see above) for this compact style, and it will take at least a year to train the basic shape.
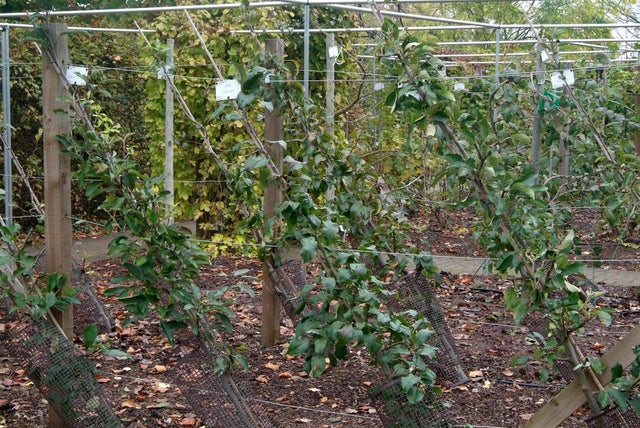
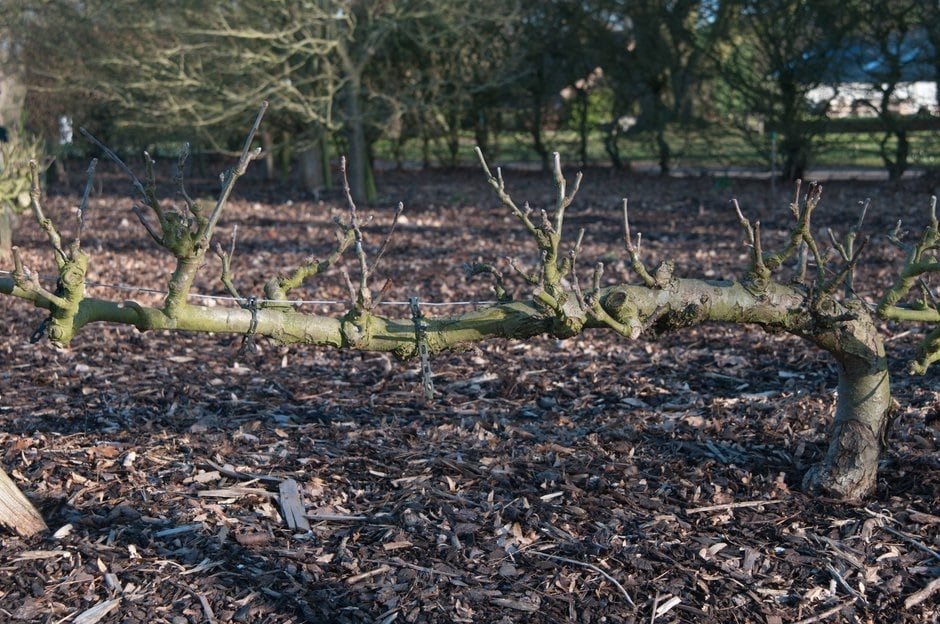
Stepovers need permanent support. Insert robust vertical posts, spacing them 1.5–3m (5–10ft) apart, depending on how many stepovers you are growing and how long you want the arms to grow. The posts should be slightly taller than the stepover height.
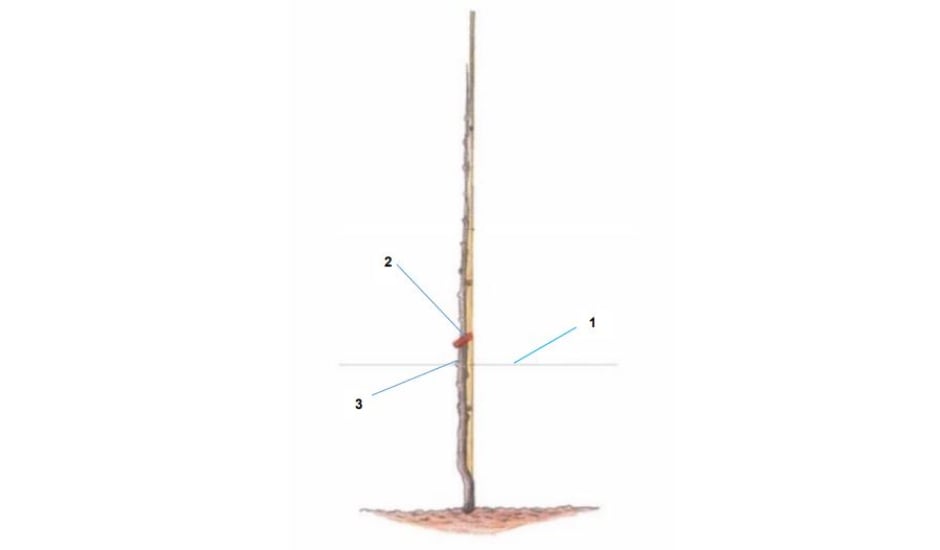
Fix a galvanised wire (2.5mm, gauge 12) horizontally between the posts, making sure it stays taut, to support the arms of your stepover. With a pre-trained stepover, it’s best to wait until after planting to put the wire in place, so you can position it at the correct height. Don’t simply plant your deeper to suit the wire. Trees should be planted with the first roots just below the soil surface, and with the graft point (usually a bulge on the stem) well above it.
Stepovers, whether trained or untrained, are easy to plant, in exactly the same way as free-standing trees. See our step-by-step guide to planting a tree.
Stepovers can be trained in two different ways, both starting with a one-year-old tree, known as a . It can either have side-shoots (a feathered maiden) or not (an unfeathered maiden).
This method is almost identical to training a new espalier from scratch, but quicker as only one horizontal tier is required.
For this method, the young maiden tree must be very pliable, so it’s able to withstand being gradually bent over to horizontal.
Established stepovers require regular pruning every year in late summer to retain the shape and ensure good fruiting. The annual maintenance summer pruning of the current season’s growth is the same for two-arm stepovers (single tier ) and one arm stepovers (horizontal ). They are pruned as for established espaliers or oblique cordons .
My stepover is becoming very bushy on the bent part of the stem close to the upright trunk. What can I do?
The side-shoots in that area have a tendency to be more vigorous due to a higher concentration of growth hormones ( ). Thin out these side-shoots in winter, removing the most vigorous ones entirely.
How can I train a partial tip-bearers as a stepover?
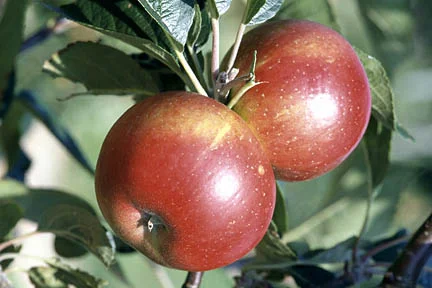
Although it’s best to use spur-bearing cultivars, it is also possible to train partial tip-bearers as stepovers. Some, such as ‘Discovery’ and ‘Charles Ross’, are easily maintained, but others, such as ‘Worcester Pearmain’ and ‘Bramley’s Seedling’, can potentially be difficult to manage. The key difference when summer pruning is to leave several shorter new side-shoots that are about 20cm (8in) or less unpruned every year. These shorter side-shoots are likely to have developed a fruit at the tip.
I missed the summer pruning, what should I do?
It’s better to prune in winter than not at all, to prevent the fruiting spurs growing too long. So once the tree is dormant, prune back last year’s shoots coming from the horizontal branches to 5–7.5cm (2–3in) long, cutting just above a bud. Also shorten shoots from the existing spurs to 2.5–5cm (1–2in) long. Then resume annual summer pruning.
Why do I get significant re-growth after summer pruning?
There are two potential reasons:
My stepover has grown outwards from its support and is now taking up too much space. What can I do?
Over time, the side-shoots from the horizontal branches can become too long. Try gradual renovation:
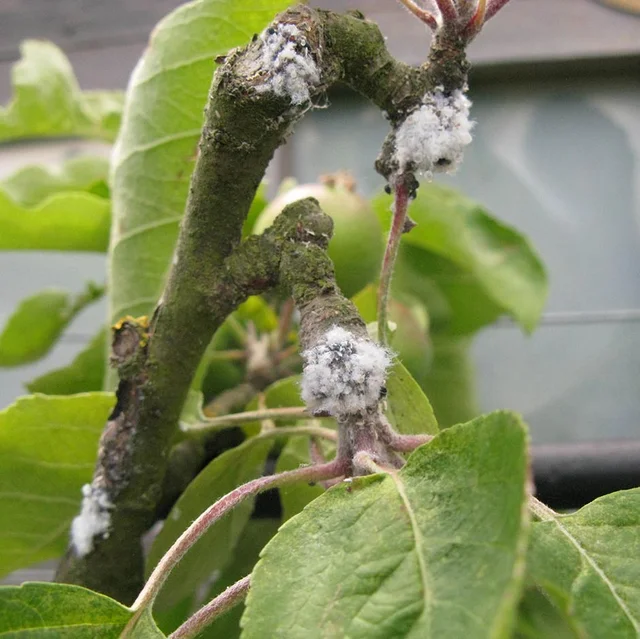
When pruning, you may notice signs of apple canker on the stems – affected growth should be cut out where possible. Late frosts can damage the blossom and youg developping fruit which may affect fruit production.
Be aware of biennial bearing, when a tree crops unevenly, producing a bumper crop one year, followed a poor crop the next. Fruit thinning will help to get regular crops.