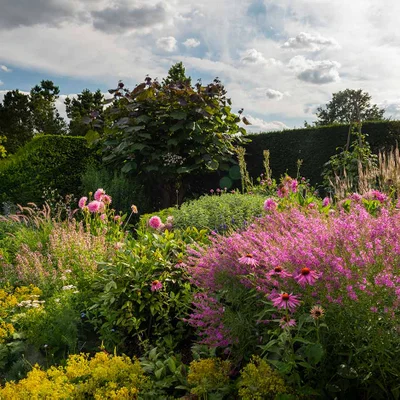
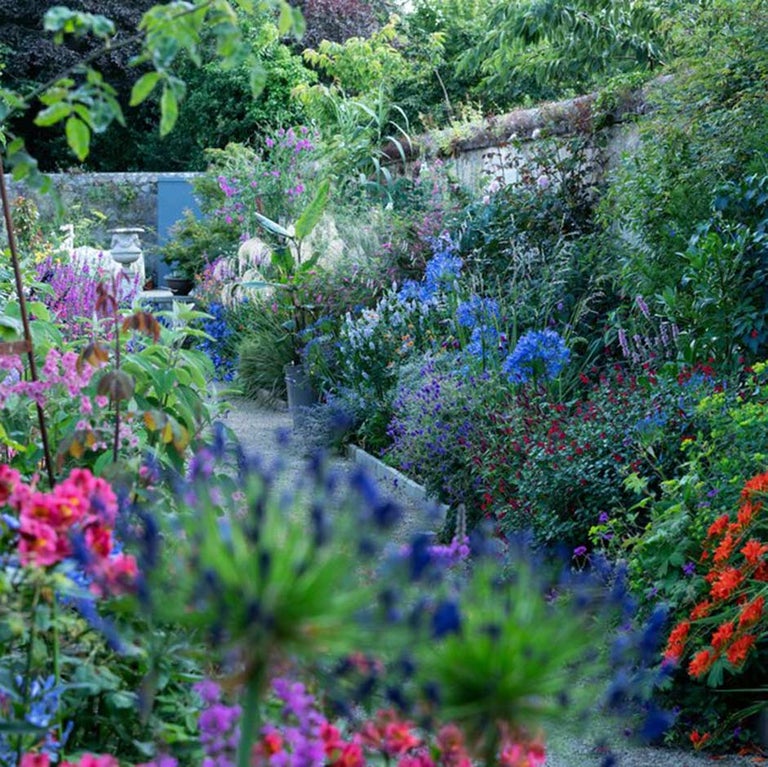
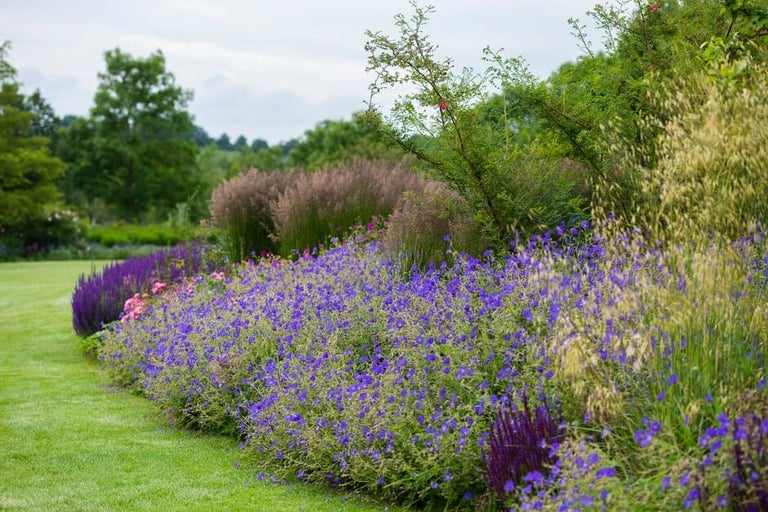
Whether a thin strip of soil or a large curve around a garden’s perimeter – adding a border to your garden can provide structure, colour, scent and year-round interest.
By The RHS Advice Team
Quick facts
Borders are often created along a garden boundary, but it’s the same process to create beds of various shapes, sizes and positions within a garden.
1
Creating a border can be quite an investment of time and money, so planning and preparation are important to ensure your border is a success.
2
A border can be created at any time of year, but it makes most sense to do it over winter or in late summer, ready for planting in spring or autumn.
To ensure your border looks good and grows well, it’s wise to do some planning before starting work. Think about the size, shape and style you want, as well as which plants will grow well in your garden conditions. See our handy step-by-step guide to planning a border for advice on the practical and creative factors to consider before you begin working on your border.
Bear in mind that planting is best done in autumn or spring, so try to time your project accordingly. Ground preparation and planting can be done in winter, providing the soil isn’t frozen or . Containerised plants can be planted in summer, but this is best avoided, as they will need a lot of extra watering to get them established.
Tools you need to create a border:
Garden hose, rope or string line for marking out the border edge
Half-moon turf cutter or flat-backed spade for cutting edges
Border fork and spade for turning over the soil
Spade, pitch-fork or shovel for applying organic matter
Wheelbarrow to transport organic matter and plants (optional)
A selection of plants
Watering can or hosepipe
Top Tip
A newly cleared or created border presents the perfect opportunity to improve the soil. Digging helps ease compaction and introduces air for healthy root growth. Adding organic matter improves soil structure and drainage and boosts fertility, as well as supporting a rich diversity of soil-living creatures and fungi.
How to create a border in eight simple steps
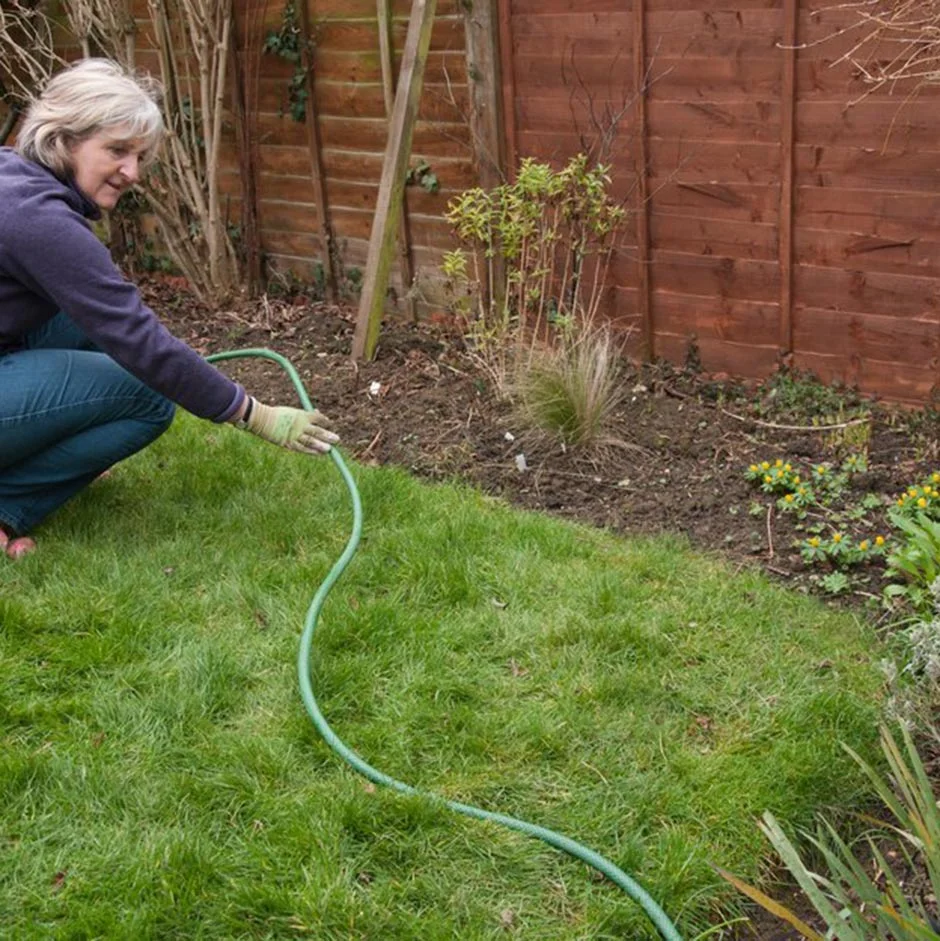
1. Position and mark out your border
Decide where in the garden you want your border and mark out its shape. Consider where the border will be viewed from and any eyesores you want to hide.
For a curved edge, use a garden hose; for a straight edge, use a string line. If creating a border in an existing lawn, see our step-by-step guide to creating a lawn edge for information on marking out, cutting edges and lifting turf. Make sure the shape suits your garden and is large enough to accommodate the type and amount of plants you wish to grow.
Mark out your new border using a hose to create the shape
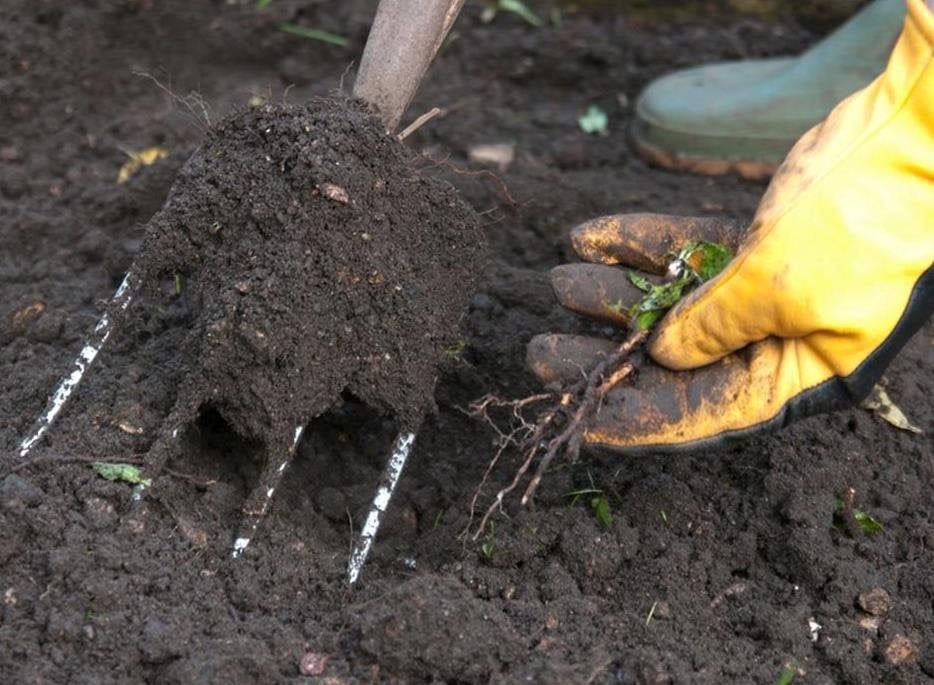
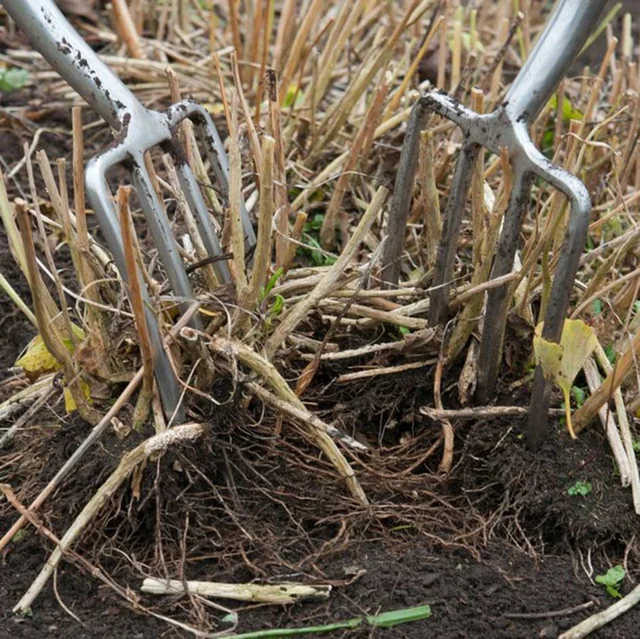
2. Begin preparing the ground
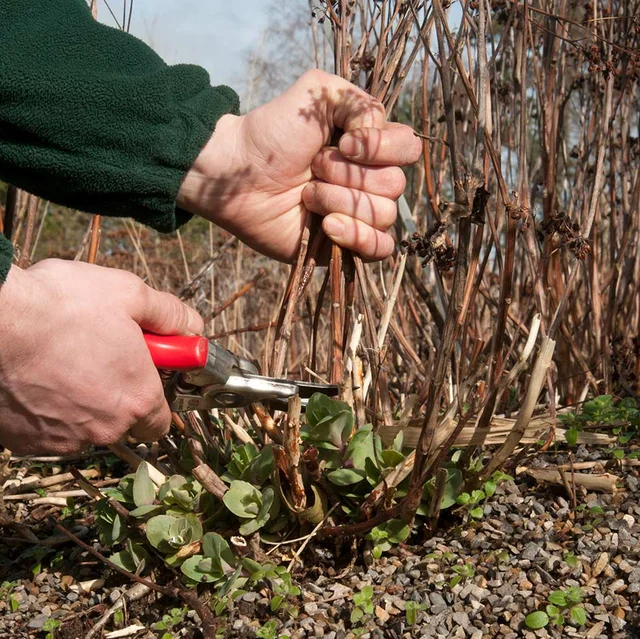
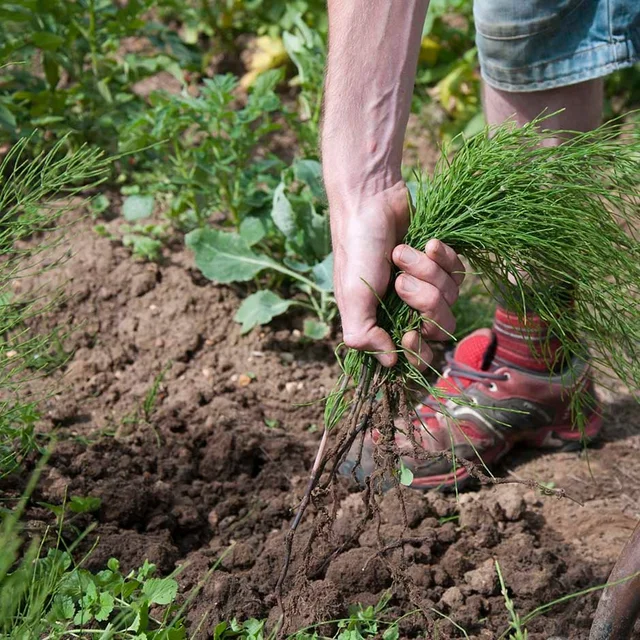
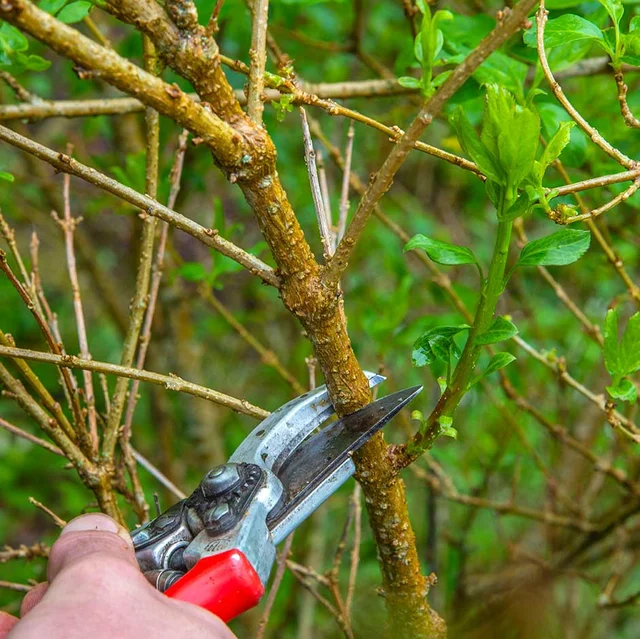
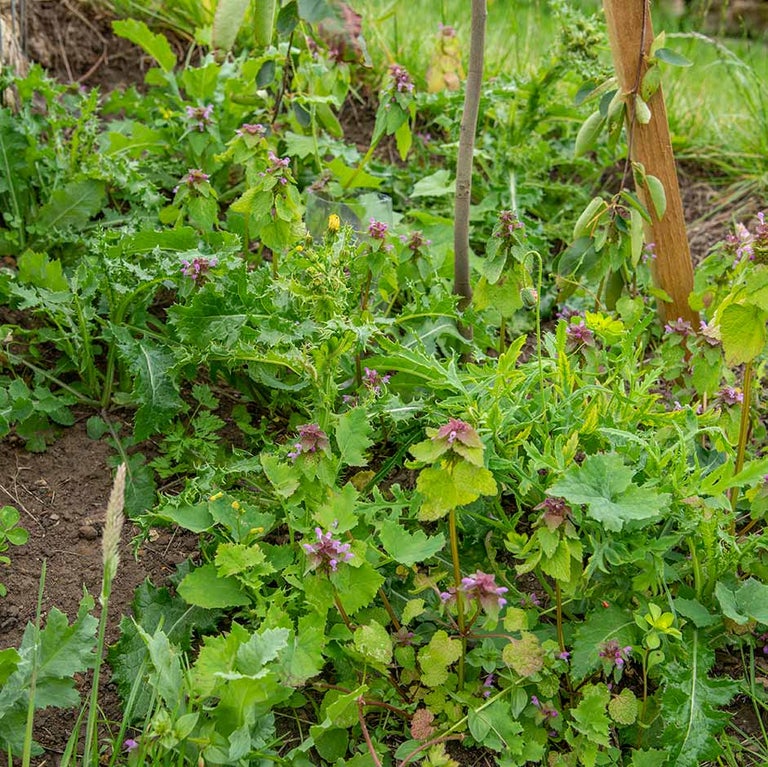
Whether you are reworking an existing border or have cleared a previously unplanted area of your garden, it’s important to prepare the ground thoroughly ahead of planting. Soil that isn’t compacted needn’t be dug over. See our guide to soil cultivation for more information. Remove any old roots, large stones and debris that you unearth and work the soil until it has a crumbly texture.
Remove any perennial weeds, stones and debris
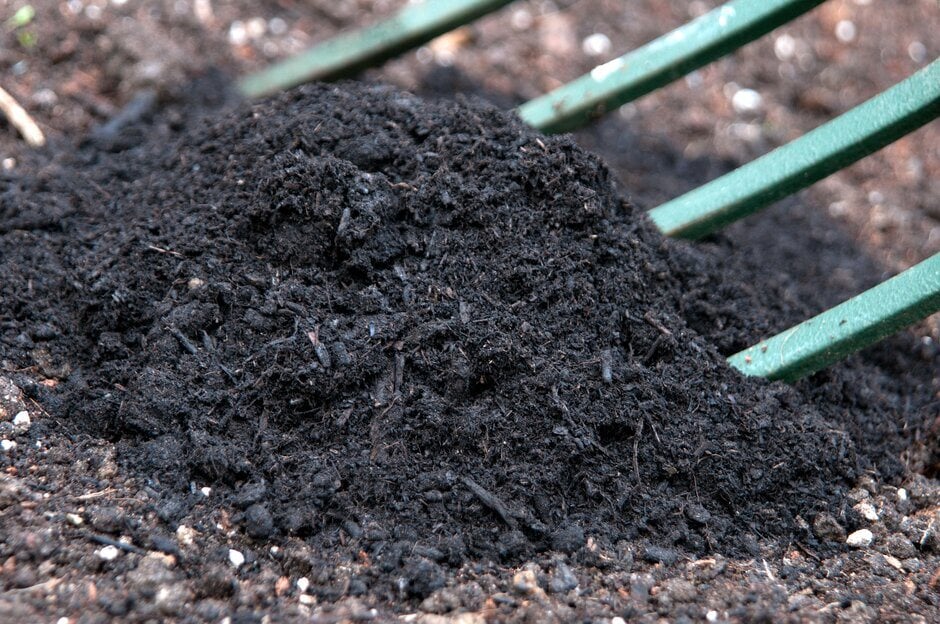
3. Improve your soil
With a spade, pitch-fork or shovel, add organic matter, such as well-rotted garden compost or farmyard manure, to the surface of the soil. Add a layer at least 5cm (2in) deep, but aim for 10cm (4in) if you have sandy or heavy clay soil. Use your fork to turn it into the soil and mix evenly.
Add organic matter such as garden compost to improve the soil
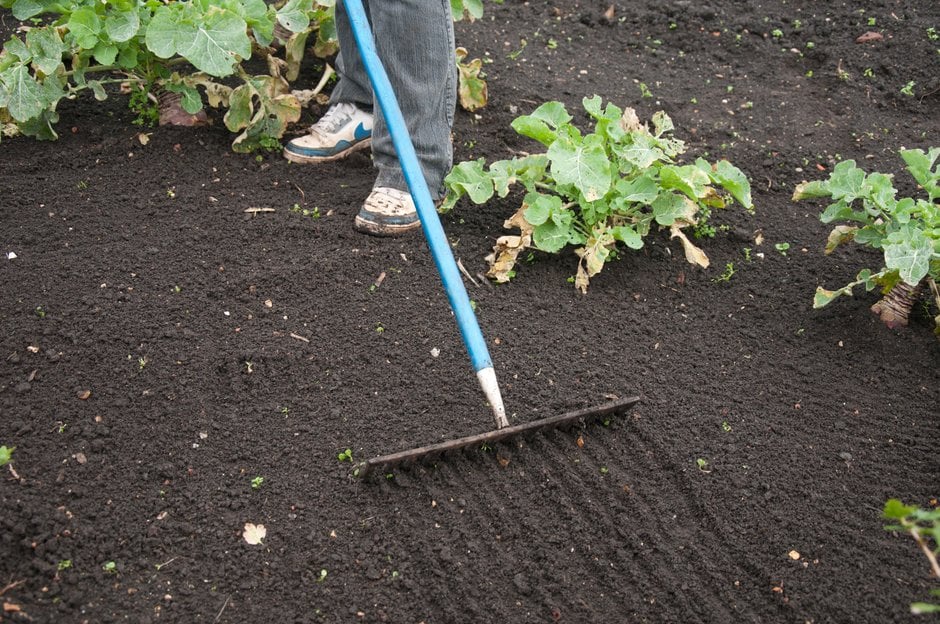
4. Prepare soil for planting
Using a rake, remove any remaining stones, roots or pieces of debris that have worked their way up to the surface. Then rake over to level off any mounds and hollows.
Use a rake to remove any stones and create a level surface
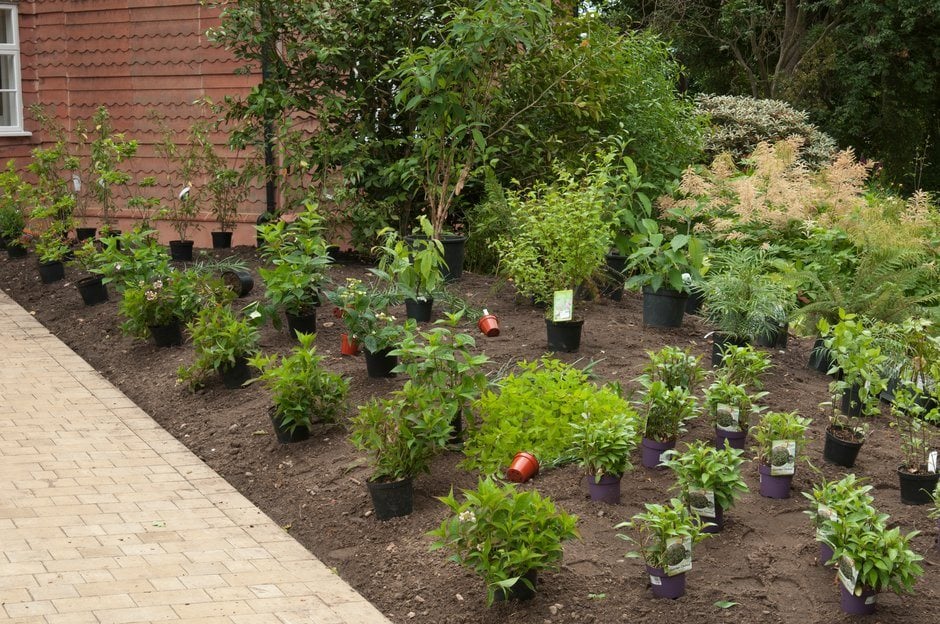
5. Position your plants
Set your plants (still in their pots) on the soil and adjust their positions until you’re happy with them. Pay attention to their eventual size, flower and foliage colour, and season of interest to achieve your desired effect.
Lay out plants in their pots to see how it will look
6. Water your plants
Make sure the plants are well-watered before you put them in the ground. If the pots feel light, or if you have bareroot plants, soak the root systems in a bucket of water for at least 10 minutes.
To get your plants off to a good start, if they are dry, soak them before planting
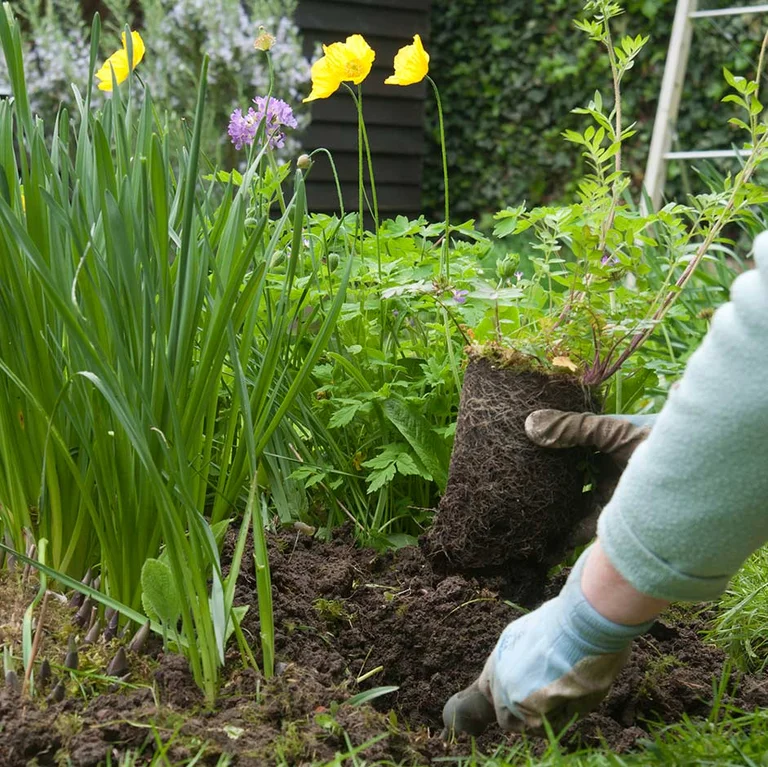
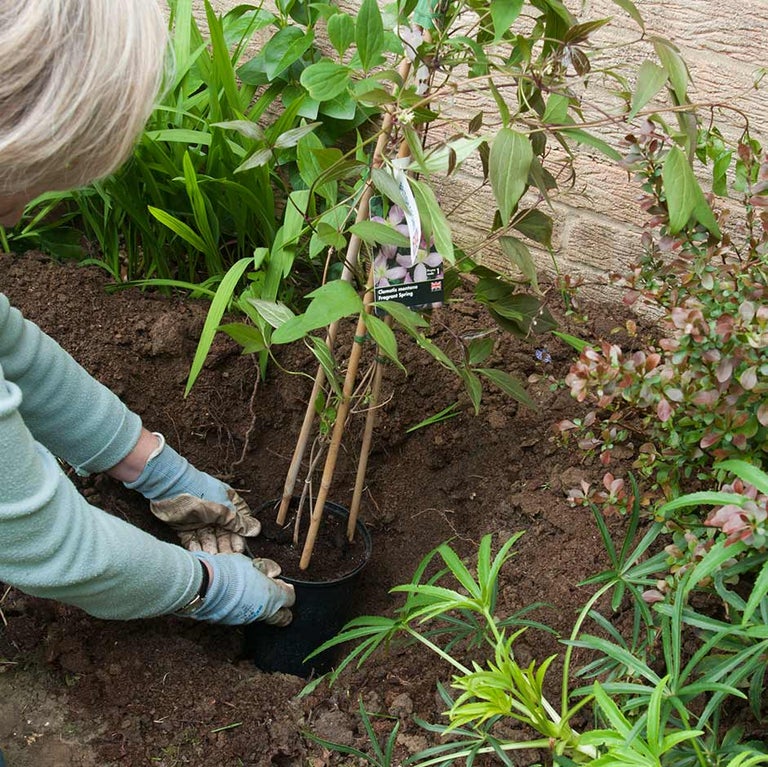
7. Begin planting
Starting at the back of the border (or centre if it’s an island bed), and taking each plant in turn, dig a hole a little wider than the plant’s pot, or its root system if bare-rooted. If the soil has been well-prepared, it shouldn’t be necessary to dig the hole any deeper than the root system. If the soil is dry, add some water to the bottom of the planting hole.
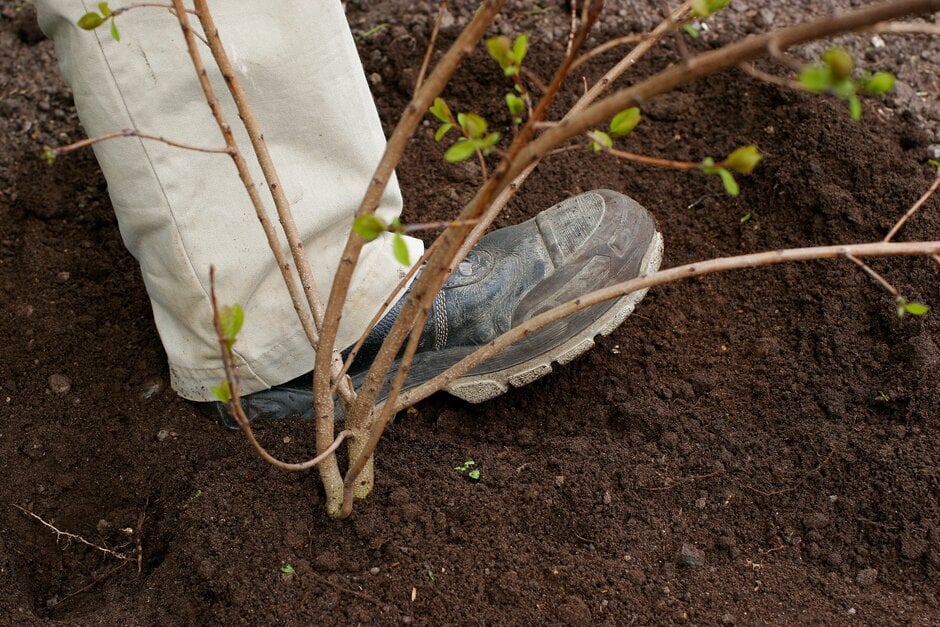
Remove each plant from its pot and place it in the hole. Backfill with soil and firm the plant in, using your hands to push down the soil around small herbaceous perennials, and your heel to firm down soil around larger plants. For more details, see our guides to planting perennials and shrubs.
Use your hands, or heel for bigger plants, to firm the soil around the base of the plant
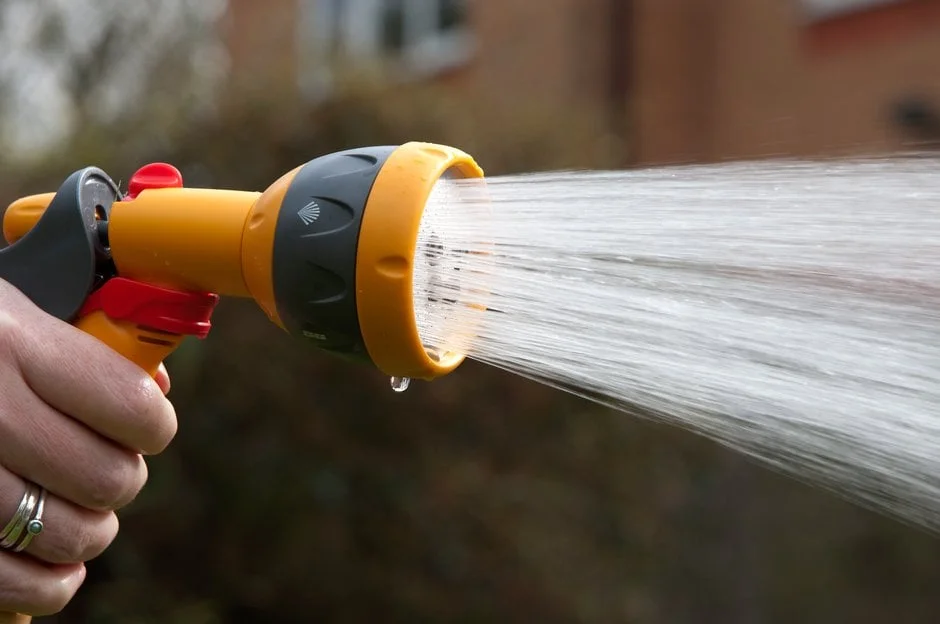
8. Water well after planting
Water thoroughly, adding enough water to ensure it soaks down to the root system. Use a watering can with a rose or a hose on a fine spray, watering slowly and steadily to settle and dampen the soil around the roots, rather than a strong jet of water that will blast soil away.
Water plants thoroughly to settle your plants in to their new home
Aftercare
Watering Water your plants during dry spells until they are well-established. Most herbaceous perennials take about one (spring and summer) to establish. Shrubs and trees can take two or three years to fully establish. See our guide to watering for information on how often and how much to water.
Mulching Mulching your border with well-rotted organic matter in late winter or early spring will benefit your plants and soil. See our step-by-step guide to mulching with organic matter for more information.
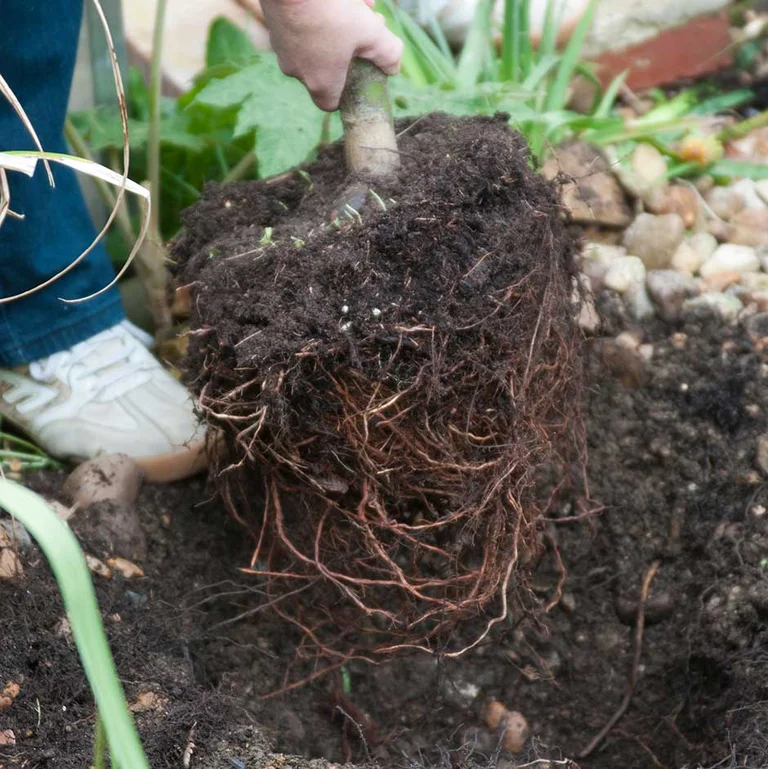
Editing your border Your border will fill out and change over time. Some plants may spread a lot, requiring lifting and dividing every few years, and some may self-seed, requiring removal or relocation. You may even find that the odd plant just doesn’t establish and grow well, or look right in your chosen spot. If you have planted densely enough, you might not need to fill any gaps – just leave vigorous growers to fill the space for you.
Lifting and dividing herbaceous perennials and digging up and moving shrubs is best done between autumn and early spring, depending on the plant, so it’s useful to take photos of your border when it is in full growth to refer back to.
Other common border maintenance tasks are covered in these advice pages: