How to create a lawn edge

Crisp lawn edges look neat and prevent grass growing into adjacent beds. If you are creating or extending beds, or reshaping your lawn and need to create an edge, this page contains all you need to know.

Save to My scrapbook
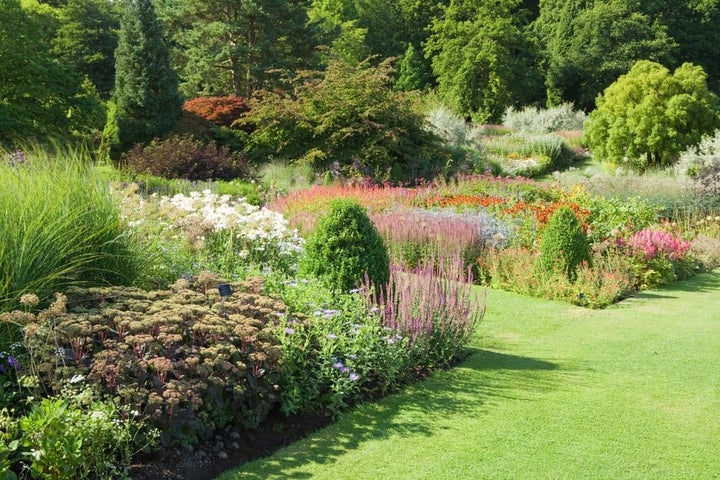
These lawn edges at RHS Garden Wisley help keep gravel mulch in the borders

Quick facts

  • Broad, sweeping curves on lawn edges are easier to maintain than intricate curves or complex shapes   
  • Installing wood or metal edging helps to retain the shape and makes edge trimming easier   
  • A well-defined lawn edge with a decent drop down to the border will help keep mulching material in place

Getting started

Creating a new lawn edge may be part of a major redesign of your garden, or just a way to increase planting space by reducing the size of your lawn. 

What you'll need to create a lawn edge:

  • String line (for straight edges)
  • Garden hose, rope or string (for curved edges)
  • Half-moon edger or flat-backed spade for cutting edges
  • Spade for lifting and removing unwanted turf 
Top Tip

A new lawn edge can be created at any time of year - just avoid working on the grass if the ground is frozen or very wet. 
How to create a lawn edge in ten simple steps

  1. Decide what shape you want

    Straight edges create a formal look and give clear definition between lawn and border. Curved edges create a natural feel, and are good for breaking up long, rectangular gardens.

    Find inspiration for shapes and styles from gardening books, the internet and garden visits.
  2. Mark out the shape with a string line

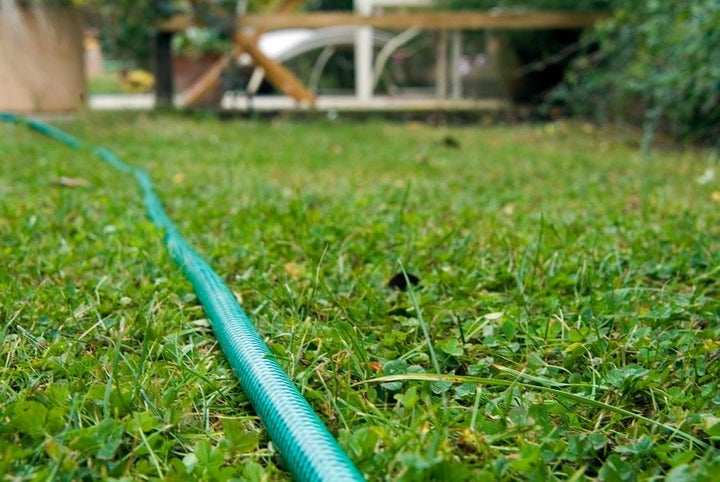
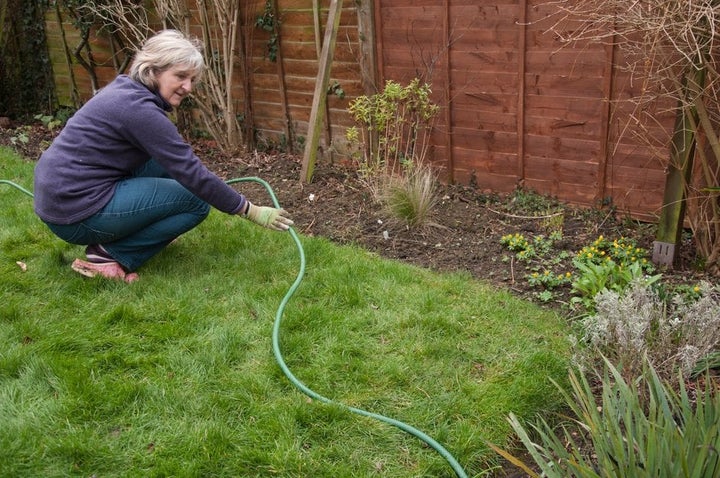
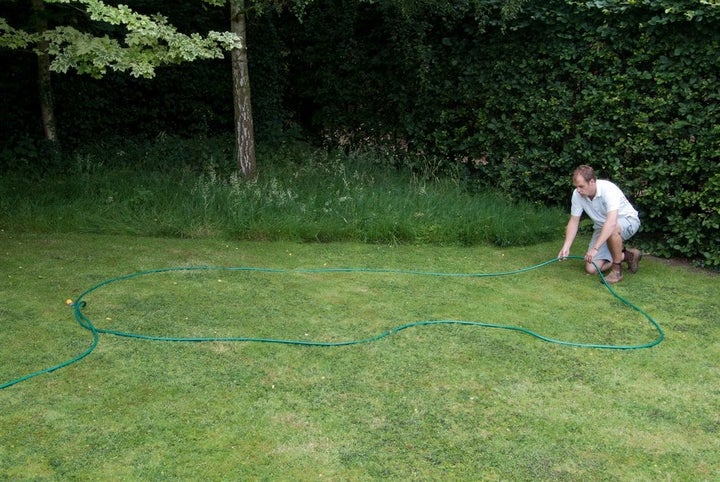
    Tie a string between two canes or pegs for straight edges. For curved edges, use something flexible like a hosepipe, rope or string.
  3. Position your string line 

    Start at one end of the area to be edged. This could be, for example, where the lawn meets a patio or fence.
  4. Extend your line along the edge you want to make

    If you want a straight edge, insert the other peg/cane so the string is taut and at ground level. If the edge you are marking out is long, you can keep the string firmly in place by pushing the tines of a hand or border fork either side of the string to hold it down. 
  5. View the marked-out edge from various angles

    Doing so from an upstairs window gives a good view of the whole shape. Make adjustments until you are happy with the positioning.
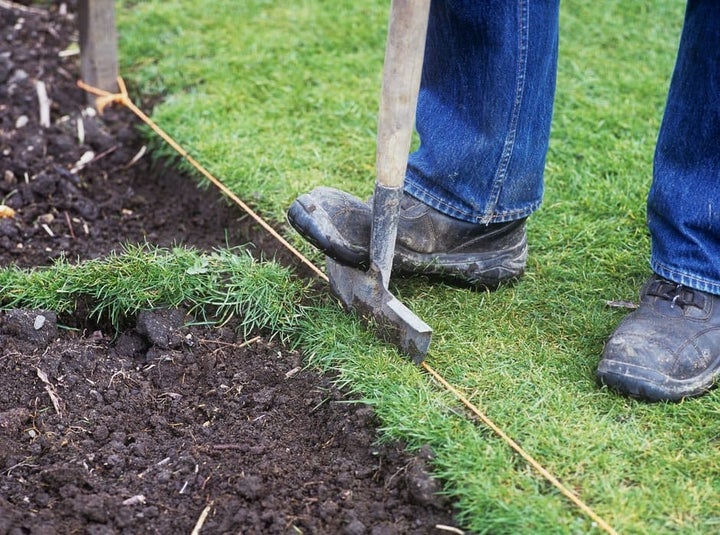
  6. Start cutting out at one end of the line

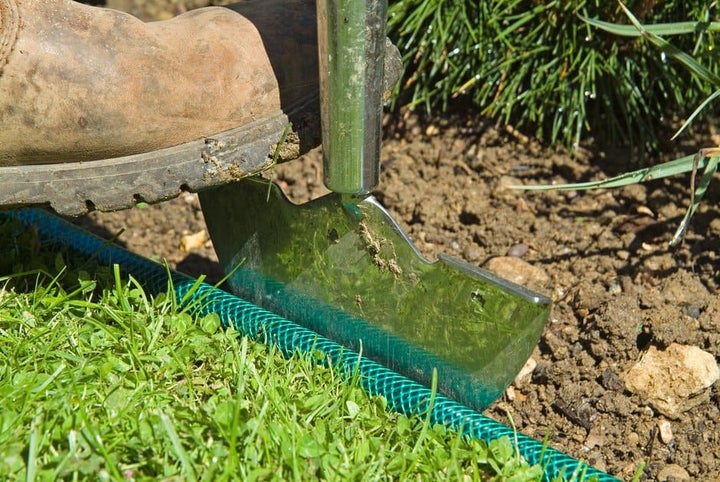
    Insert the blade of a half-moon edging tool into the ground, standing on the flattened top of the blade to ensure it is inserted fully. If using a flat-backed spade, mark a depth of 7.5cm (3in) on the blade using tape and insert to that depth.
  7. Work your way along the line

    Take small steps, inserting the edging tool so that the cuts just slightly overlap to create a continuous cut.
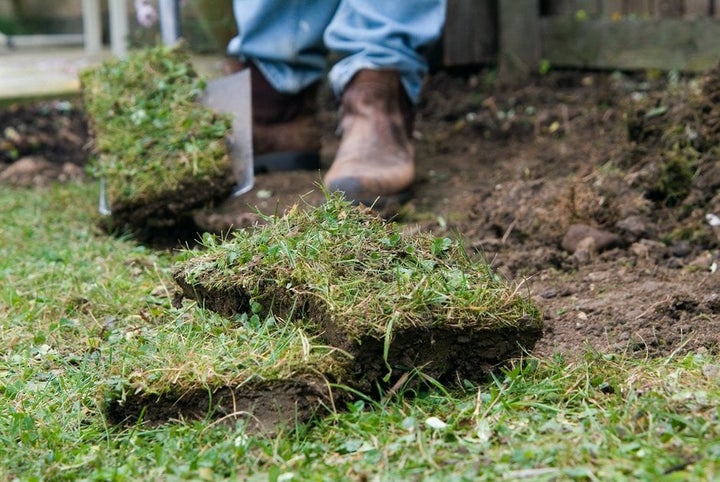
  8. Remove unwanted grass

    Go back along the line and pull up narrow strips of grass by hand. To lift larger pieces, slide the blade of a spade underneath.
  9. Check the line is neat and even

    Walk down the line and look at it from both ends. If necessary, you can cut out further pieces using your edging tool.
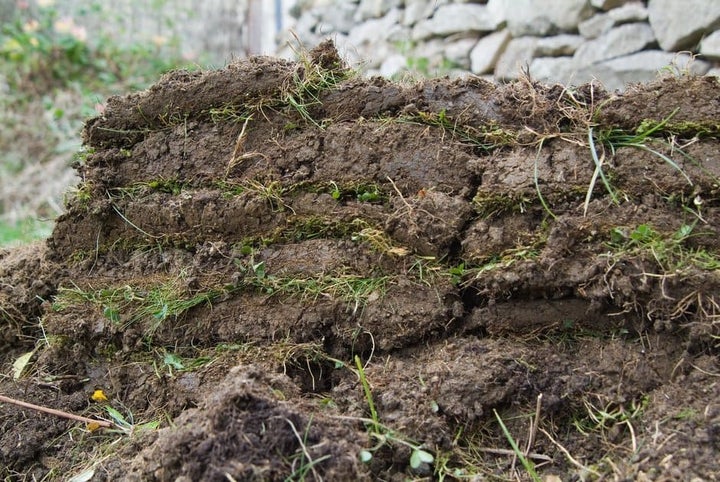
  10. Compost the unwanted grass

    Pop it in your compost bin or, if a lot has been lifted, stack it in a separate pile to rot down into soil.

Gardeners' calendar

Find out what to do this month with our gardeners' calendar

Advice from the RHS

Get involved

The Royal Horticultural Society is the UK’s leading gardening charity. We aim to enrich everyone’s life through plants, and make the UK a greener and more beautiful place.