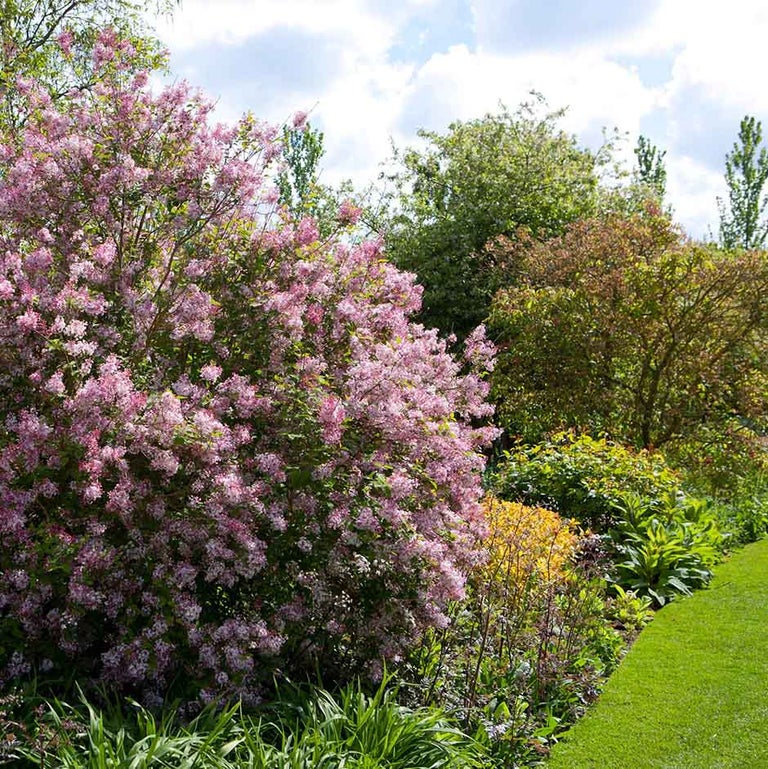


Perennial borders: choosing plants
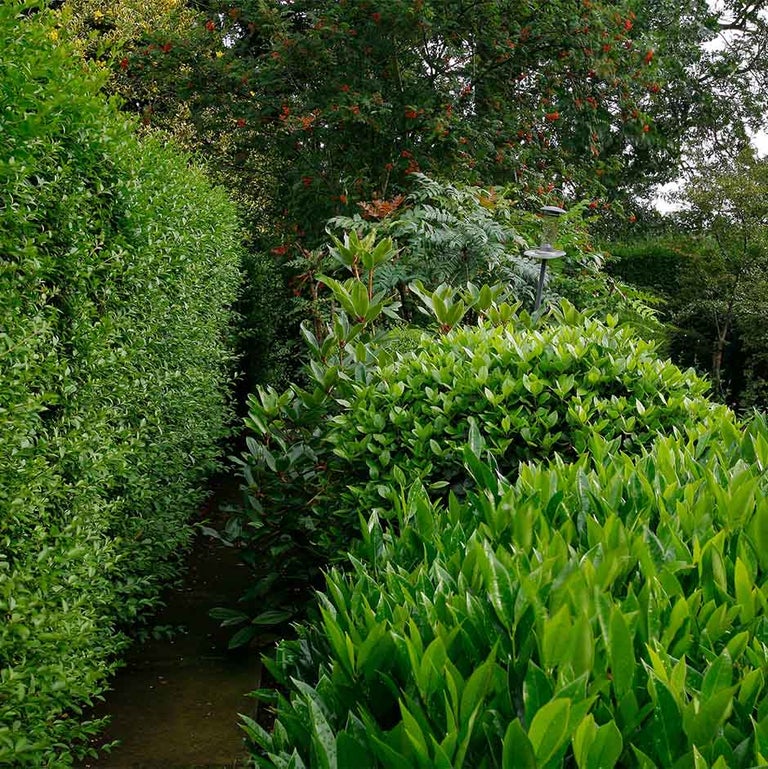
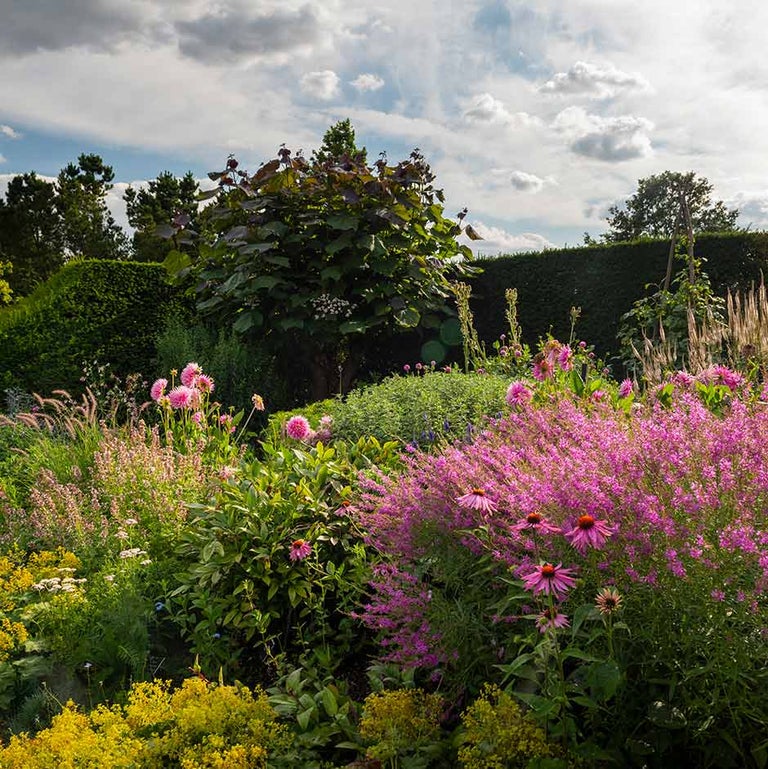
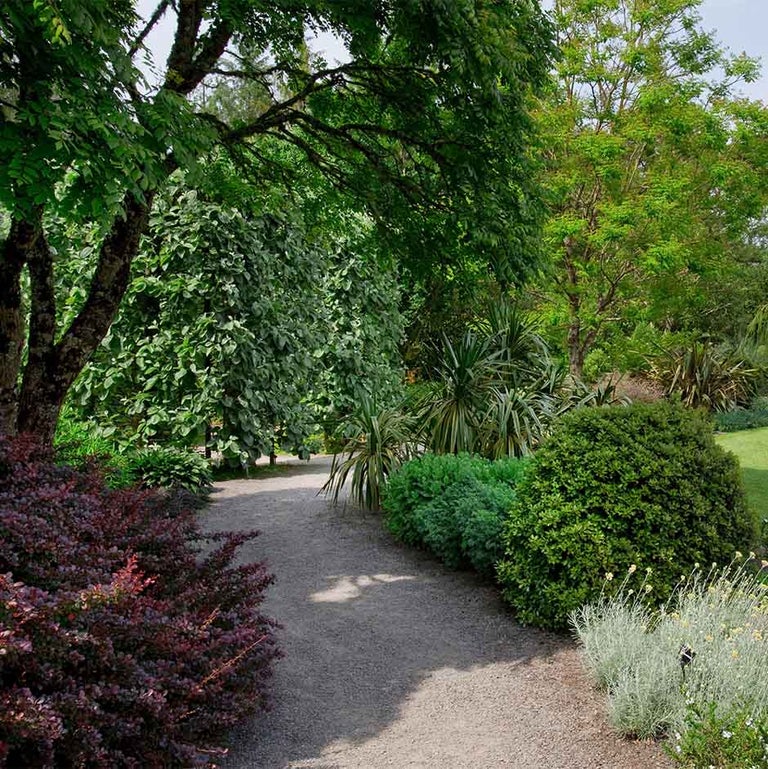
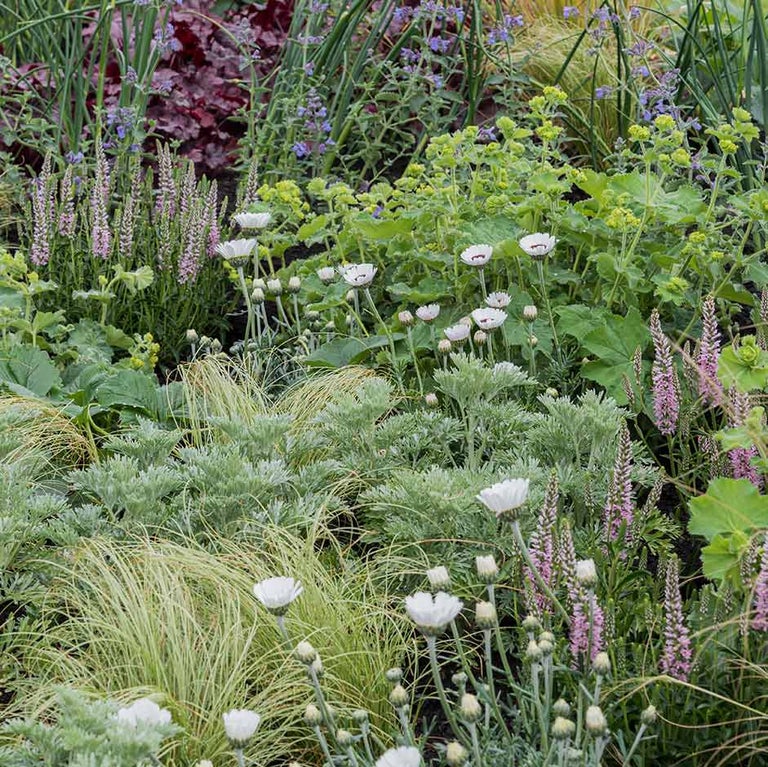
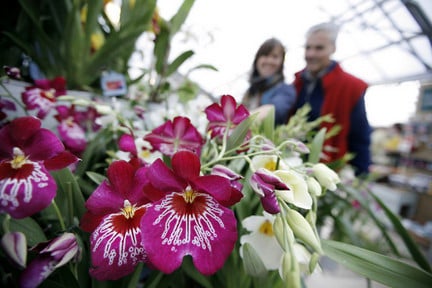
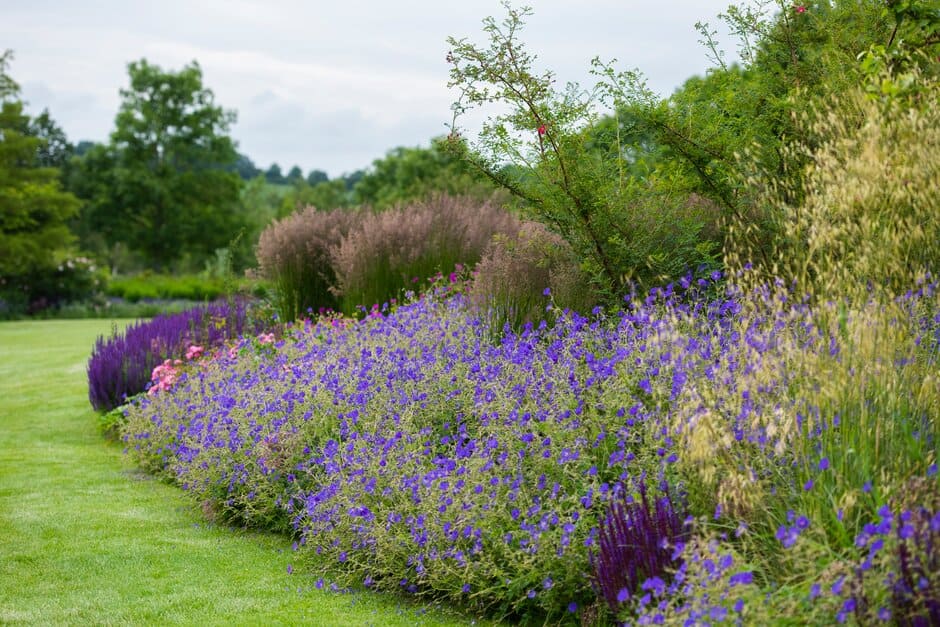
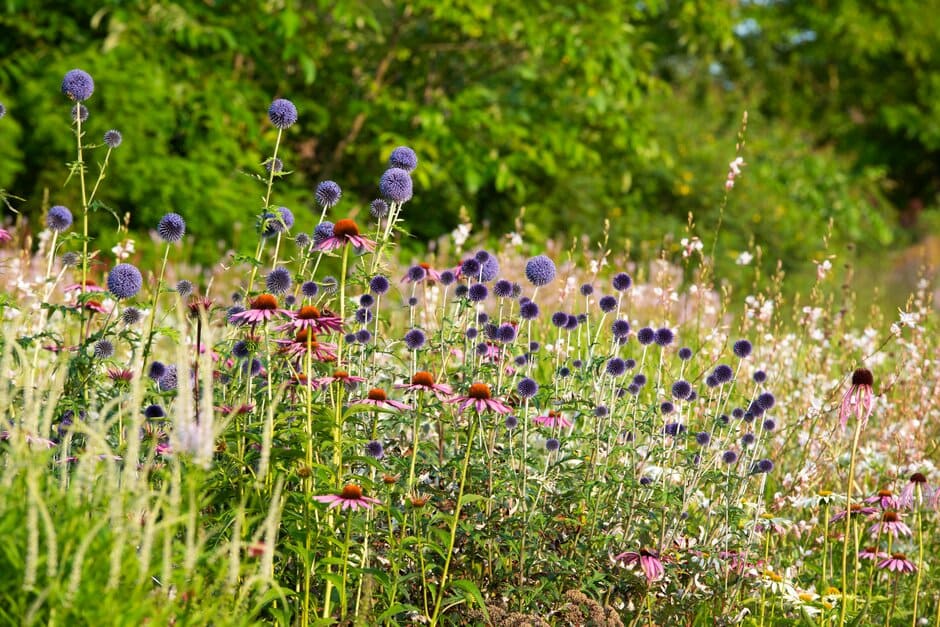
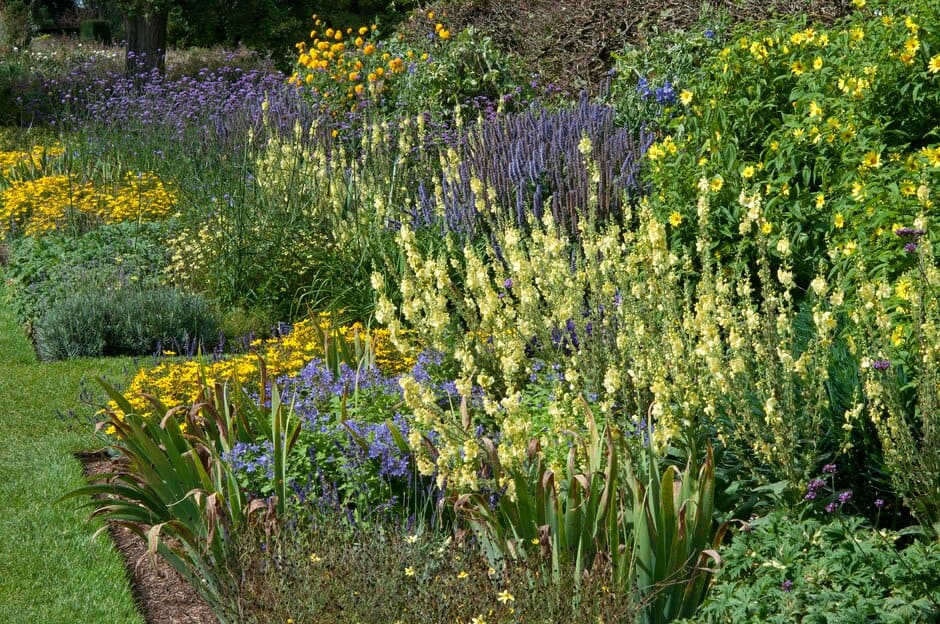
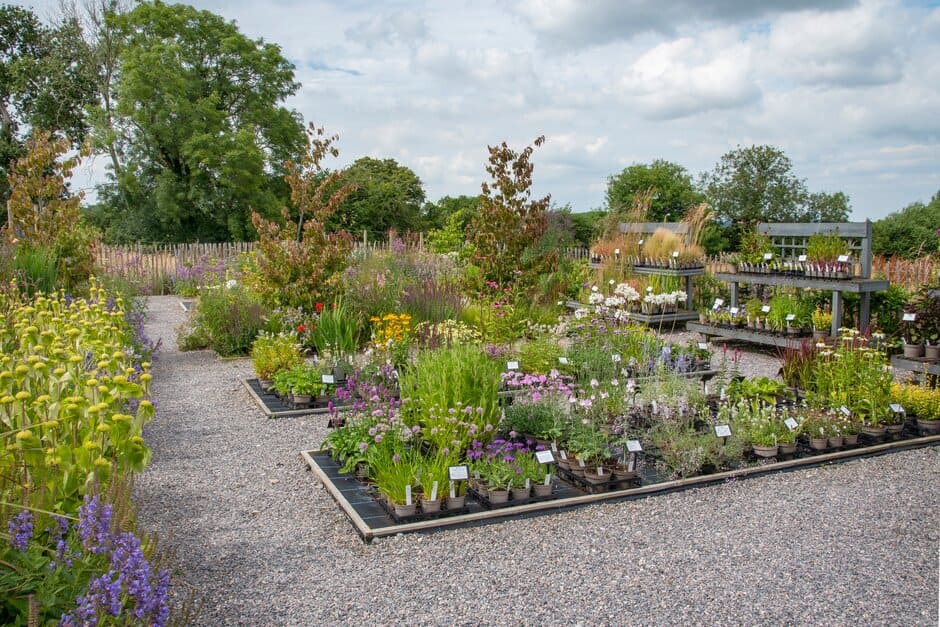
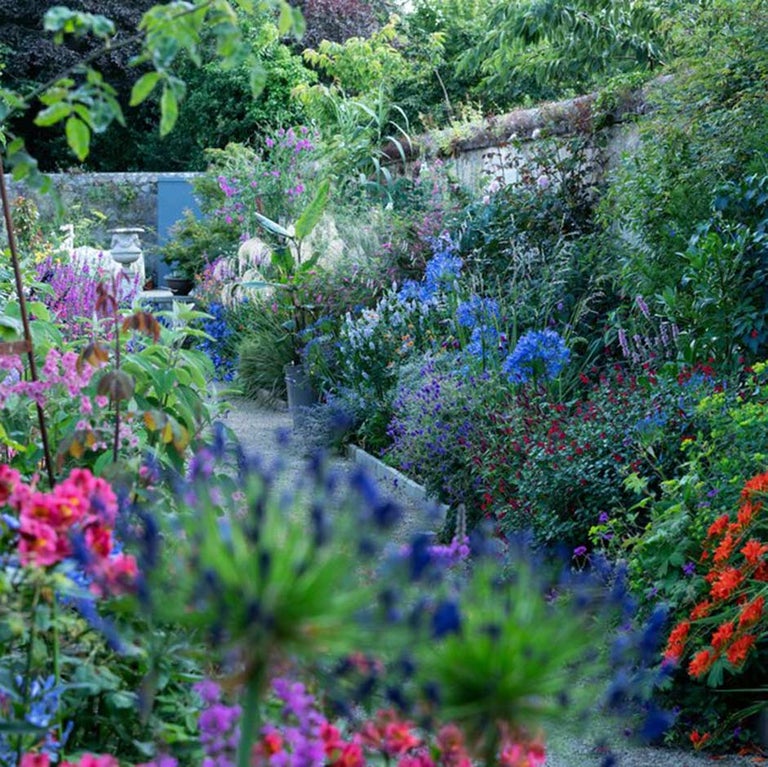
Planning a border is one of the most exciting aspects of gardening. You may like to create a crescendo of colour over high summer, or a more staggered season of interest from late spring to late autumn. The choice is yours; our list will help inspire you.