Quick facts
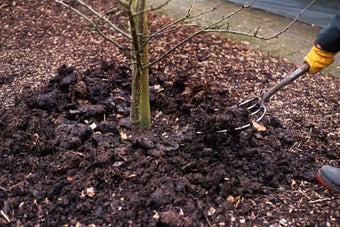
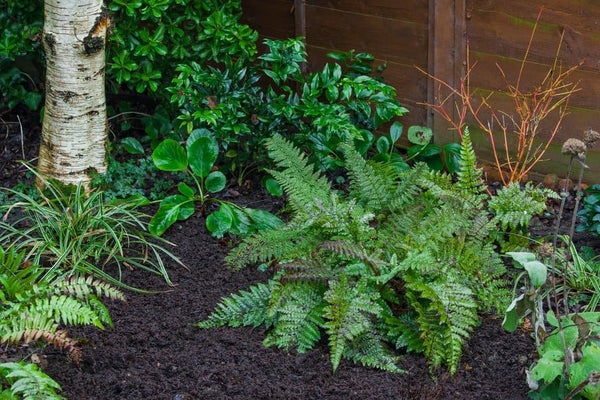
Mulching simply means spreading a layer of material over the soil surface
It’s best done annually in late winter or early spring
Regular mulching with organic matter improves the drainage of clay soils and boosts moisture retention of fast-draining sandy soils
A thick mulch protects plant roots from extremes of hot and cold
Getting started
your borders – or any bare soil – helps to keep weeds at bay and hold in moisture. As the gets slowly incorporated into the soil by worms and other wildlife, it also helps to improve the soil’s structure. Mulching is best done annually in late winter or early spring, before weed seeds start to germinate and while the soil is sufficiently damp.
You can use a whole range of organic matter, but home-made compost or leafmould are usually the best options. If you don’t have these, you can buy products such as soil improver, composted and well-rotted manure. Avoid using fresh potting as a mulch, although you can reuse spent compost if you have a large quantity, for more information see our step-by-step guide to reusing compost.
What you’ll need to mulch your borders:
- Mulch – such as home-made compost or leafmould, or bought soil improver
- Gloves
- Wheelbarrow, bucket or similar
- Garden fork and spade, or a pitchfork or shovel if you have them
- Rake – ideally a narrow one
Top Tip
Having mulch delivered in tonne bags or a loose load is often good value. You could share a delivery with a neighbour to reduce costs.
How to mulch with organic matter in nine simple steps
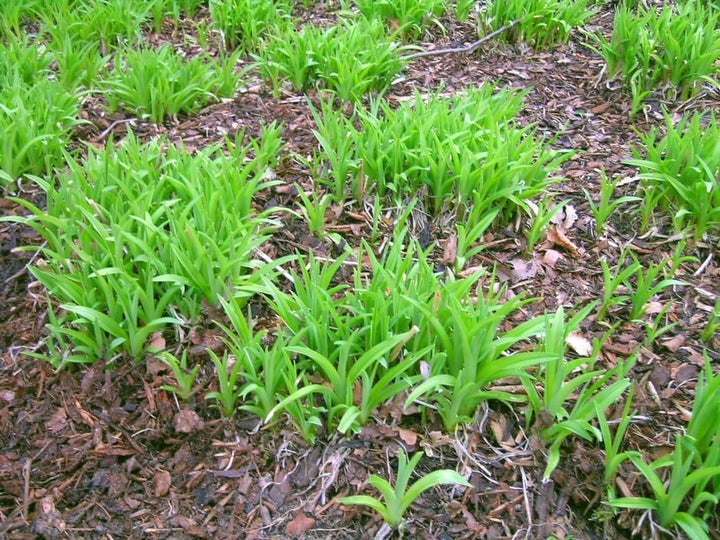
- Mulch in late winter or early spring The best time to apply is when the soil is moist from winter rainfall. Delay if the soil is very wet (squelchy) or frozen.
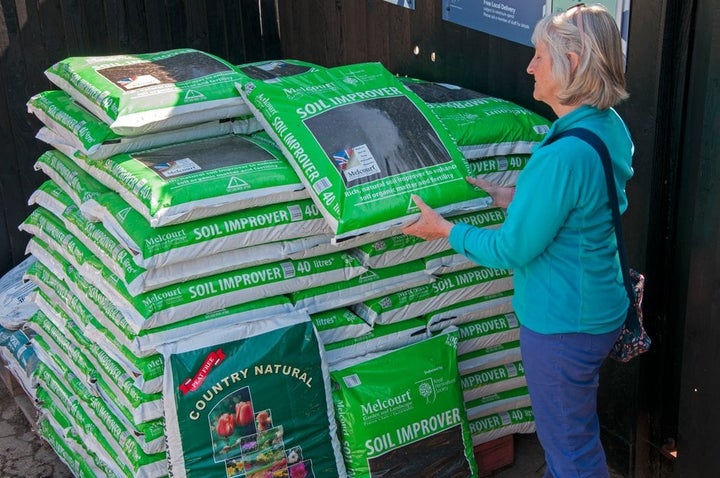
- Calculate how much mulch you’ll need One cubic metre/yard of organic matter will mulch 15–20 square metres/yards of ground. On a smaller scale, two bucketfuls or one standard bag of mulch (around 70L) will cover one square metre/yard of ground.
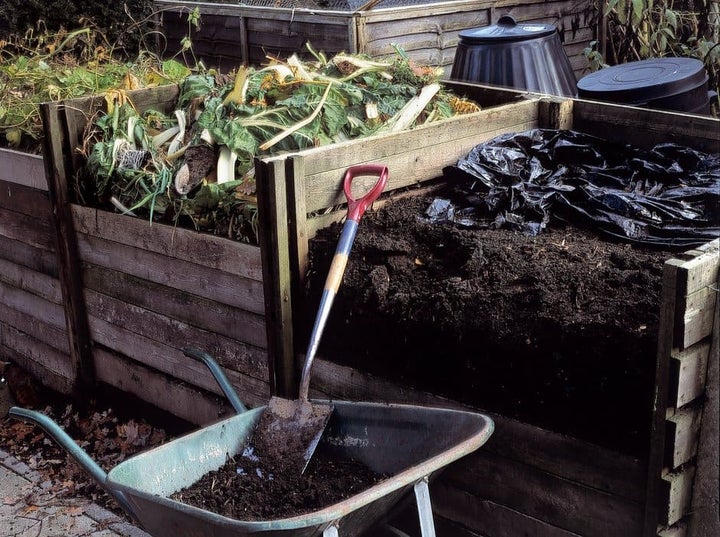
- Choose your mulching material This could be your own home-made compost or leafmould, or bags of composted or well-rotted manure bought from a garden centre or online. Many suppliers deliver in bulk bags or as a loose load, avoiding plastic packaging.
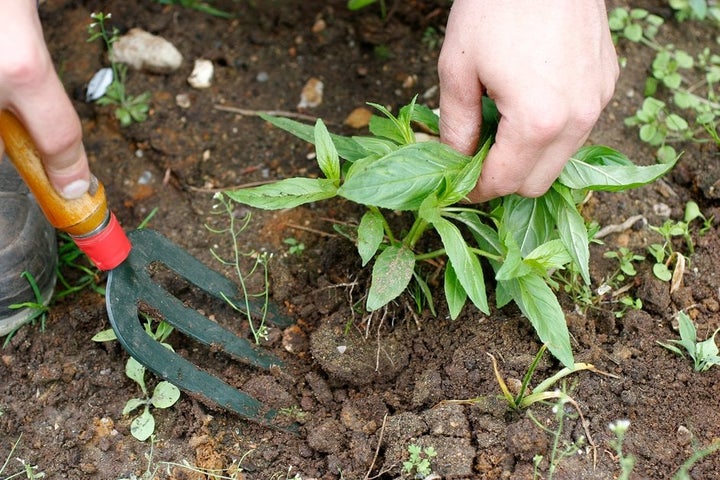
- Prepare the ground for mulching Dig out perennial weeds before mulching. It's not essential to remove low growing annual weeds, as a covering of mulch will smother them. Use this opportunity to tidy up your border plants, removing any dead growth, and redefine border edges.
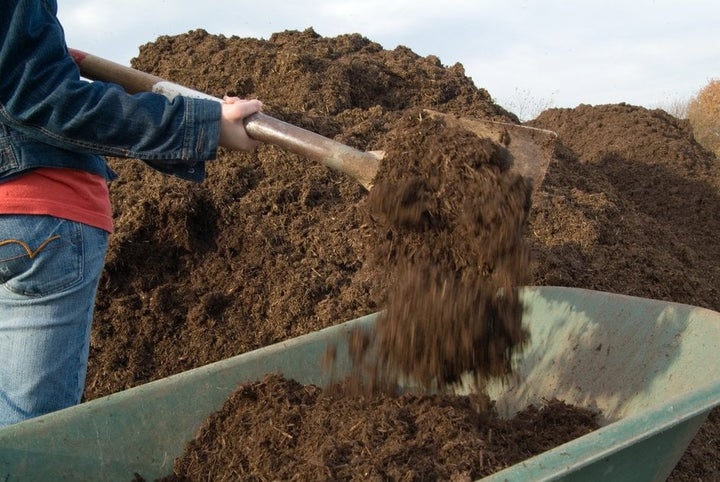
- Take care transporting heavy mulch Large bags of can be very heavy to move, so get help if necessary. Also be careful not to overfill your wheelbarrow, as it can become unstable, or to overload yourself with buckets – it’s far safer to make repeated journeys.
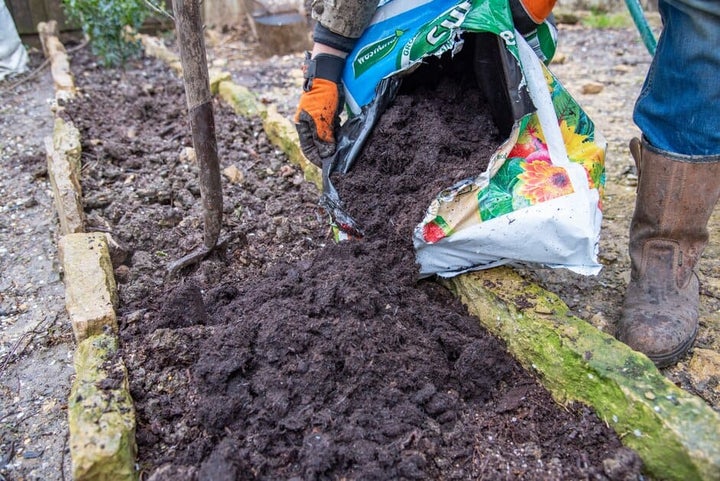
- Start applying mulch to your borders Tip or shovel small piles of mulch onto areas of bare soil between plants. Start at the back of the border and work your way forward to keep access routes clear.
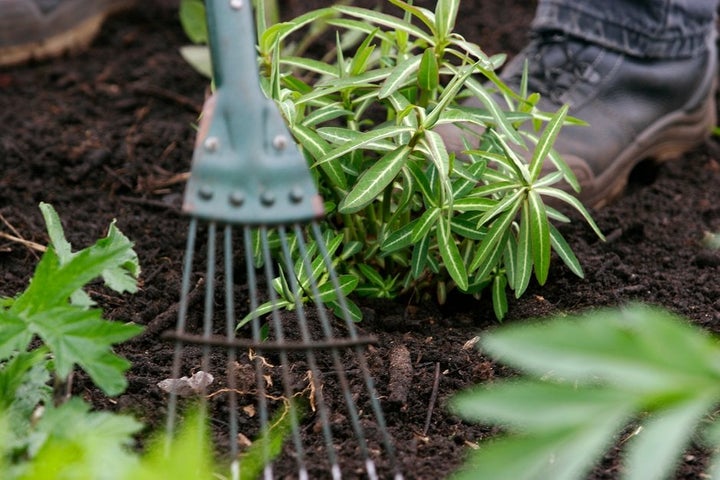
- Spread the mulch Ensure the layer of mulch is at least 5cm (2in) deep, but ideally 7.5cm (3in).A narrow spring-tined rake is useful for this, but a garden fork works well too.
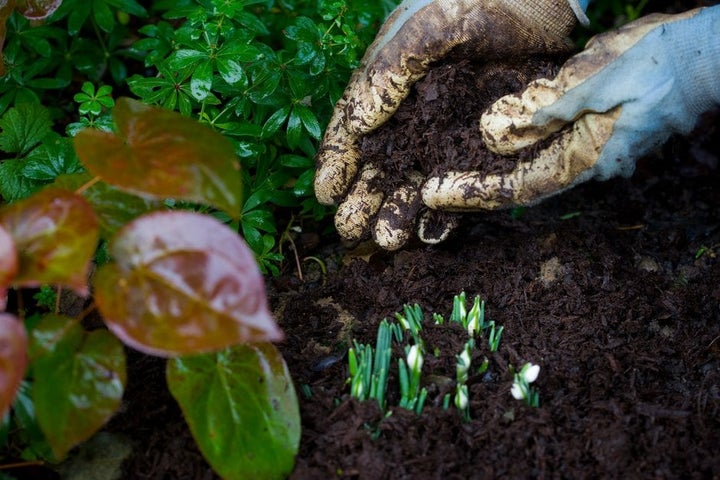
- Work carefully around border plants Use your hands to spread the mulch under shrub branches and around delicate emerging plants. You could temporarily cover the crown of emerging with an upturned pot, to stop them getting stepped on or buried as you mulch.
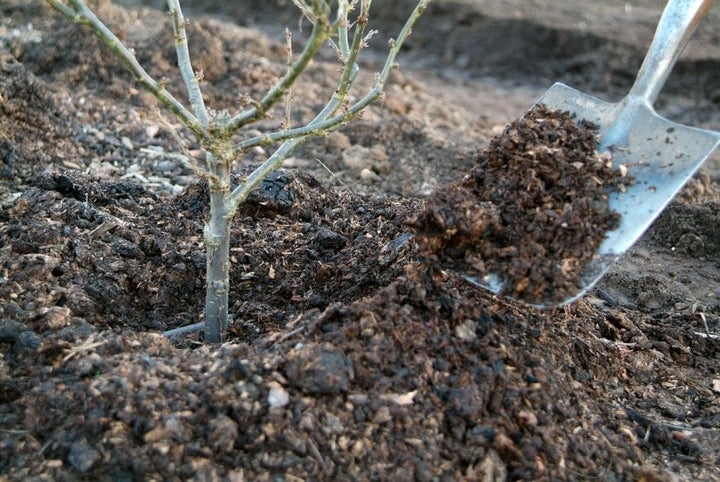
- Leave a gap around woody stems Keep a 10cm (4in) mulch-free circle around any woody stems. Mulch can stay damp and cause rotting if it’s piled up around the base of shrubs and trees.


