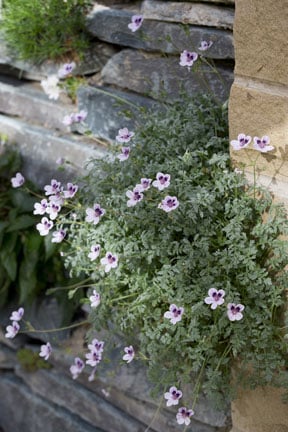
Alpines for dry stone walls
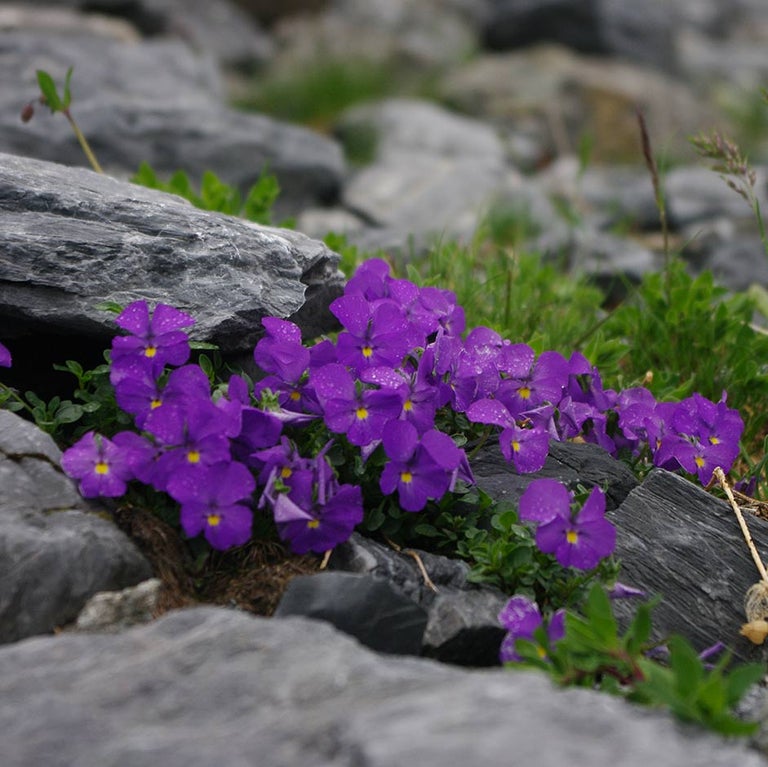
Alpine plants thrive in the well-drained crevices of dry stone walls and along their top where the foliage and flowers can be seen to their best effect.
Suitable for: Alpines and plants that come from rocky parts of the world
Timing: Autumn/winter
Difficulty: Moderate

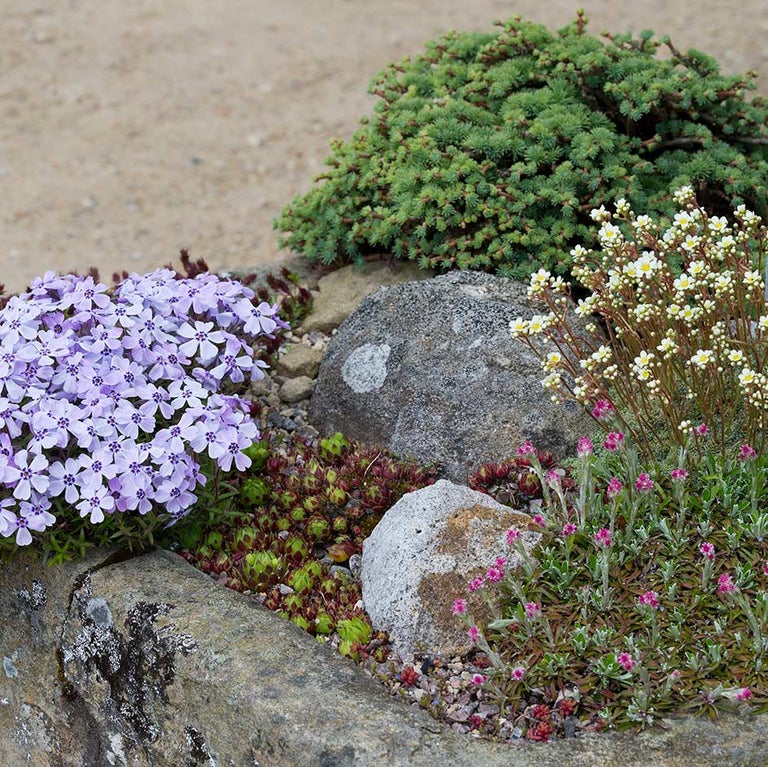
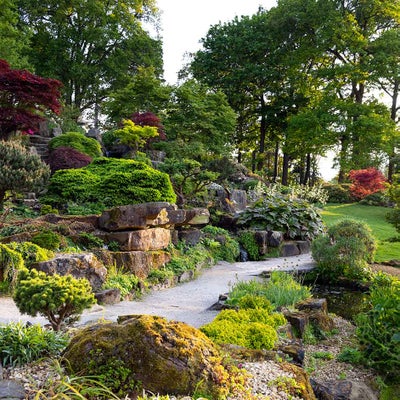
A rock garden can provide several different habitats even in quite a small area. A rock, for example, can be placed so that sun-loving plants make the most of its sunny face whilst shade-tolerant plants can nestle in its north-facing shadow.
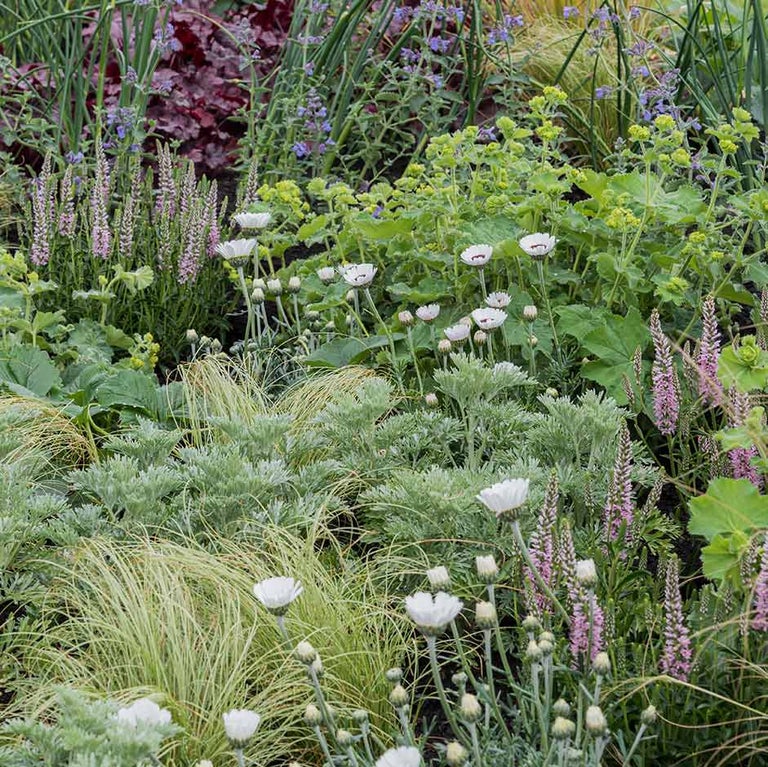
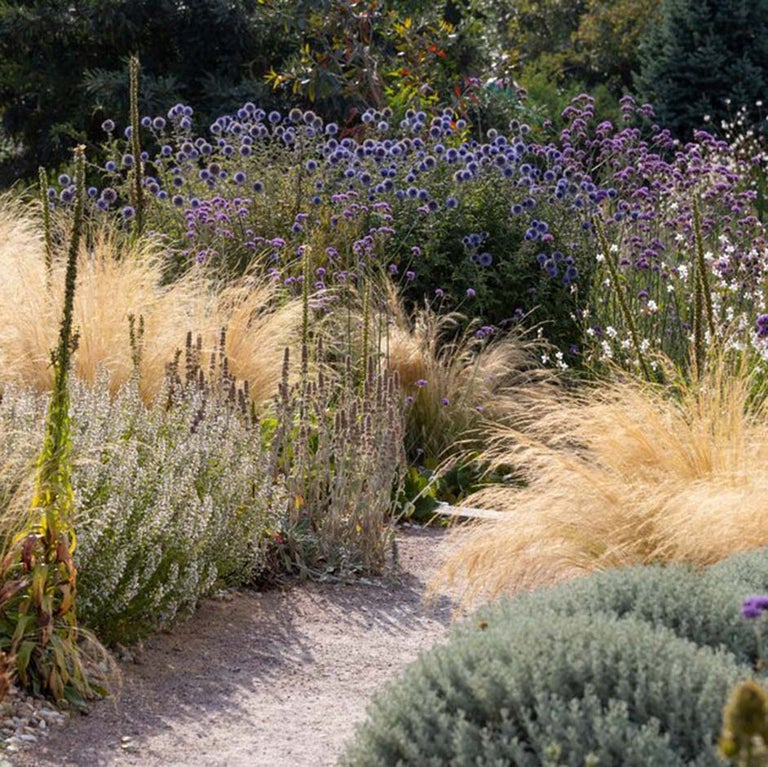
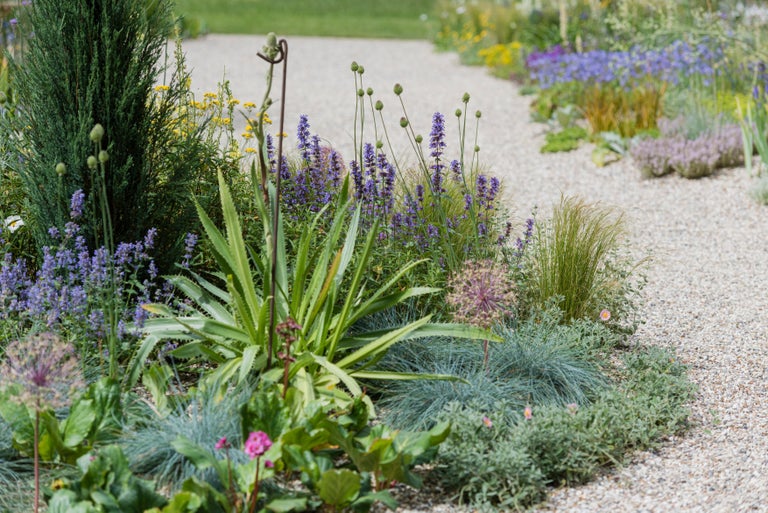
Alpines originate from high altitude regions above the 'tree line'. There is good drainage and usually cold, dry winters with high light levels. In gardening terms however, 'rock plants' embraces not just alpines but also includes smaller shrubs and perennials that - because of their modest stature - look good in a rockery too. Gathering together plants with similar requirements and establishing them in a well-designed rock garden takes time and effort.
A large garden is not essential as it is possible to incorporate a rock garden into all sizes of plot. Specific features such as a dry stone wall and alpine sink or trough are particularly suitable for smaller gardens.
Autumn and winter are good times to construct features as there is less to do in the garden. Spring is the optimum season to plant since an extensive range of plants are available at this time. Plants can then establish themselves for a before the challenge and enemy of rock plants – winter wet – arrives.
Whether you are able to devote a corner of your garden to creating a rock garden or you are planning to transform the whole back garden, it is worth considering the details of the microclimate.
Sketch a plan of the proposed rock garden, bearing in mind the gradient, any underground pipework, the amount of shade and how you might best view it.
Rock gardens are quite an investment in hard materials such as rock, stone, gravel or slate.
Choose local stone if possible. It will look in keeping with the surroundings and it is easier to go and choose the most suitable pieces from the quarry or landscape merchant.
Construction of your rockery may seem rather daunting. For larger projects you will need the help of a professional landscaper, but smaller projects are quite feasible.
To create as natural a rock garden as possible;
The basic planting mix should be;
This can be adjusted for individual plants’ requirements.
Water the plants and place them in position while still in their pots. Allow for the plants’ height and spread when fully grown.
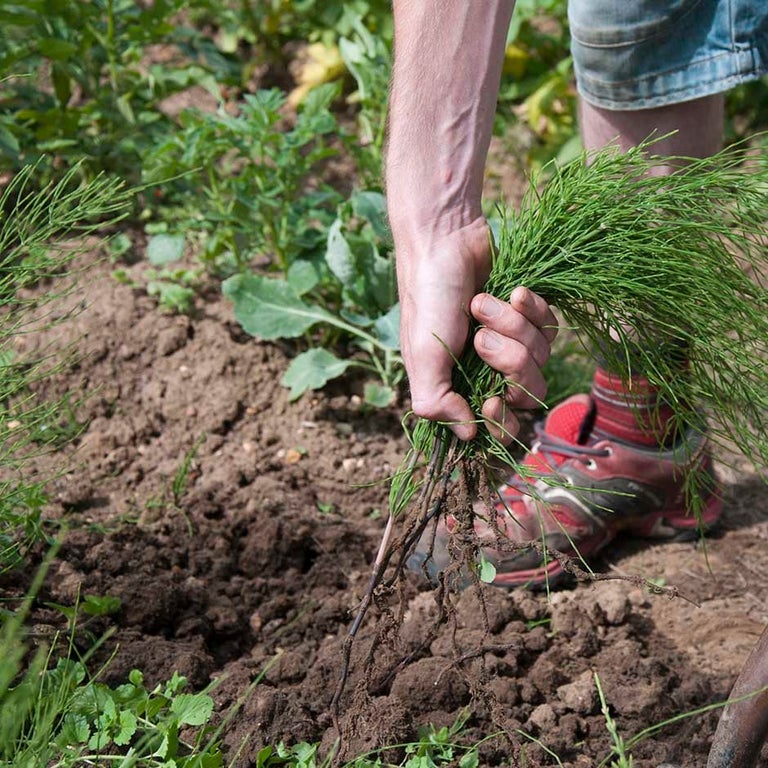
Remove the plant from the pot, tease out the roots slightly and remove any weeds from the surface of the compost. Make sure the plants are planted firmly in the compost mix and are top-dressed with gravel or grit.
For ideas on which alpine plants to use, please see our page on rock garden plants.
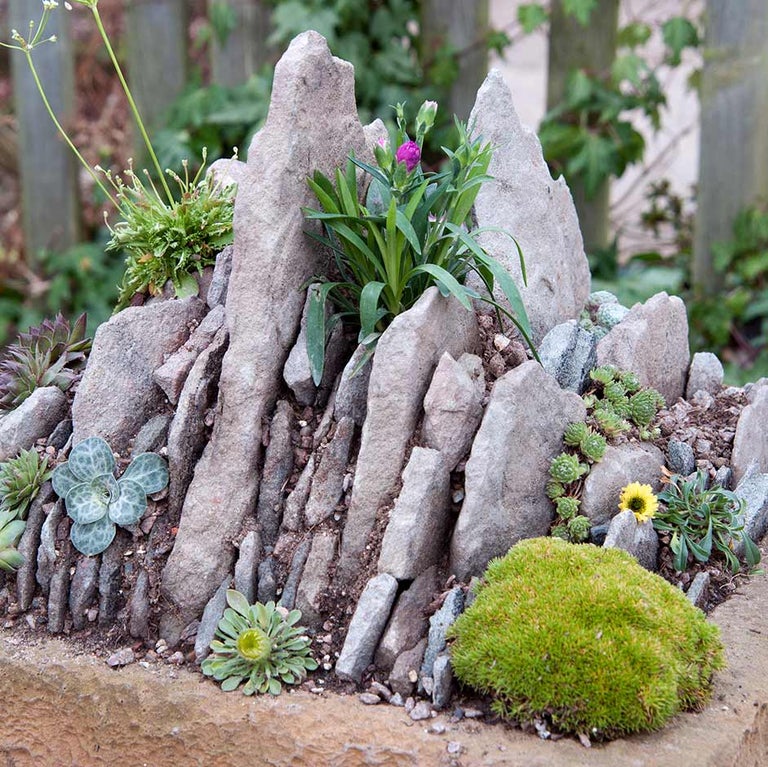
Crevice gardens have become popular in recent years. Sandstone slabs are set vertically into sand and infilled with more washed , grit or peat-free John Innes No1 potting media to which up to 30 percent by volume of grit is added.
The advantages are that the plants have a deep vertical root system, keeping them cooler in summer and warmer in winter, compared to growing in a more traditional rock garden setting. Moisture is used more efficiently in the microclimates made by the rocks forming the crevices.
The details of construction are best described in a publication ‘The Crevice Garden and its Plants’ by Zdenek Zvolanek (see below). Suitable plants for crevice gardens are listed on our web page on rock garden plants.
Books
A Guide to Rock Gardening by Richard Bird (Christopher Helm 1990, ISBN 9780747002277).
Rock Gardening (Royal Horticultural Society's Encyclopaedia of Practical Gardening) by Duncan Lowe (Reed Publishing 1996, ISBN 9781857327755).
The Crevice Garden and its Plants by Zdenek Zvolanek (Alpine Garden Society 2006, ISBN 9780900048784).
Societies