Quick Facts
Easy-to-grow perennials
1
Flower best in fun sun
2
Upright torch-like flowerheads from summer into autumn
3
Clumps of strappy leaves
4
Plant in spring into well-drained soil
5
Smaller types can be grown in containers
6
Some are evergreen
7
Divide clumps or remove off-shoots in spring
8


Before you get started
What are kniphofias?
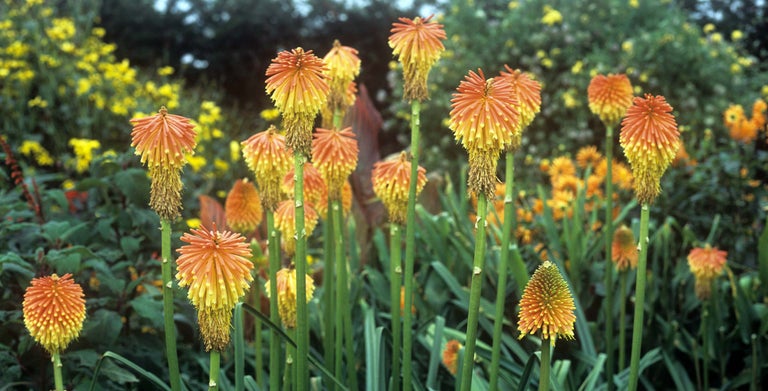
These popular perennial plants originally come from Africa, but have been widely bred to produce a huge array of colourful cultivars. They send up torch-like flowerheads in summer and autumn, in a range of fiery colours, above clumps of long narrow leaves. Most are herbaceous, so die back in winter then re-sprout from the base in spring, although a few are evergreen and keep their leaves all year.
The vibrant, -rich flowers attract bees and butterflies, so are ideal for wildlife-friendly gardens. Kniphofias also suit tropical borders, gravel gardens, herbaceous borders and Mediterranean-style gardens, and mix well with ornamental grasses.
Choosing kniphofias for your garden
There are so many beautiful kniphofias to choose from that it can be hard to know where to start. So here are a few things to consider before buying:
- Kniphofias need a sunny spot and free-draining soil to thrive and flower well. A few will cope in partial shade, including ‘Rich Echoes’, ‘Moonstone’ and ‘Fiery Fred’. Wet soil could lead to the plant dying over winter or not thriving, so drier soils are best
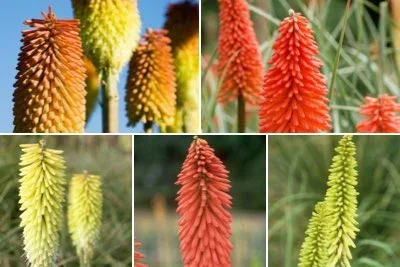
- Check the height and spread carefully, as kniphofias range from less than 50cm tall to over 2m (6⅔ft). Choose a that won’t overpower your border or outgrow its allotted space. Dwarf types are suitable for growing in containers.
- The sturdy flower stems are usually robust enough to stand up to exposed sites, including coastal locations
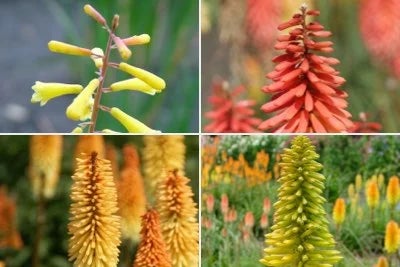
- Flowers come in glowing shades of red, orange and yellow, sometimes single colours, sometimes vibrant mixes. A few include more muted creams, greens, bronzes and coral pinks.
- The majority of kniphofias are herbaceous and die down over winter, but a few species keep their leaves all year, adding interest over the winter months. These include Kniphofia rooperi, K. northiae and K. caulescens
- Most are hardy, which is perhaps surprising considering their tropical appearance. However, a few are a little more tender and need a warm, sheltered spot, including Kniphofia northiae, K. ‘Innocence’ and K. thomsonii var. thomsonii ‘Stern’s Trip’
- There are 25 kniphofias with an RHS Award of Garden Merit, which shows they performed well in RHS trials, so are reliable choices
To browse photos and descriptions of kniphofias, go to RHS Find a Plant. You can search by flower colour, height, growing conditions, RHS Award of Garden Merit and more, to help narrow down your choices.
To see a wide range of kniphofias growing in a garden setting, visit the National Collection of Kniphofias at the Eden Project in Cornwall.

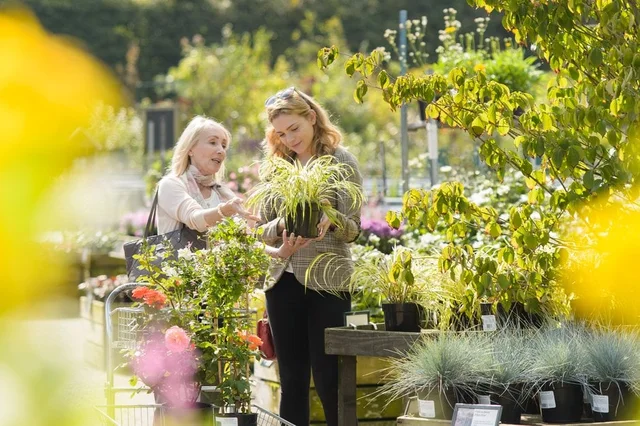
Buying kniphofias
Kniphofias are widely available in garden centres and nurseries, and from online suppliers, with a larger choice available by mail order.
They are mainly sold as small plants in spring or larger plants in flower in summer and early autumn. Most are in 9cm (3½in), 1 litre or 2 litre pots.
Kniphofias are sometimes sold as a ‘bulb’, which is in fact a side-shoot that has been cut back hard with the roots trimmed. These are ready for immediate potting up or planting out.
Planting
When to plant
For best results, plant kniphofias in spring, just as the soil is warming up and the worst of the winter wet and cold has passed. This gives a full for the new plant to become established before winter arrives.
Where to plant
- Most kniphofias need a sunny spot to flower well, although a few, such as ‘Rich Echoes’ and ‘Fiery Fred’, will cope in light shade
- They like free-draining soil that doesn’t stay wet or waterlogged
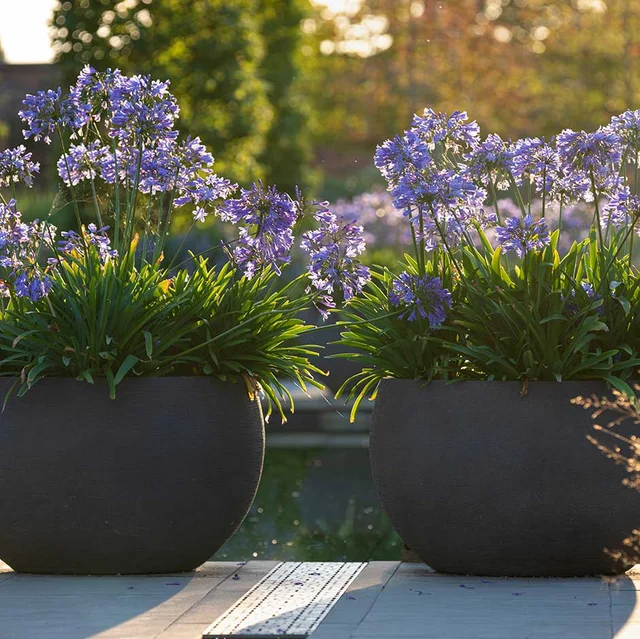
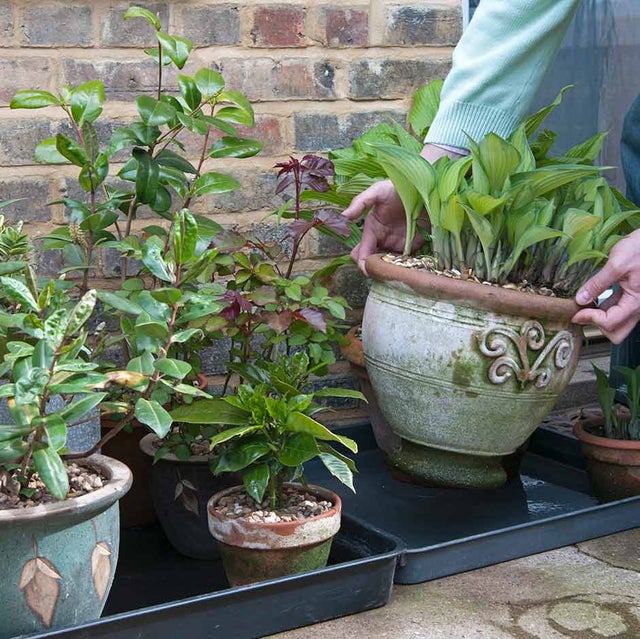
- Dwarf cultivars can be grown in large containers. If you have damp soil, growing in containers is an ideal solution
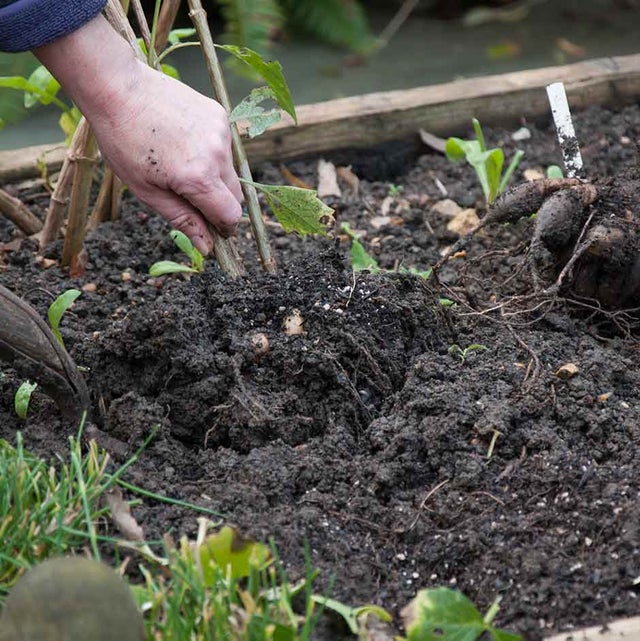
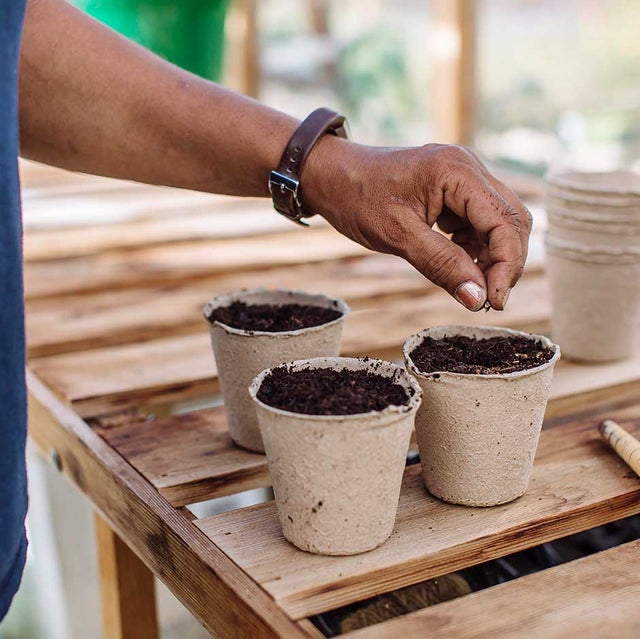
How to plant
Kniphofias are easy to plant – simply follow our guide to planting perennials below.
With kniphofias specifically:
- Pot-grown plants should be positioned at the same depth they were in the original container
- When planting kniphofia ‘ ’, look for the top shoot and plant this just proud of the soil. Alternatively, you can pot them up and allow them to grow into a larger plant before transplanting them into a border
In containers
Smaller cultivars grow well in containers and are easy to plant – see our planting guide below.
With kniphofias in particular:
- Choose a container that is at least 20–23cm (8–9in) in diameter
- Use peat-free multipurpose with added loam, or a peat-free loam-based compost. Mix in 30% extra horticultural grit or fine gravel to improve drainage
- Position in a warm, sunny spot
Ongoing Care
Most kniphofias are low maintenance and when growing in suitable conditions in borders they with thrive with little routine care.
If you grow kniphofias in containers, they will need some additional watering and feeding, and if you grow tender types, they will need winter protection.
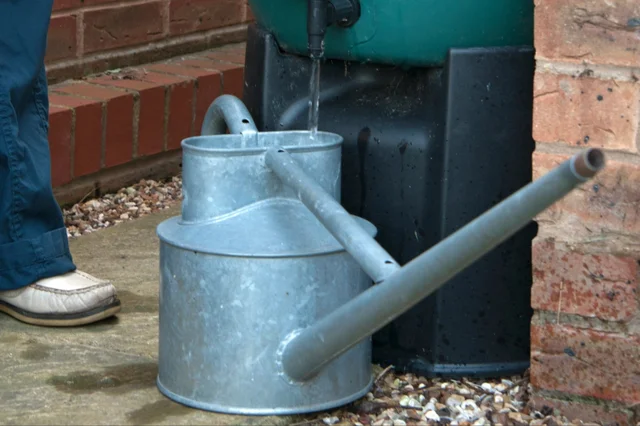
Watering
- During their first year, kniphofias will need the occasional thorough watering to keep the soil moist
- Once settled in, they shouldn’t need watering except in prolonged dry spells
- Sitting in waterlogged soil can cause the roots to rot, so check that the soil is dry to a depth of 15cm (6in) before watering
Feeding
- Kniphofias are not hungry plants and don’t usually need additional feeding once settled in
- However, when growing in poor or sandy soil, you can give plants a boost by feeding in spring with a general fertiliser, such as Growmore or fish, blood and bone. Always follow the instructions on the packet
- Kniphofias growing in containers should be fed annually in spring, as the in the soon run out
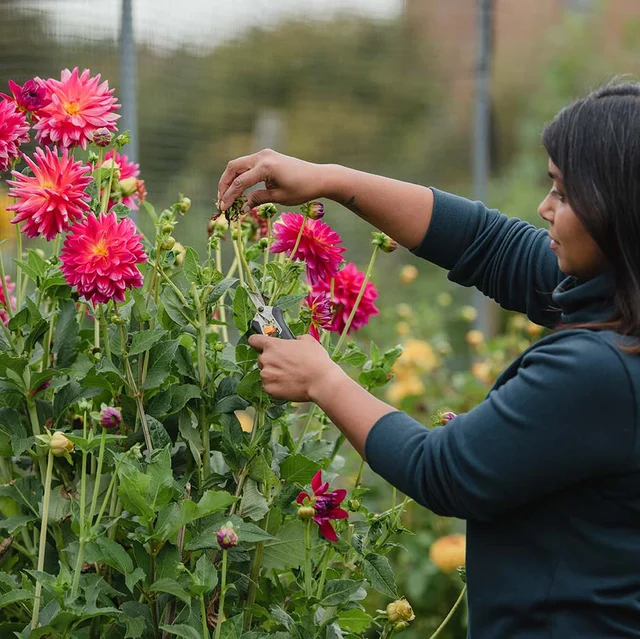
Deadheading
- To keep plants looking their best, deadhead after flowering. This also allows newer younger flower stems plenty of space to grow
- Simply cut the whole faded flower stem down at the base
- also helps the plant to conserve energy, by stopping seed production. However, if you wish to collect seeds for sowing (see Propagation, below), then leave a few stems in place to set seed
Overwintering
Most kniphofias are robust enough to handle a UK winter if growing in well-drained soil.
Avoid growing kniphofias in damp soil, as sitting in cold, wet conditions over winter may lead to root rot.
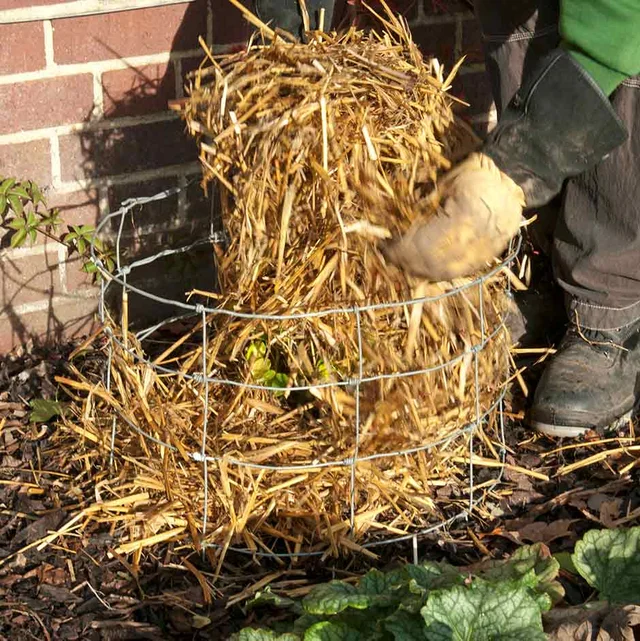
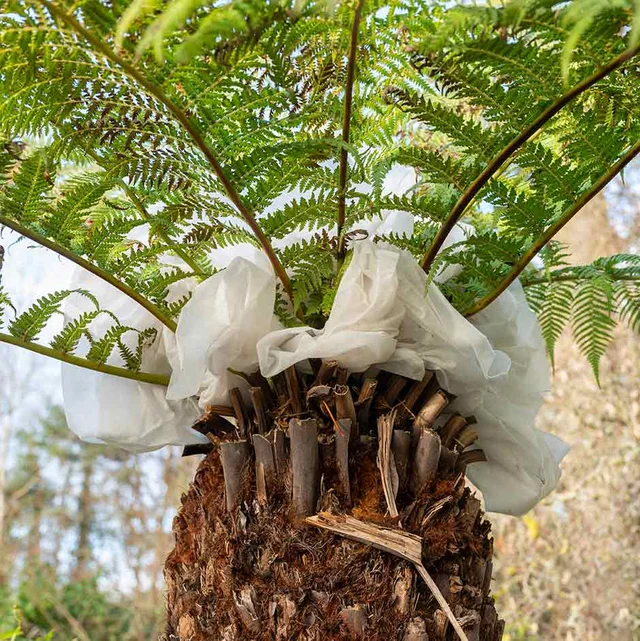
A few kniphofia species are not fully hardy and require a very warm, sheltered spot and/or winter protection, especially in wetter, colder locations. Use a layer of horticultural fleece, or a dry such as straw, to cover and protect the central rosette of more tender types, such as Kniphofia northiae and K. ‘Innocence’.
Kniphofias growing in containers are best moved to a sheltered spot in the lee of a wall, or in an unheated greenhouse, so they don’t get too cold and wet over winter. The roots are more exposed to the cold than when growing in the ground, so wrap the container in reused bubblewrap or layers of hessian to insulate them.
Caring for older plants
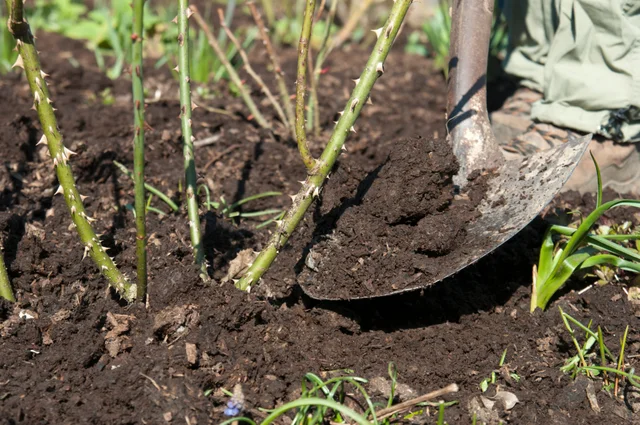
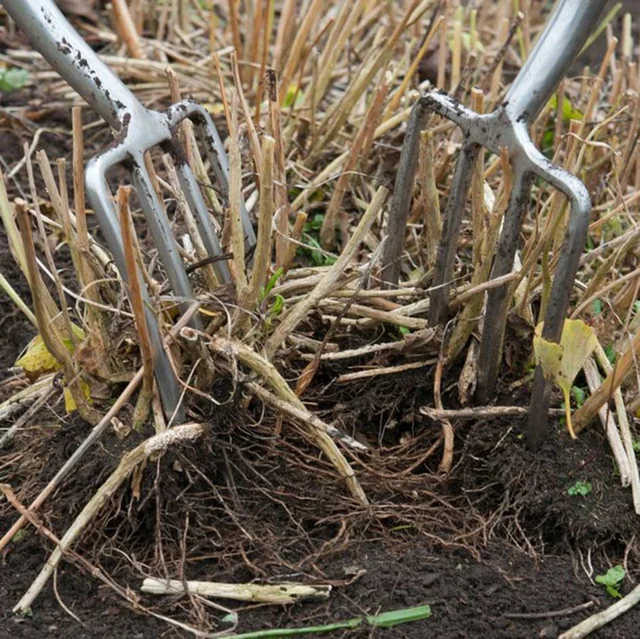
Large, mature clumps can become congested, which can reduce the flowering display. So dig up the clump every few years and divide it into several new, and more vigorous, smaller plants.
Pruning and Training
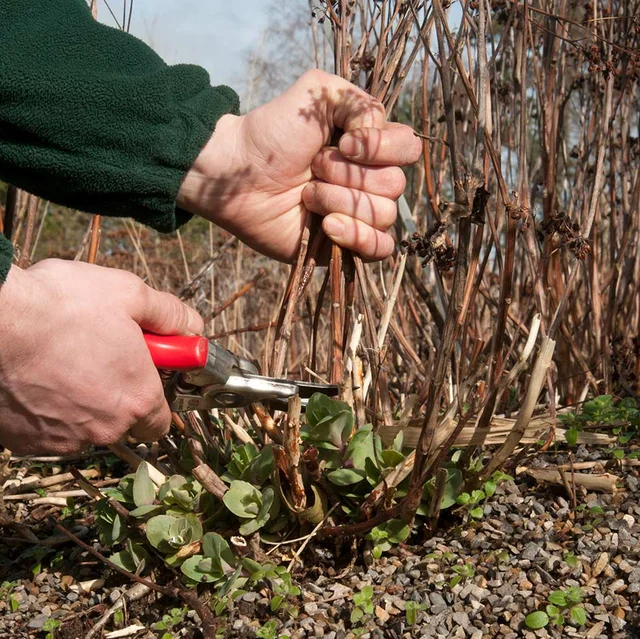
Most kniphofias are herbaceous, so their foliage dies off in late autumn. This should be left in place over winter to protect the crown of the plant from excessive wet and cold, but should be removed in spring:
- Prune off all the dead foliage once the worst of the winter weather has passed (usually late March or April). Cut it away right at the base using secateurs, taking care not to damage any new shoots
- In milder areas, some leaves may stay green over winter. It is still best to remove them in spring, to make way for fresh new growth. However, try to pull green foliage out at the base, rather than cutting it, to avoid leaving a stub or inadvertently damaging the plant.
- Chop up the prunings and compost them.
With evergreen kniphofias such as K. rooperi, you only need to remove any dead or tatty leaves in spring:
- Gently pull away each individual dead leaf, without damaging the developing and remaining growth
- If it doesn’t come away at the first tug, try again in a couple of weeks, although there will always be a few stubborn ones that might need cutting!
Top tip
Wear waterproof gloves when removing the dead leaves, as they can be wet and slimy.
Propagating
The quickest and easiest way to make new plants is to divide established clumps in spring. This will give you several new, smaller plants that will be exactly the same as the original clump. They should root back in quickly and flower within a year or two.
You can also grow kniphofias from seed, but the resulting plants will need nurturing for several years before they are large enough to flower. The offspring may differ from the parents, perhaps creating interesting colour combinations, so this can be a fun project.
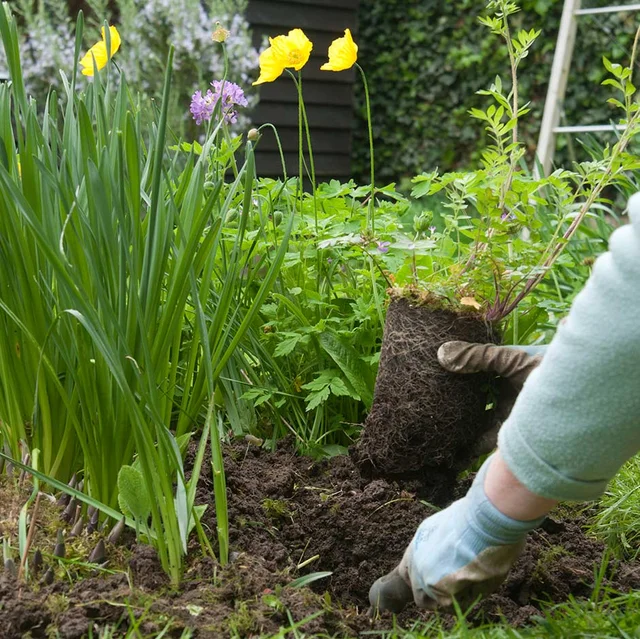
Dividing clumps
You can lift and divide kniphofias in spring to create several new plants. These should settle back in quickly when replanted, but flowering will be reduced for that year. See our guide to dividing perennials, below, for full details.
Kniphofias spread using underground stems known as . Clumps often send out a smaller side-shoot, and these can easily be dug up to make a new plant, without having to lift the whole clump.
Before replanting the new smaller clumps, improve the soil by digging in plenty of organic matter, such as well-rotted manure or garden compost.
Growing from seed
Kniphofias cross-pollinate easily, which is why there is such a wonderful range of colours and flower shapes available to buy. If you have a couple of different cultivars in your garden, this could lead to some interesting .
See our seed-collecting and sowing guides below, for full step-by-step details. With kniphofias in particular:
- Collect the in autumn, then store them in a fridge until the following spring
- Sow them in seed trays, then keep at a temperature of 15˚C (59˚F)
- The resulting plants will take three years or so to flower
Problems
Kniphofias rarely suffer from pests and diseases, but there are a few to look out for that can affect the appearance of the flowers and overall health of the plant:
- Slugs and snails like to feed on the new flower spikes, so check regularly whether they are hiding among the foliage
- Aphids may colonise young flower spikes, and large infestations can cause distortion of the bloom
- Root rots, such as fusarium and phytophthora, cause the plant to wilt and the leaves to become dull and easy to pull out. Avoid by planting in well-drained soil and don’t replant kniphofia into an area where there has been a previous root rot infection.
If you're a member of the RHS, you can use our online Gardening Advice Service, via MyRHS, for any gardening queries and problems.