How to plant up a container
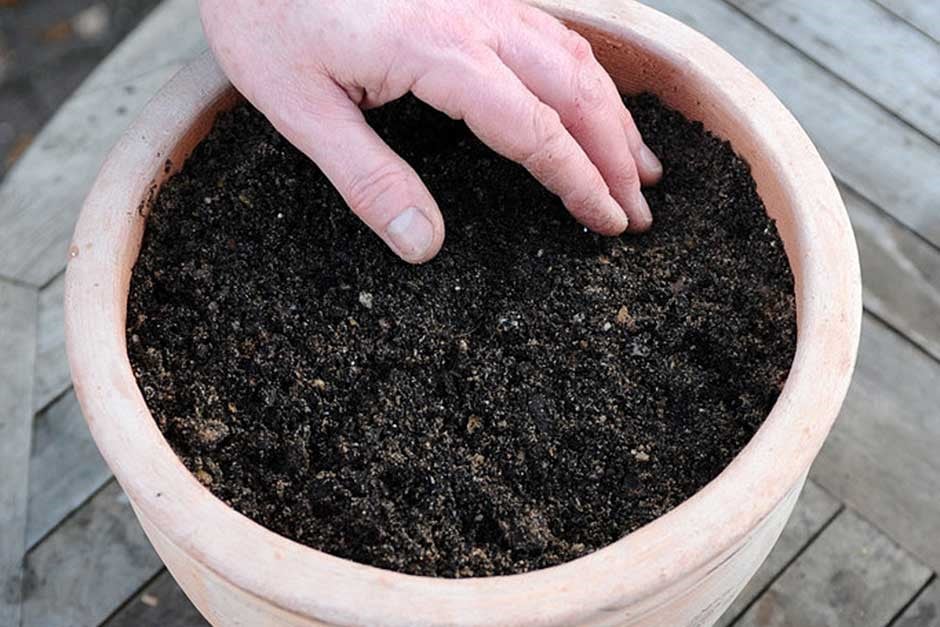
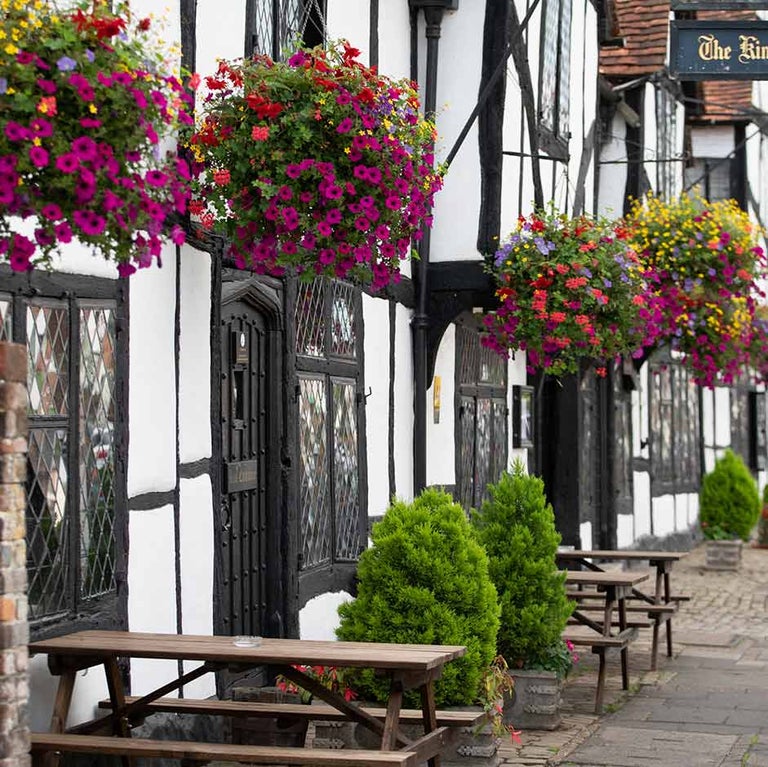
Planting containers with seasonal bedding plants is a quick and easy way to add colour to your garden. Many bulbs, herbaceous perennials, shrubs and trees can be grown in pots too.

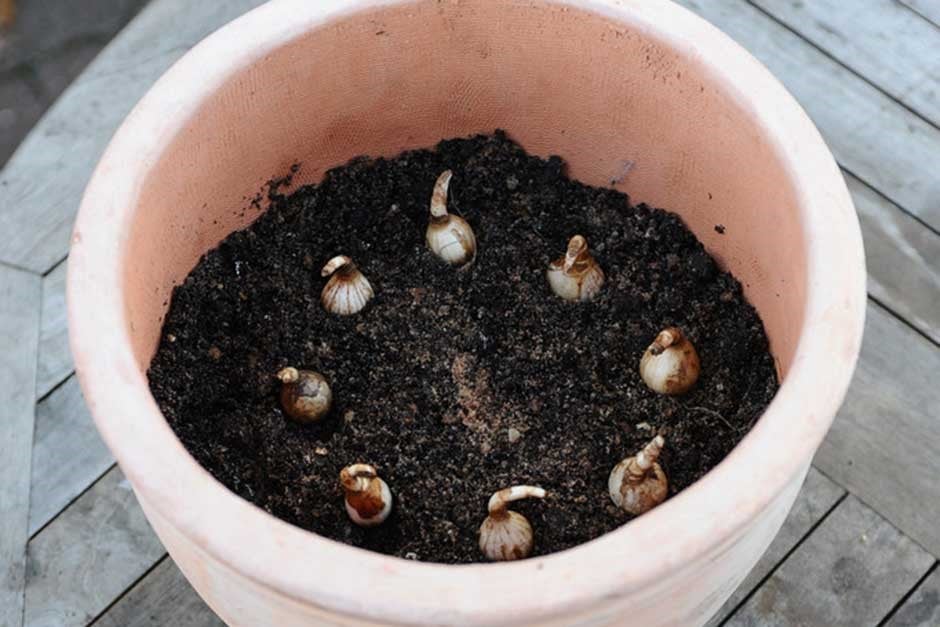
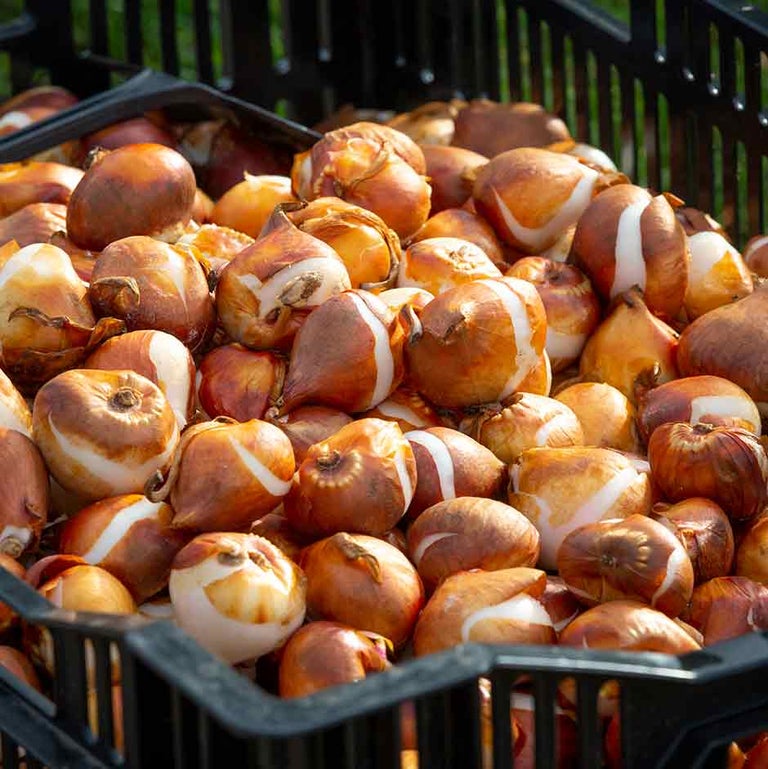
Plant spring-flowering bulbs in autumn
Choose several different types, in a range of cheery colours
Place the pot in a sunny spot outdoors

Planting pots of is an easy and fun way to add spring cheer to a sunny doorstep or patio. You can of course just plant a single type of bulb in each pot, but why not be more adventurous and try several different bulbs in layers? You can choose a combination that will either all flower at the same time, for maximum impact, or in succession for a longer-lasting display.
If you want them all to flower simultaneously, simply pick your preferred flowering time (early, mid or late spring), then browse the bulb catalogues and websites for your preferred colour combinations – either contrasting or complementary hues. Also look for different heights, to give a multi-tiered display.
For a longer-lasting display, on the other hand, choose bulbs that will flower in succession from early to late spring. Each new set of blooms and leaves will help to hide the fading foliage of the previous set. For this you need to arrange the layers with the largest, latest-flowering bulbs at the bottom and the smallest, earliest bulbs at the top:
What you’ll need:
If you have squirrels in your garden, place a chicken-wire cover over the container after planting to stop them digging up the bulbs. Remove the wire mesh in spring, as soon as the first shoots start to appear.